Home Office Project: Overkill Workbench Series Part 5 Workbench completed
After a long break (I couldn't reach my computers from all the mess I had been working on to write some update posts 😅) from part 4, now we continue the adventure with building this overkill workbench.

After a long break (I couldn't reach my computers from all the mess I had been working on to write some update posts 😅) from part 4, now we continue the adventure with building this overkill workbench.
(sorry updates are not sequential as many things were happening at the same time, so I am trying to group them to not have a big mess around)
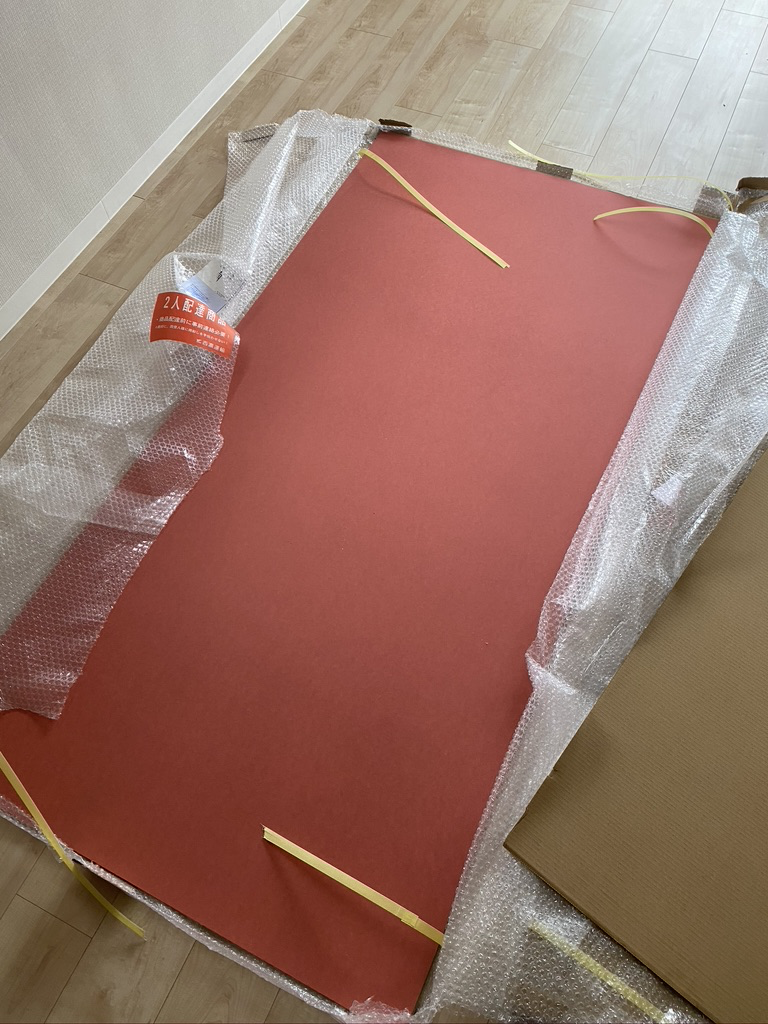
After waiting for color MDF panels to be in stock, I finally got them delivered to my place, and I could continue working on this project.
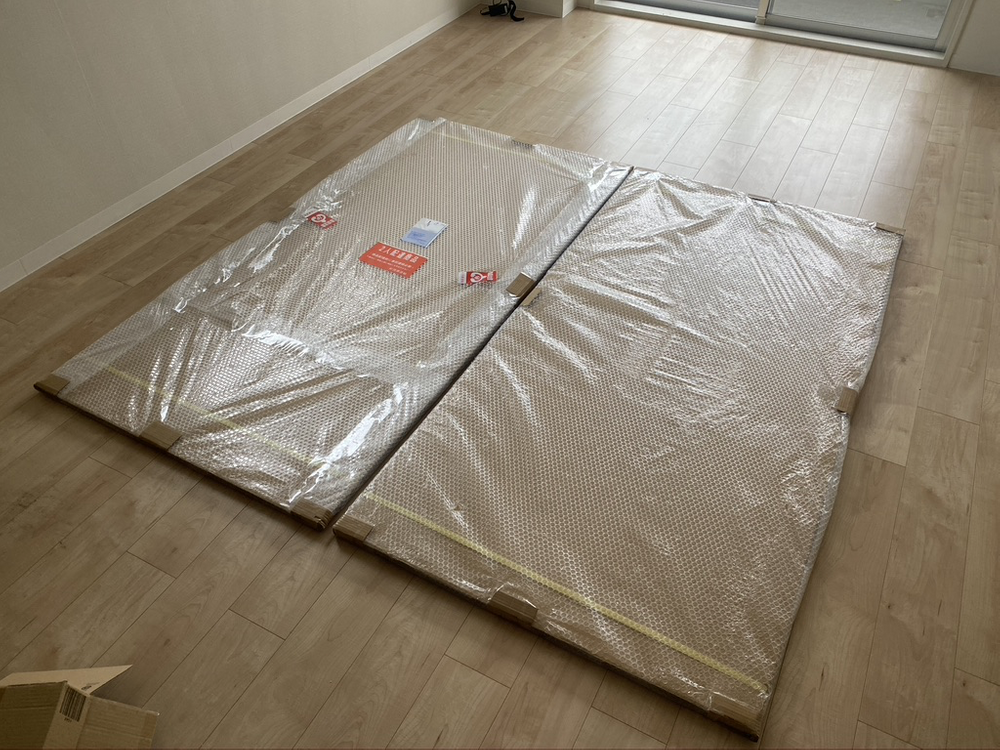
The 1 x red MDF panel will be used for under shelf face, 1 x black MDF panel for covering sides and other pieces, and 4 x black MDF with 6mm diameter hole 30mm grid for hanging stuff and similar things.
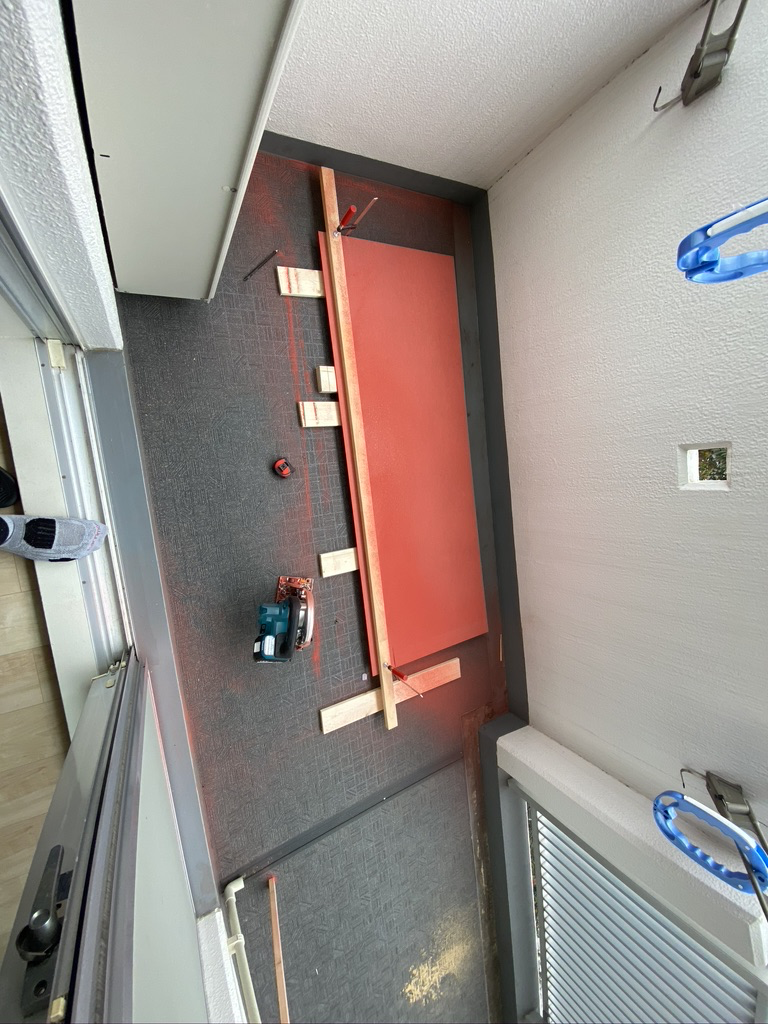
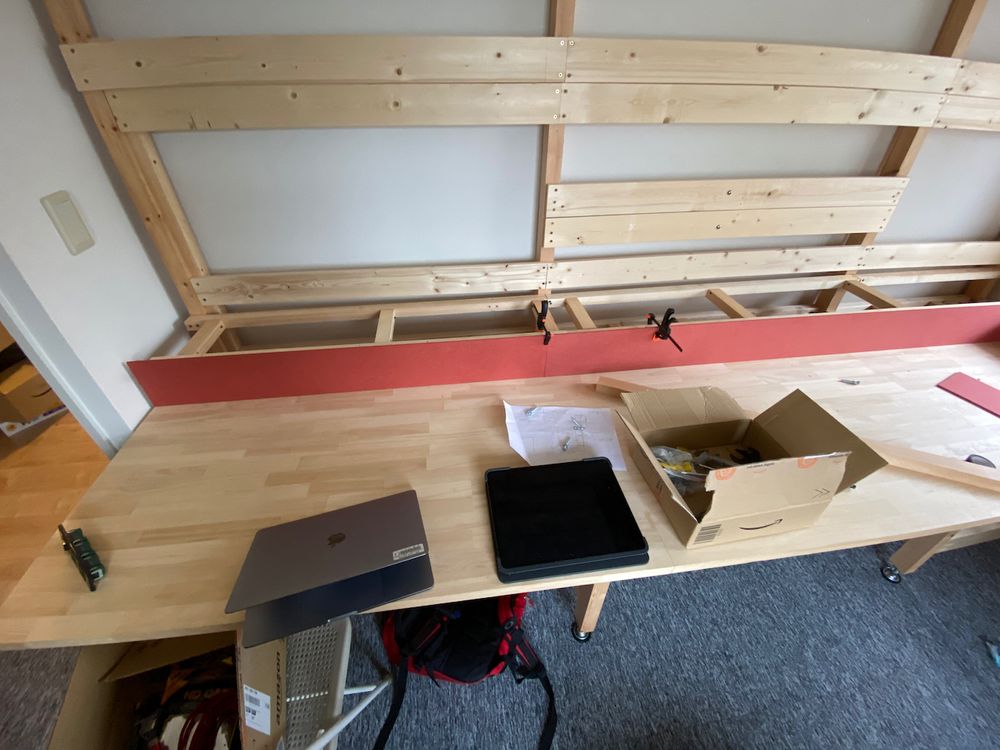
Testing fit of the panel before cutting to size:
Sadly red MDF is not as bright as I was expecting, but it will do:
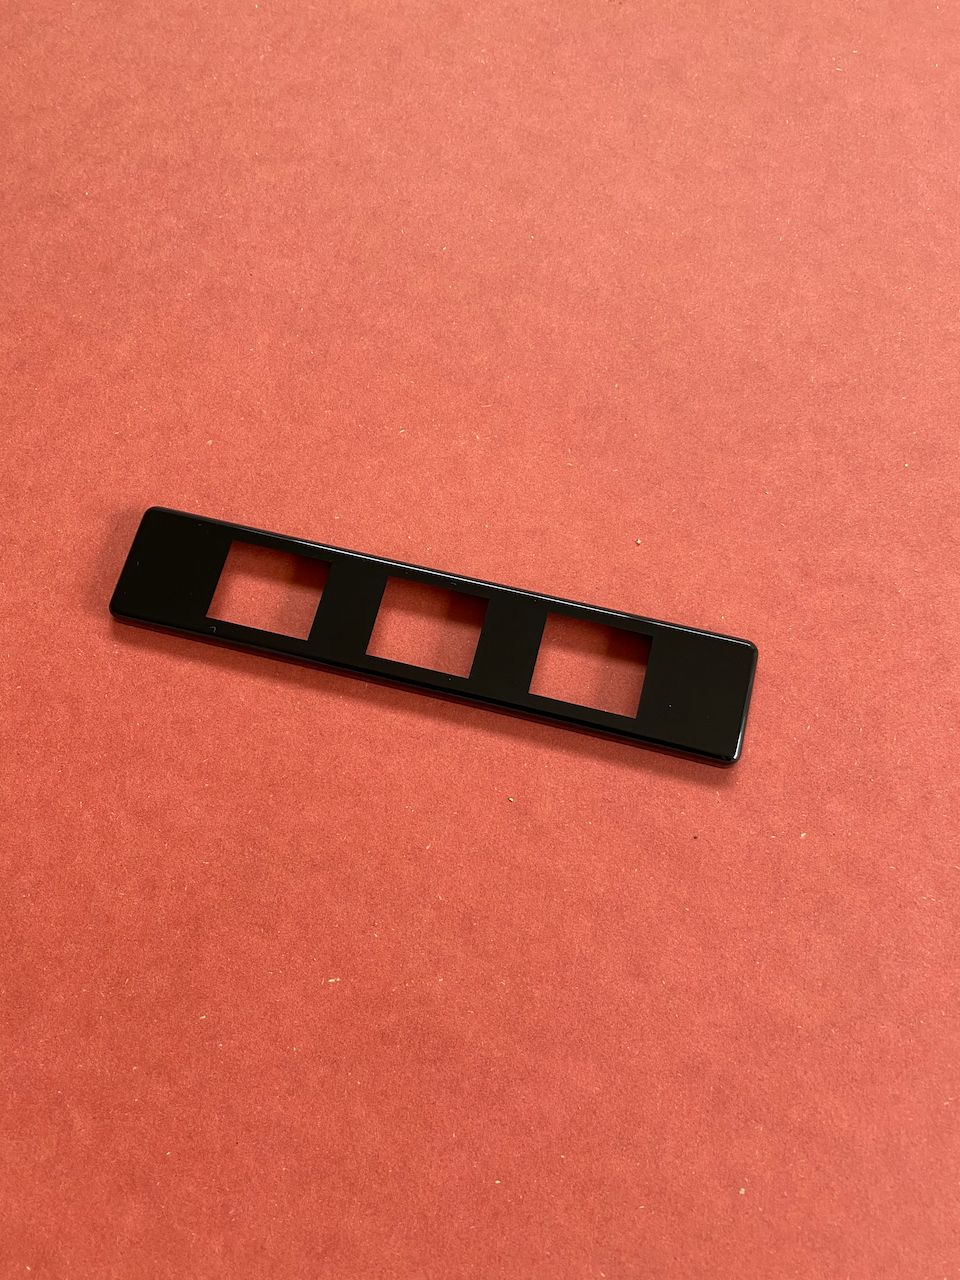
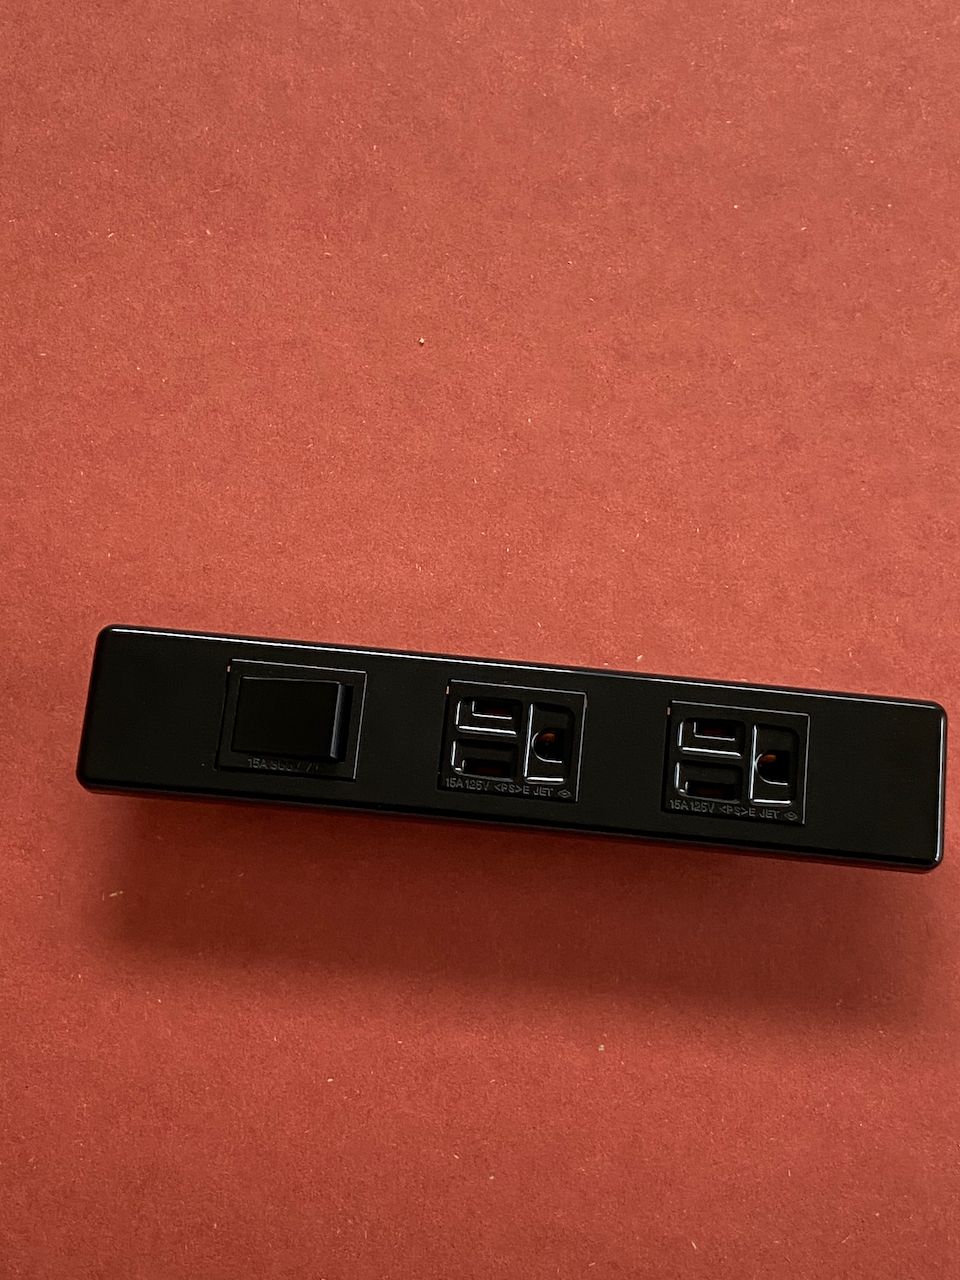
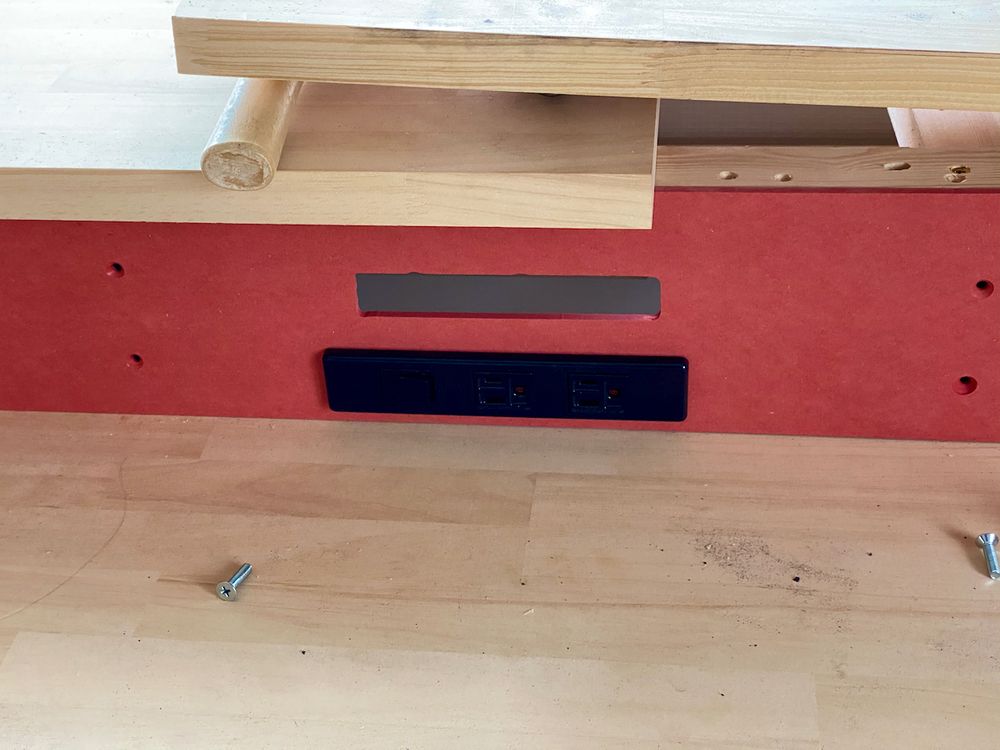
At the same time Panasonic power sockets and wall plates arrived.
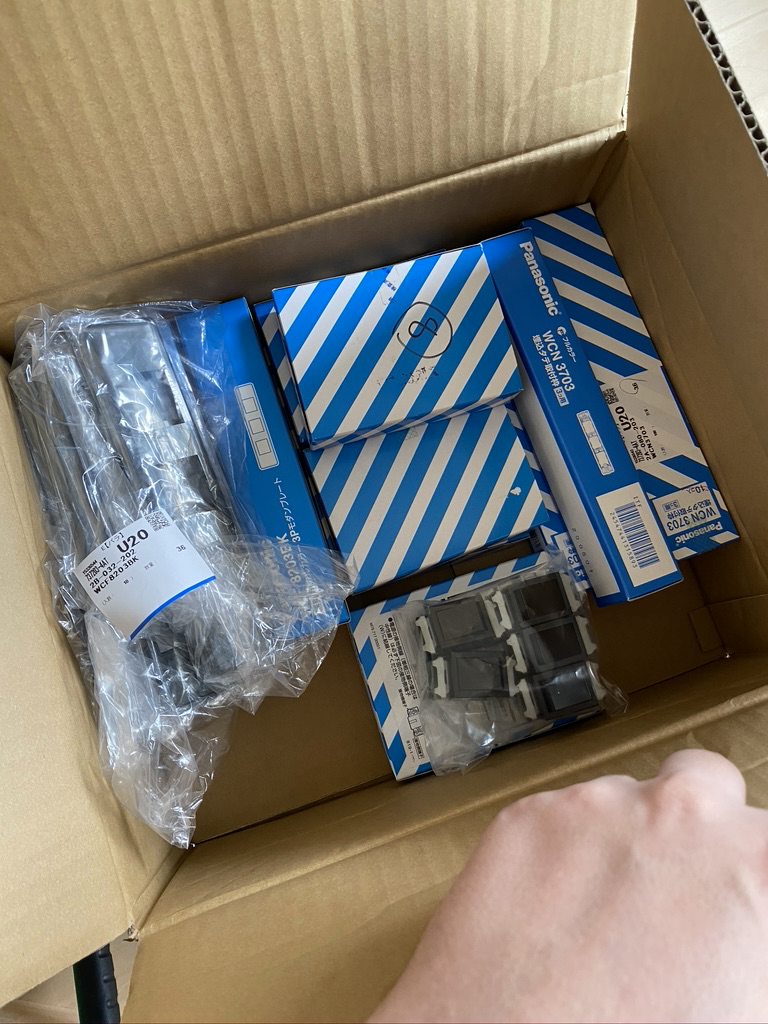
Testing pieces on MDF to see if it looks okay together.
I will try to use varnish on MDF panels, too; maybe it will bring out contrast in color.
As it was weekend and I hadn't yet received required tools, I decided it's also time to purchase the wood for the cabinets hanging over the table.
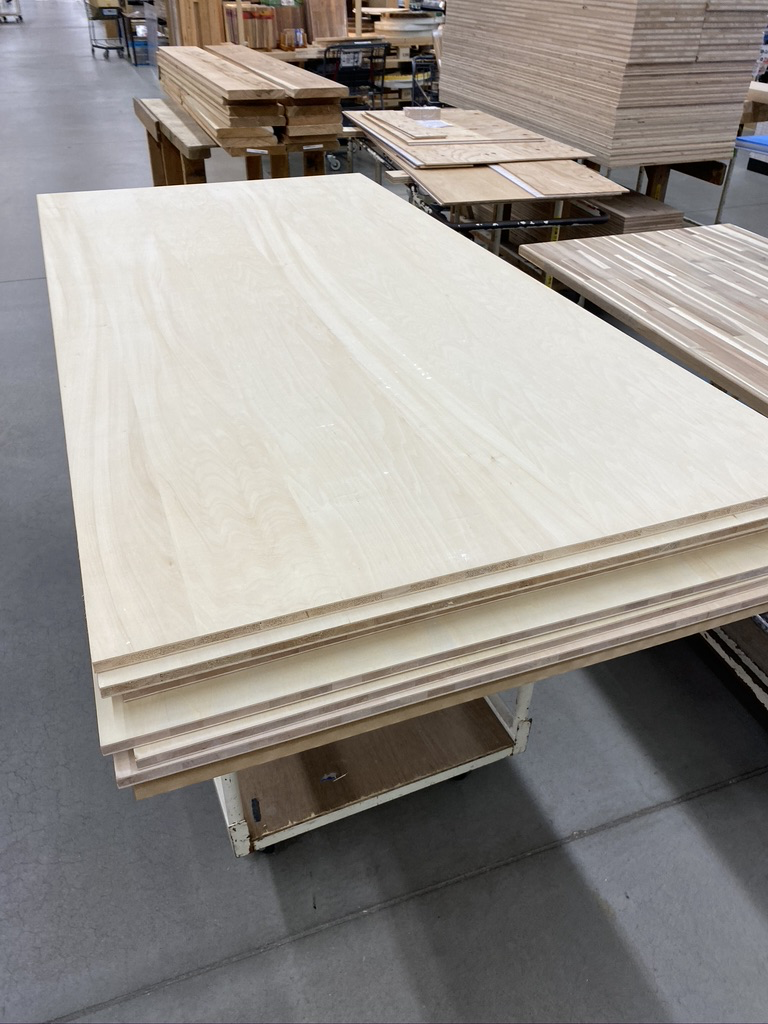
Visiting the same Super Viva Home, I purchased some 15mm plywood panels and few extra 15mm MDF panels for future projects.
Making red MDF under-shelf faces
After receiving tools required for the job, I started cutting the red MDF panels for under-shelf. I am cutting them a bit longer to trim them with the router to the exact height as the heights are not as uniform as I would want it.
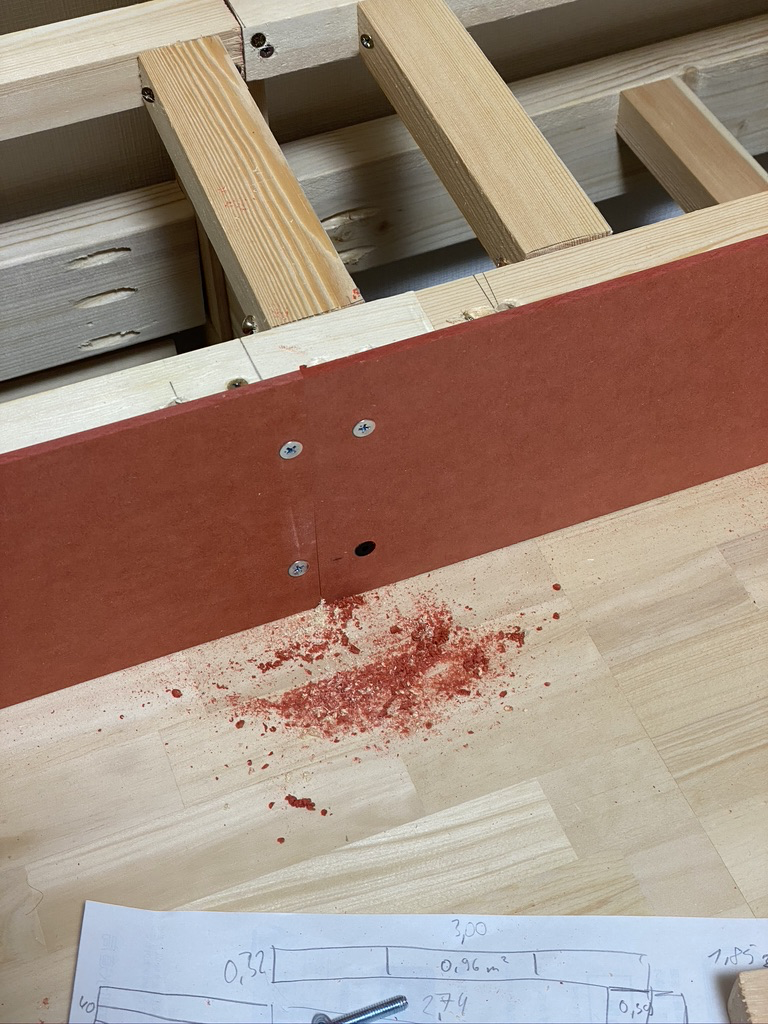
MDF dust is so annoying...
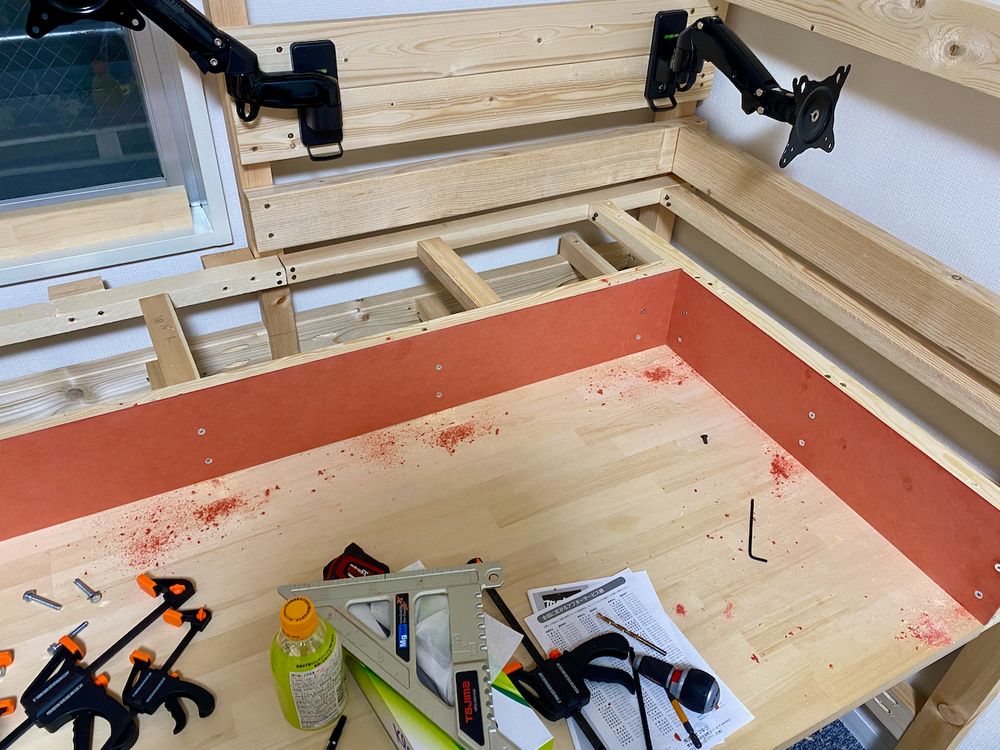
After cutting all required pieces it was almost done:
Now it's time to get them attached to the framing. For this, I am using M5 size wood nut inserts so I can remove them when needed to access to the "backend".
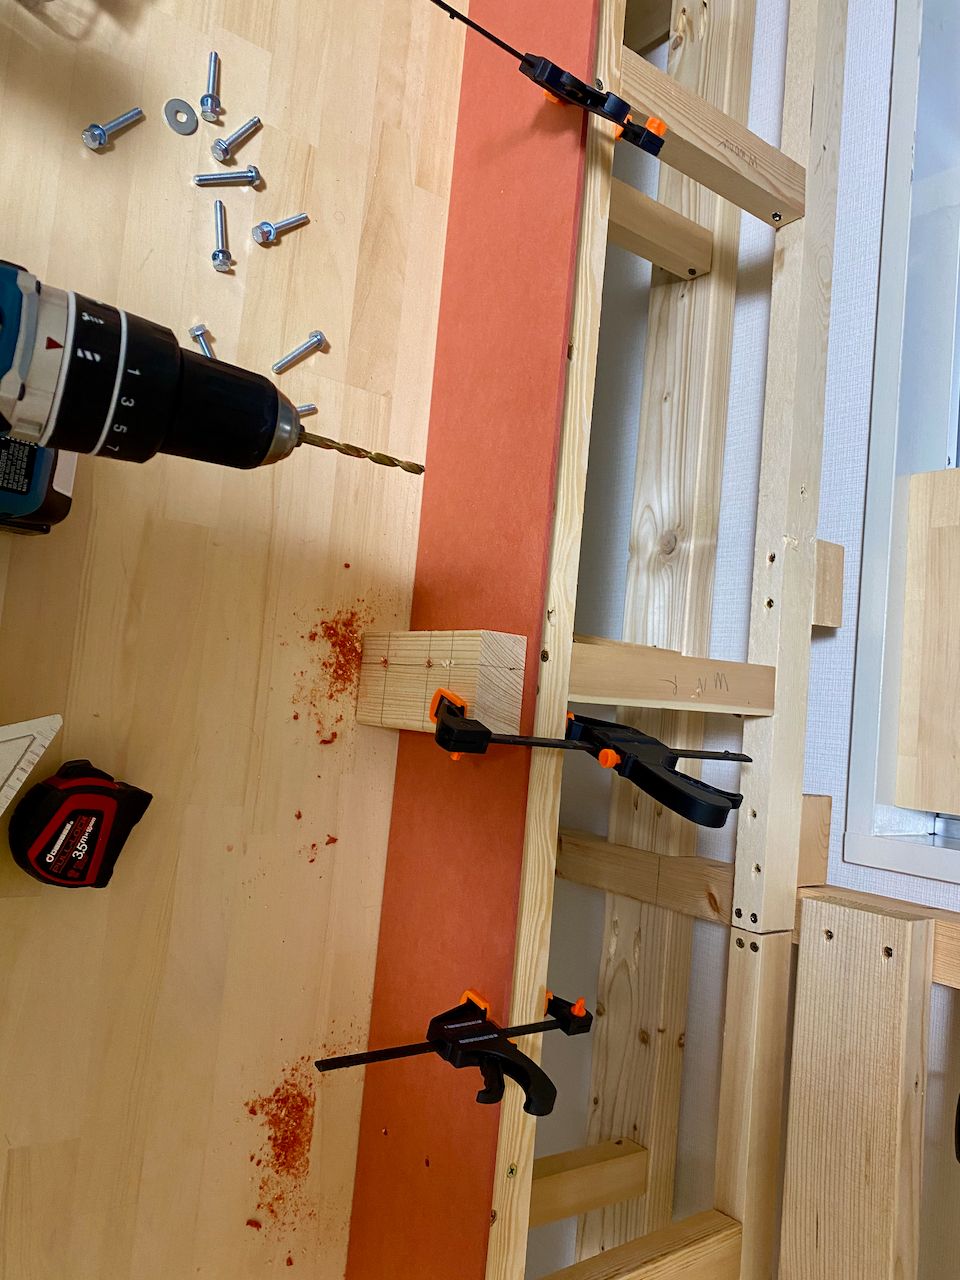
I had ordered the black bolts, but they there too short, so I had to use silver ones until the black ones arrived. You can see in comparison how black looks much better than silver ones.
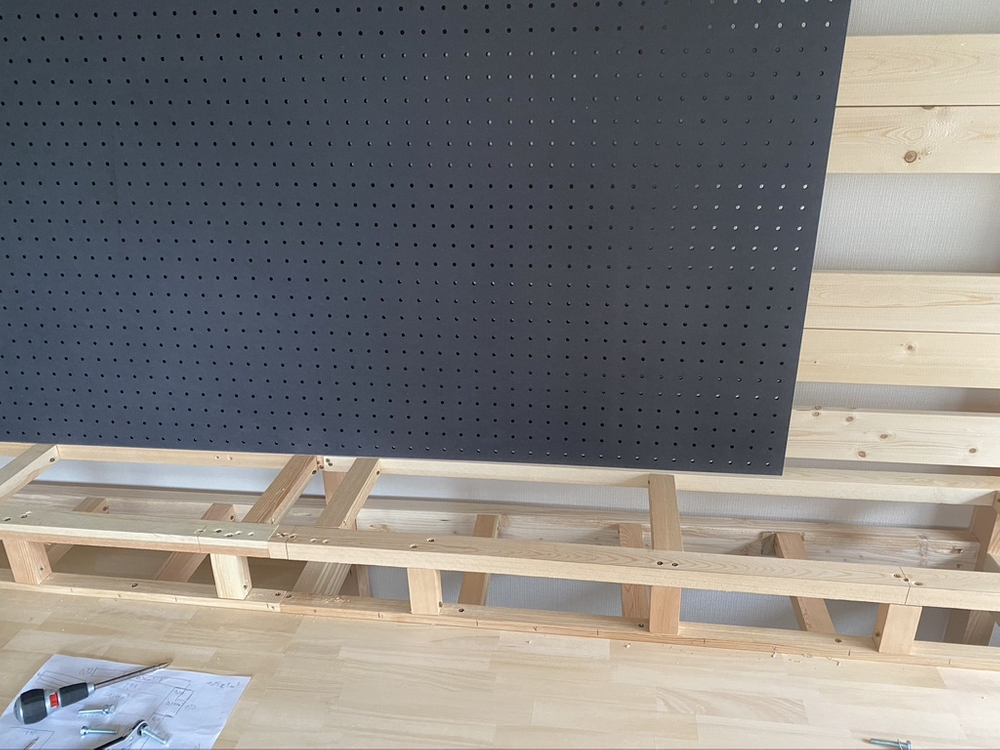
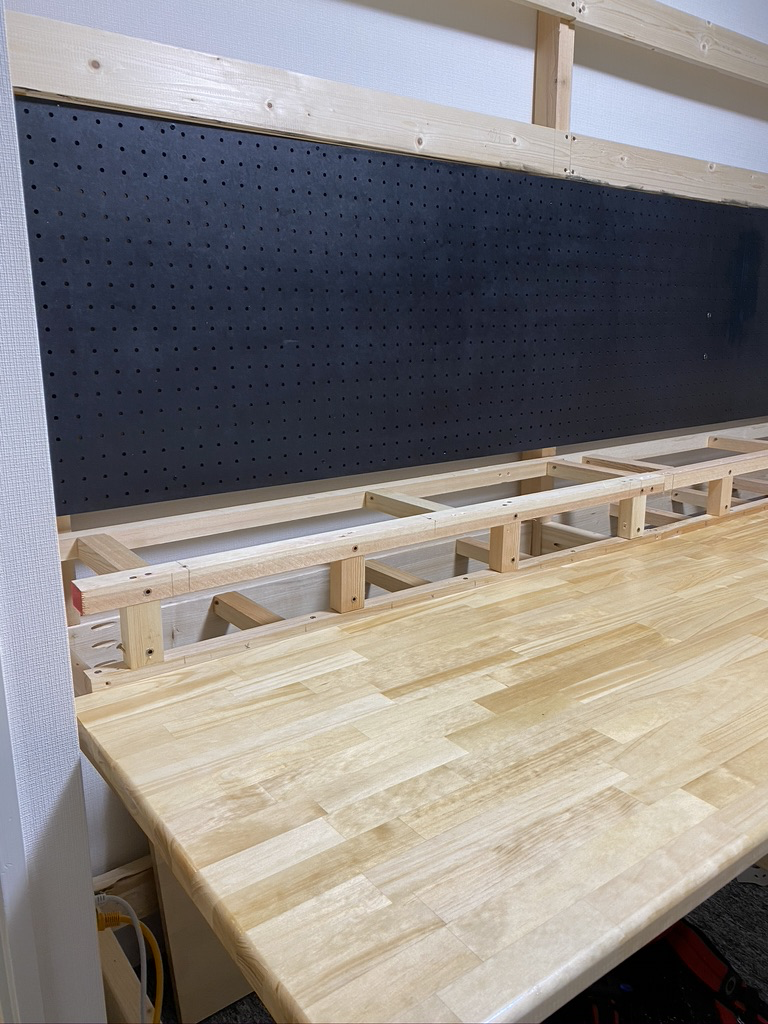
Mounting back panels
Now it is time to mount the black/gray grid panels to the back, but I discovered an issue. Notice how the white wood is pretty visible through the holes. I decided to paint with some wood paint/stain so it's not visible.
A short visit to the local home improvement store and I picked up required stuff.

After spending a few hours trying to paint all visible wood, it was finally finished:

I left all windows opened and sealed the doors for the night. This stuff did not smell pleasant!
Trimming red MDF panels
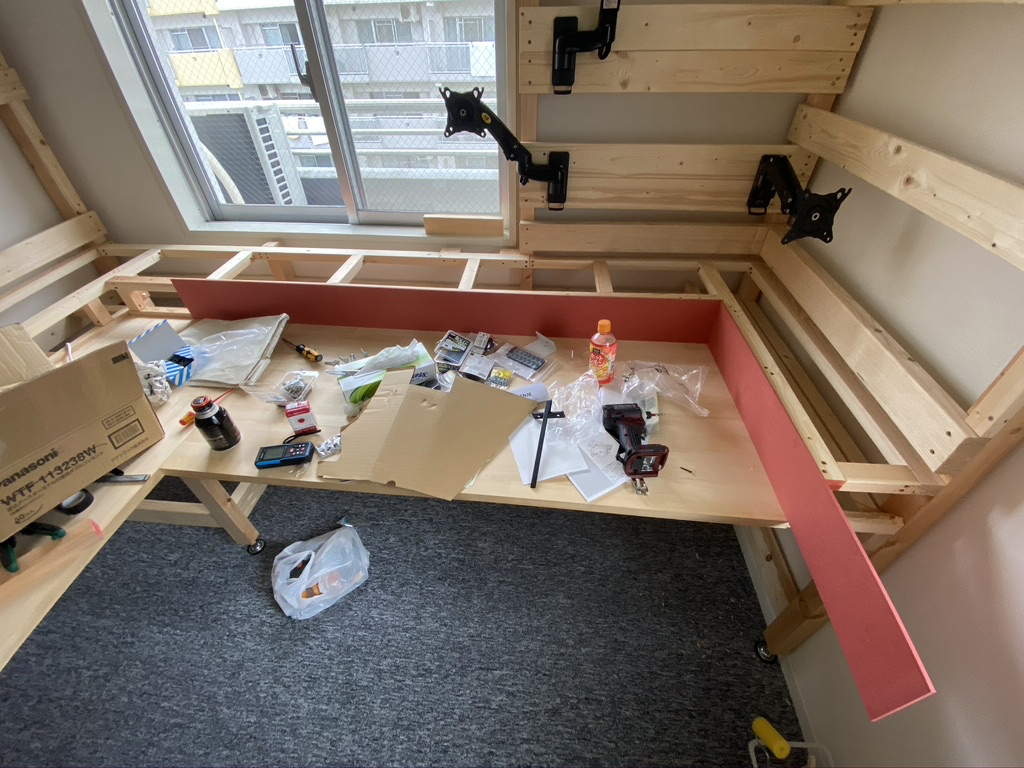
The next day I decided to trim red MDF panels to the correct size to install the shelves and get the back panels installed as those stand on the shelftops.

Sadly Router-kun could not reach the corners.

After finishing the work with red panels, it was finally time for the back panels.

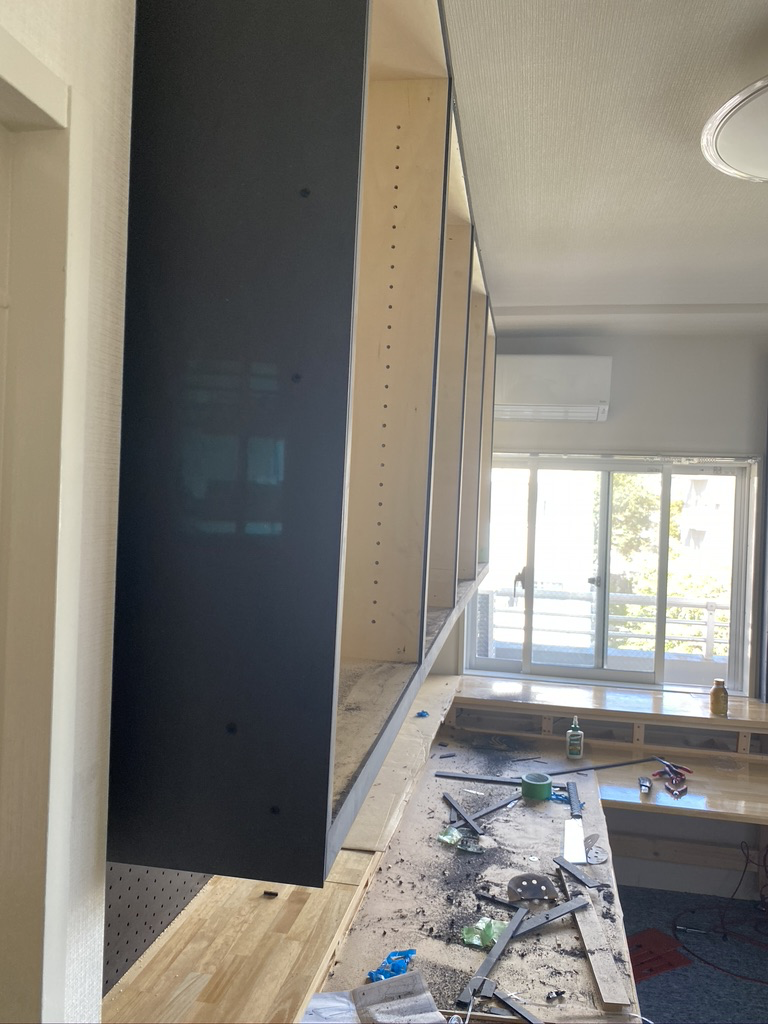
Back panel installation
Now that the back panel installation requirements are finished, it's time to cut to size and install back panels.

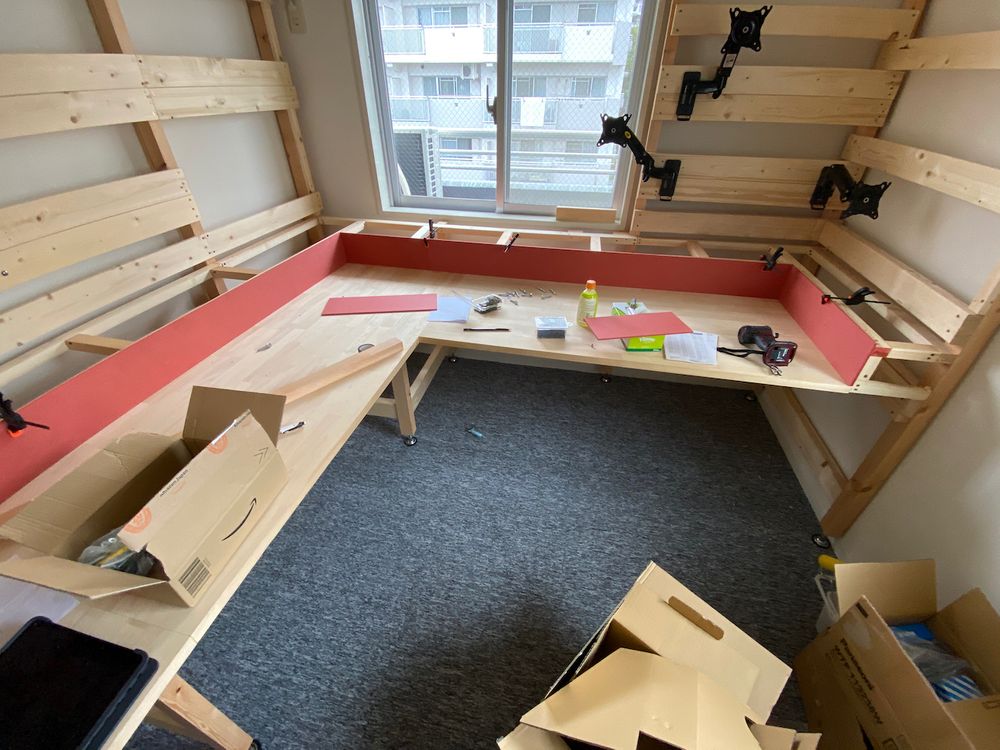
Looks pretty good! (Ignore the shelvetops – I haven't tightened them down)
You can see a big difference between stained wood and raw one.

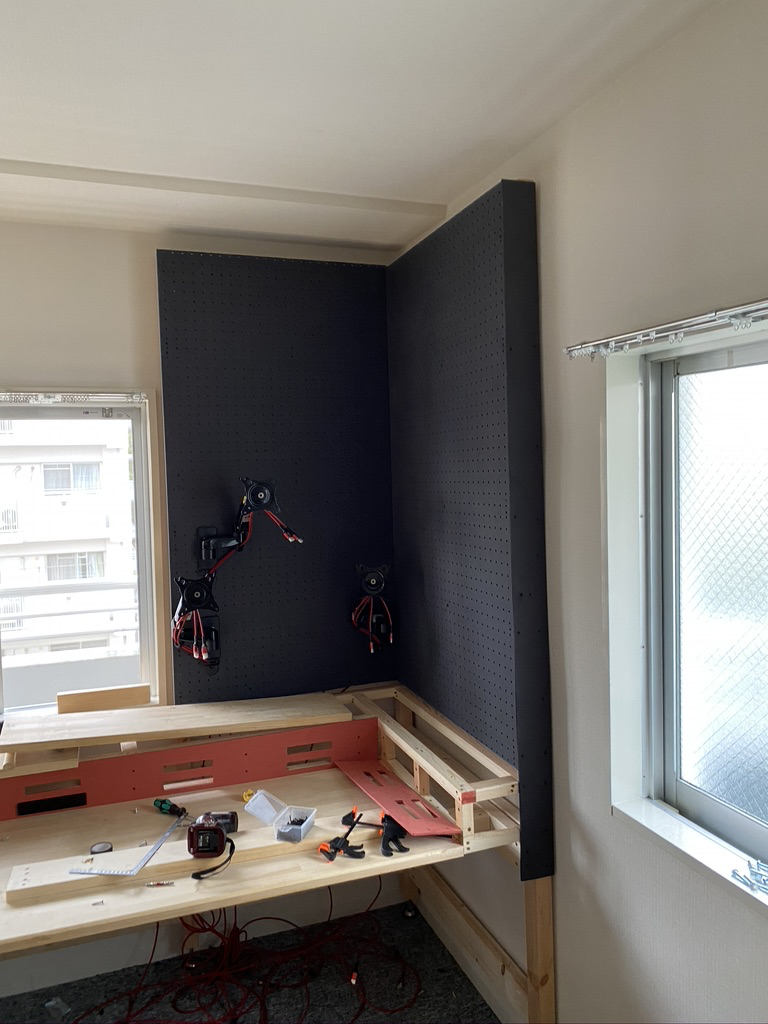
Finishing the work with the left side, I will move to installing the right side. It would be a bit more problematic as it is tall and in the corner.


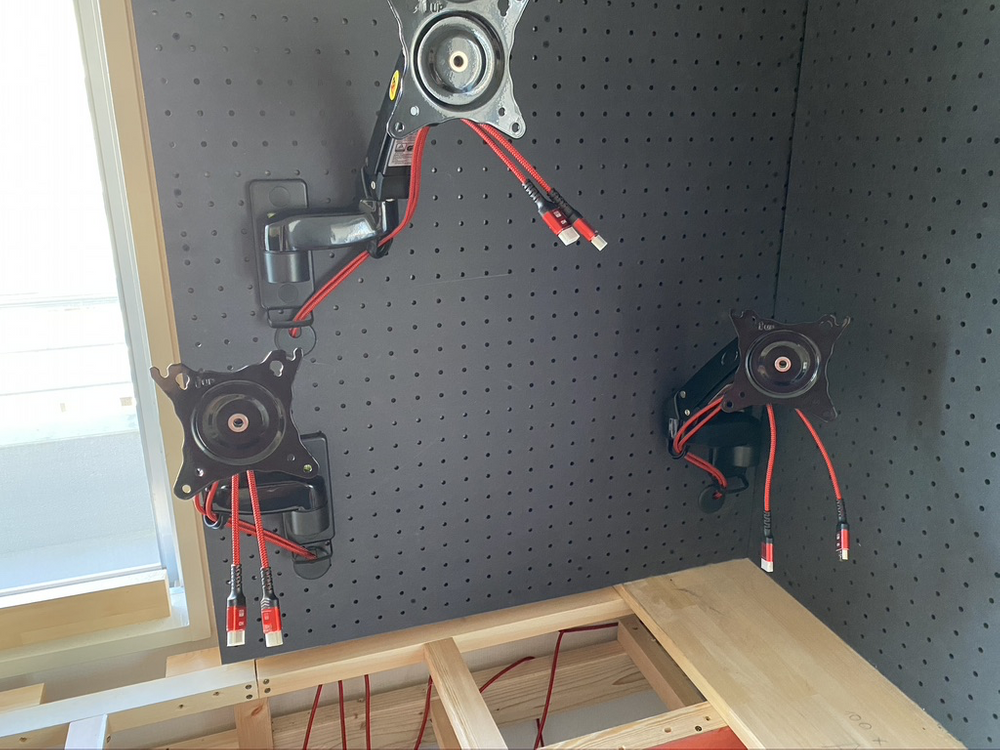
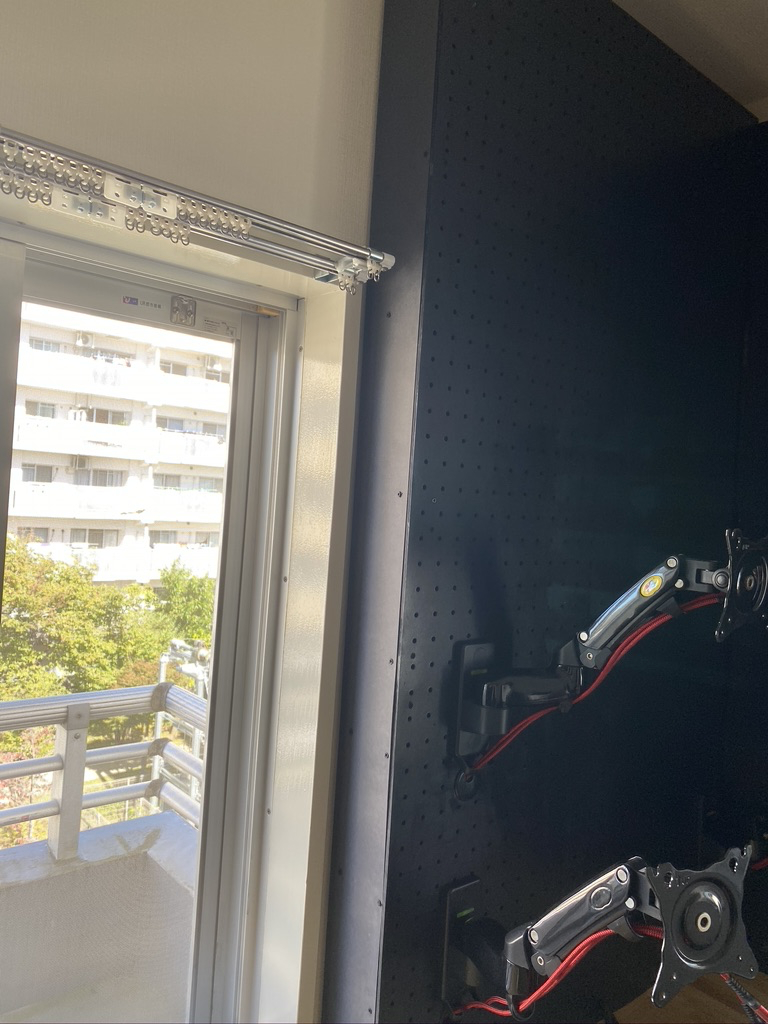
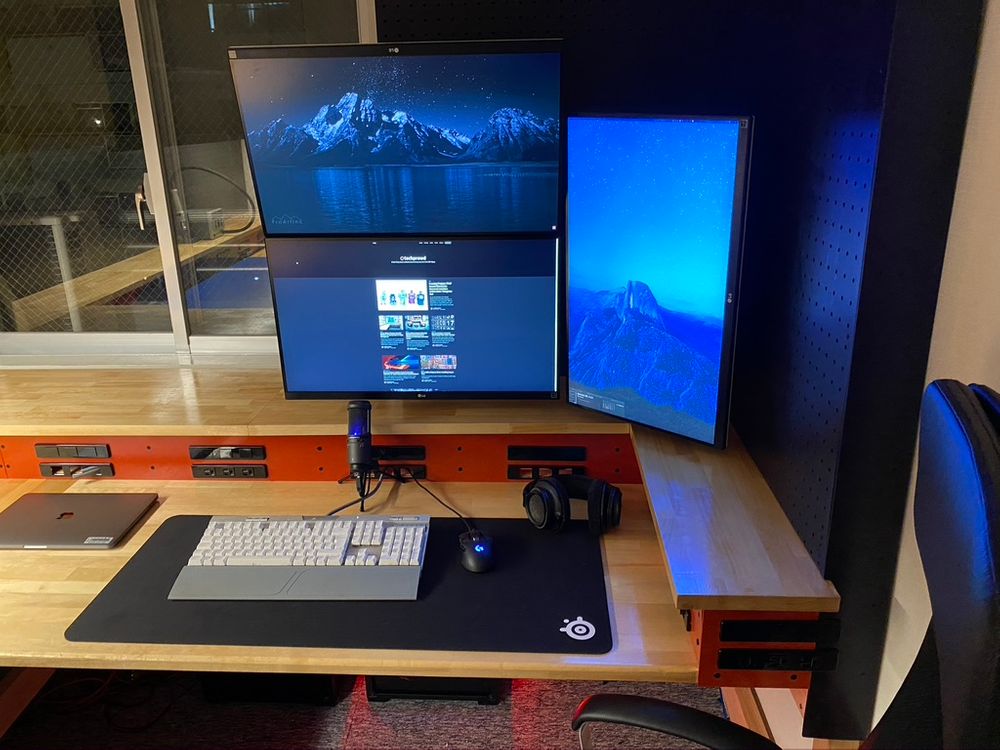
It already looks pretty good. Reinstalled the monitor mounts, and drilled a holes and routed HDMI cables for the monitors.
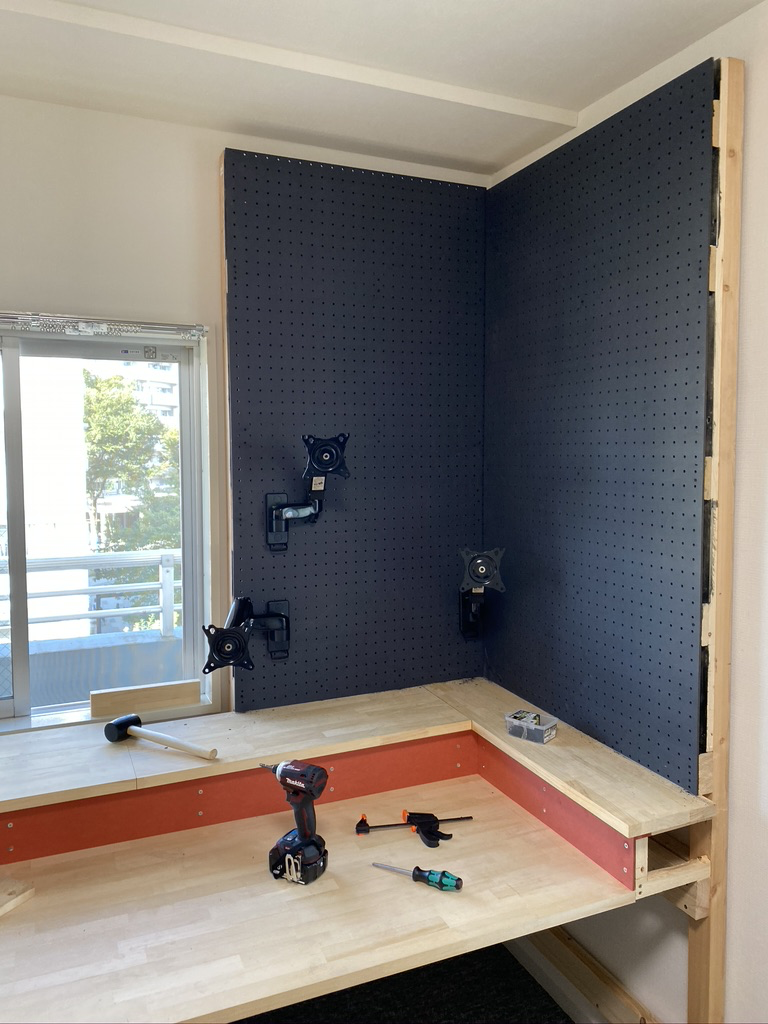
That was all the work I could finish for that day as I am trying to work on this project on during appropriate hours as I have downstairs neighbors, and I don't want to annoy them too much!
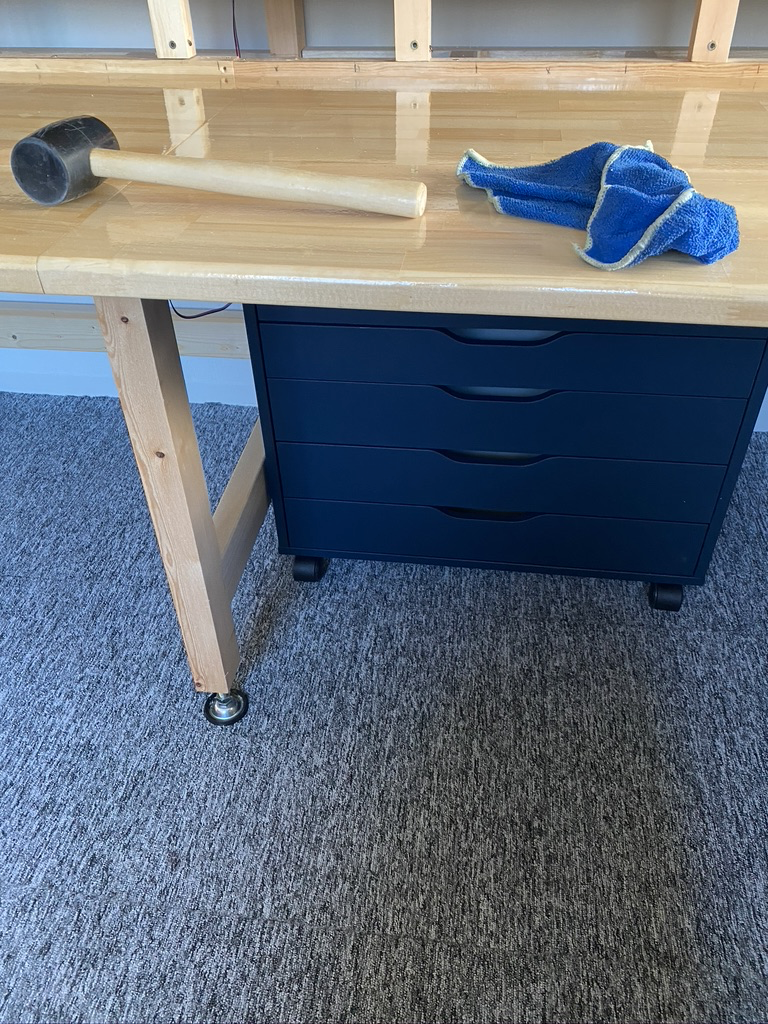
In the evening, the IKEA drawer units arrived. Sadly in Japan, there is no dark gray version of Alex drawers for some reason. So I went with the closest matching color: dark blue.
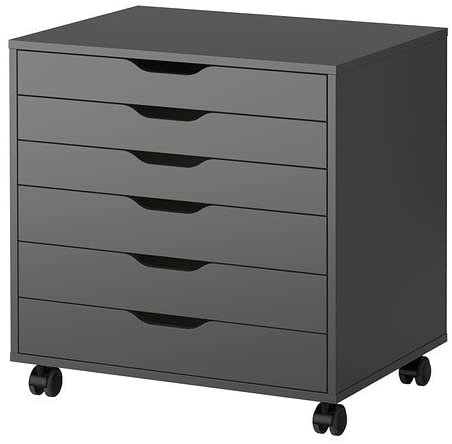
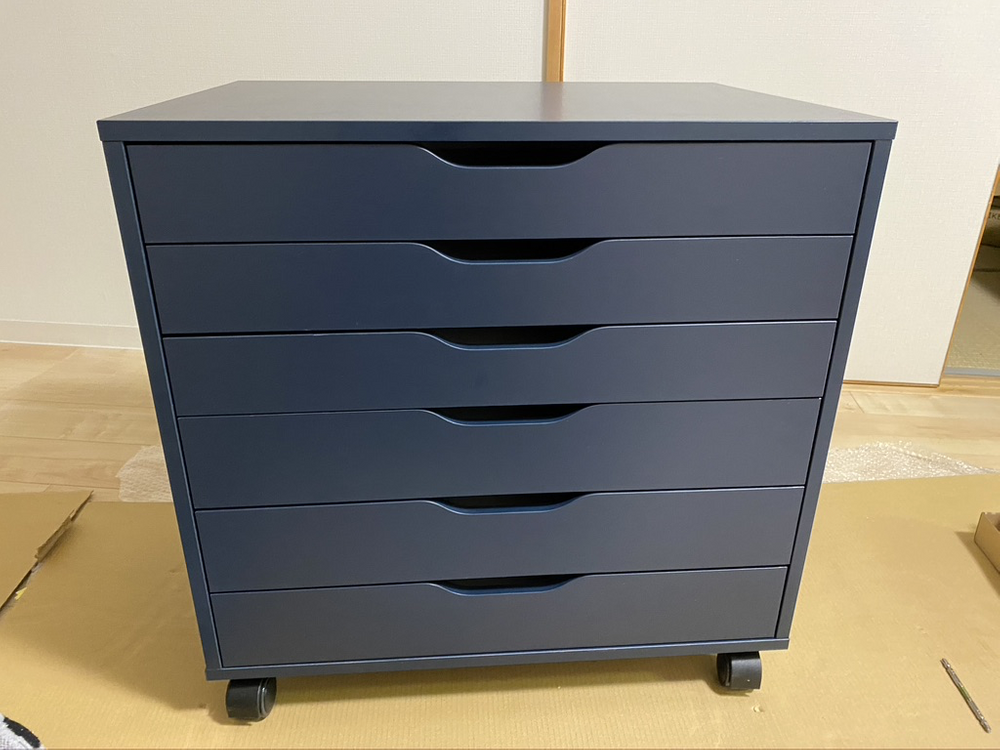
The funniest thing is how this drawer unit fits under the table with a few millimeters of space.
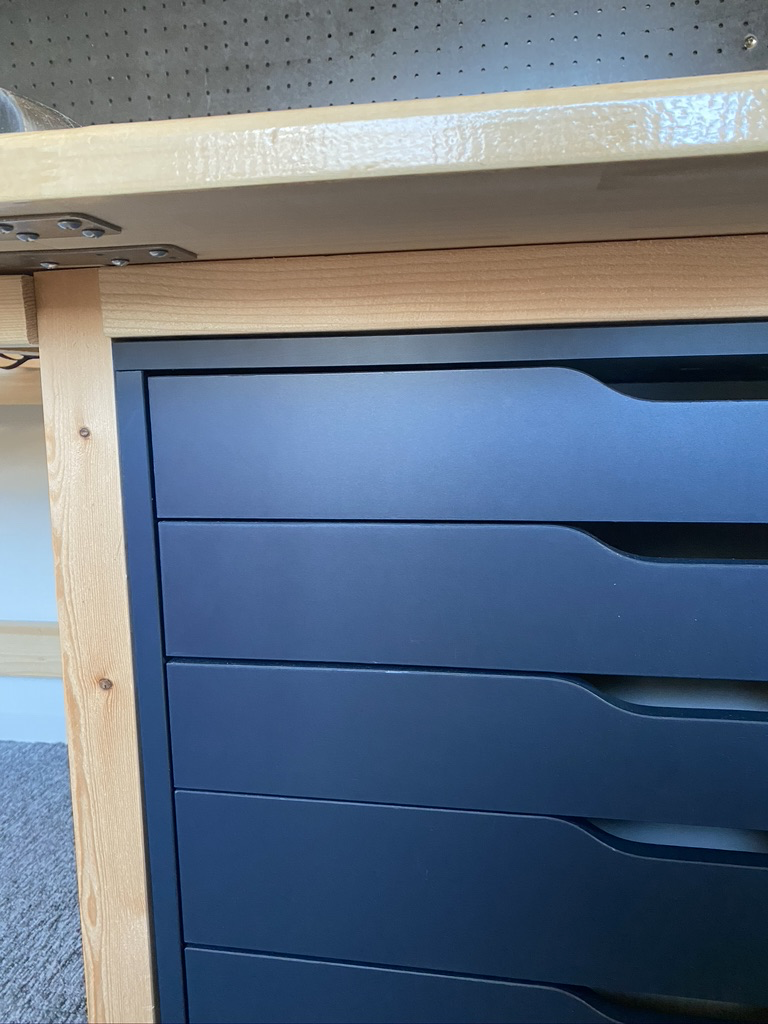
It has enough space to push deep inside and not bother my legs when sitting in front of it.
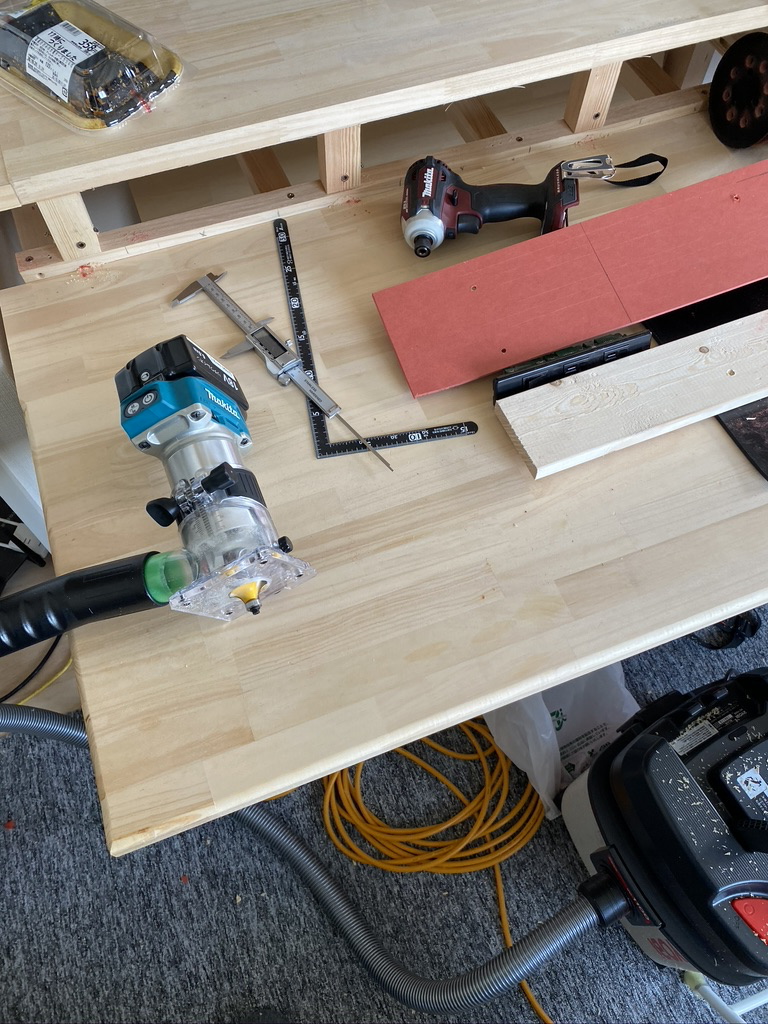
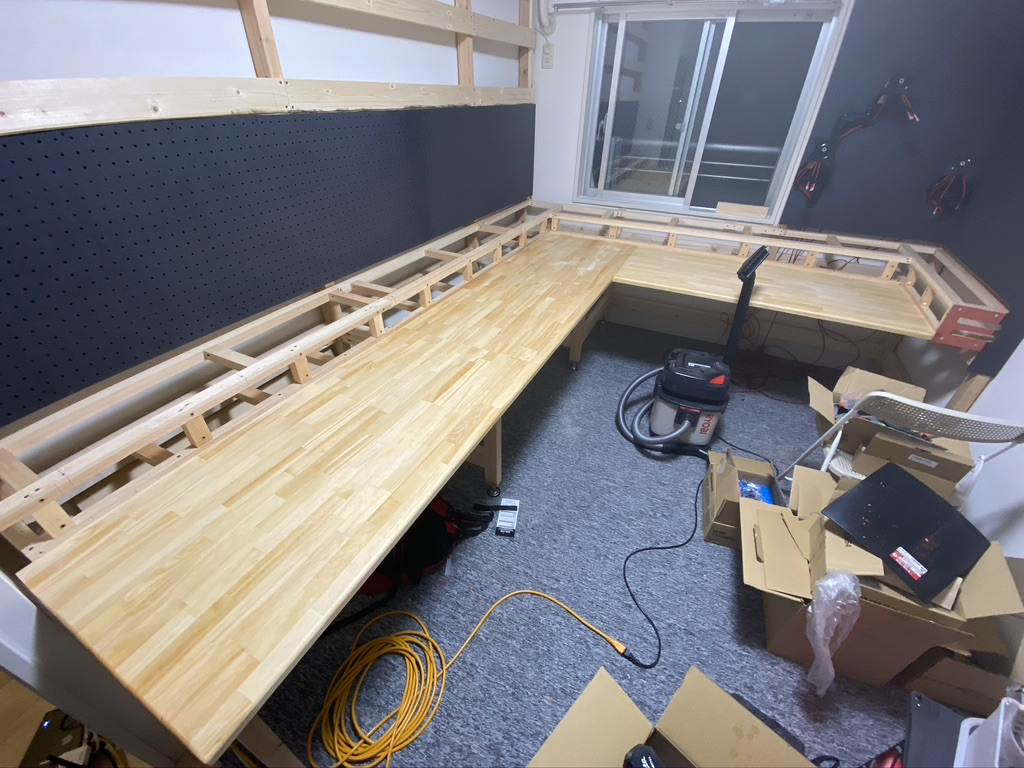
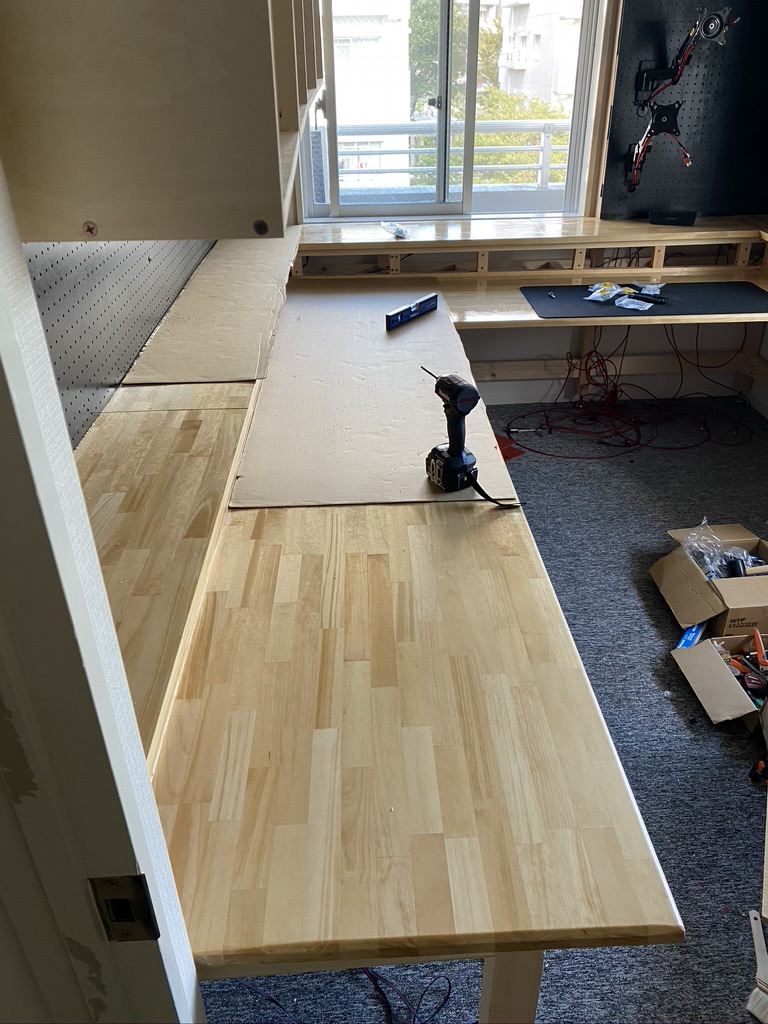
Working on the tabletop
The next day I used Router-kun to round the tabletop edges to look and feel better.
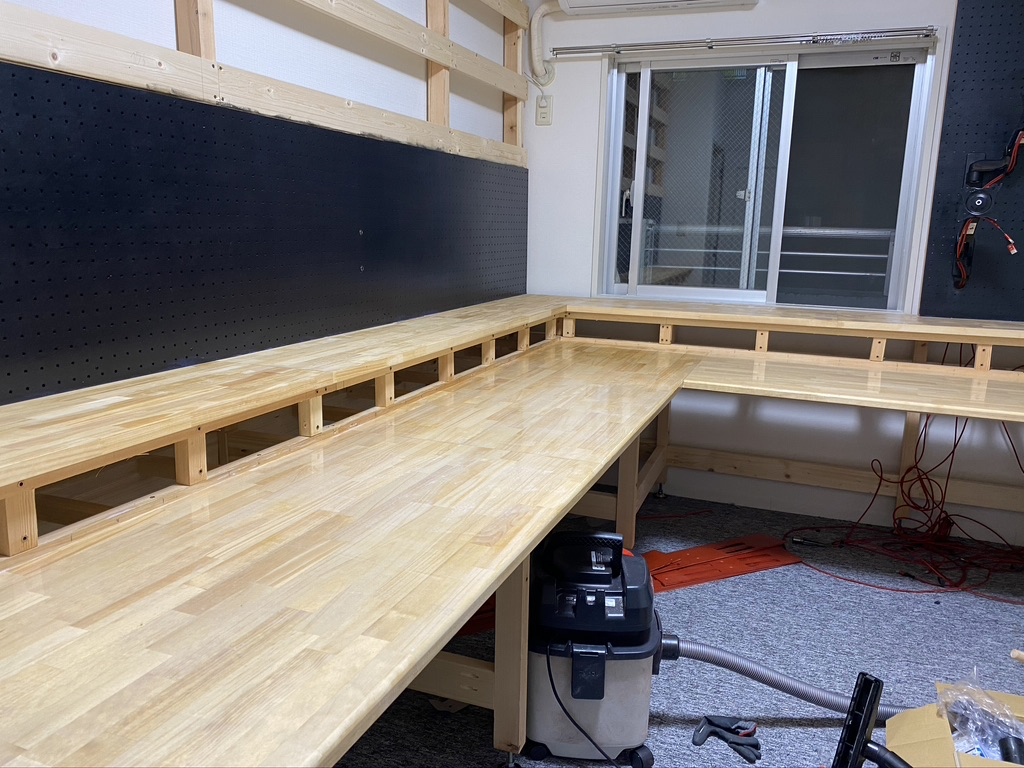
After finishing work in daytime I wanted to use the evening to do noiseless work, I started applying varnish to the tabletop. I decided to use water-based polyurethane varnish for tabletop and shelf tops.
Before varnish, it looked like this:
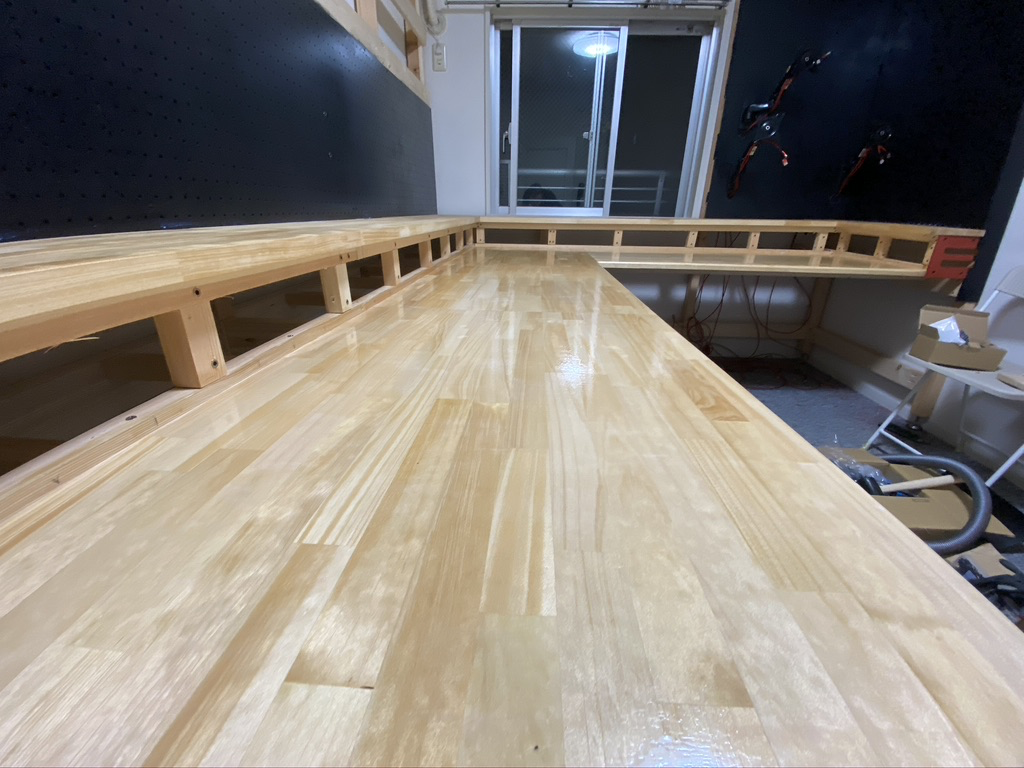
After the first layer, it looked like this. Finally, it starts to take shape.
With extra varnish left after the first layer, I decided to varnish the MDF panels, too.
Applying the second layer, it started to take even better shape.
After applying the third layer, it was looking good – can't wait to finish it!
Working on red MDF panels
After finishing the routing of the tabletop edge, I went on with making holes for wall sockets. I have tried to make a few templates, but the first tries failed, and only on the 3rd try di I manage to create one.
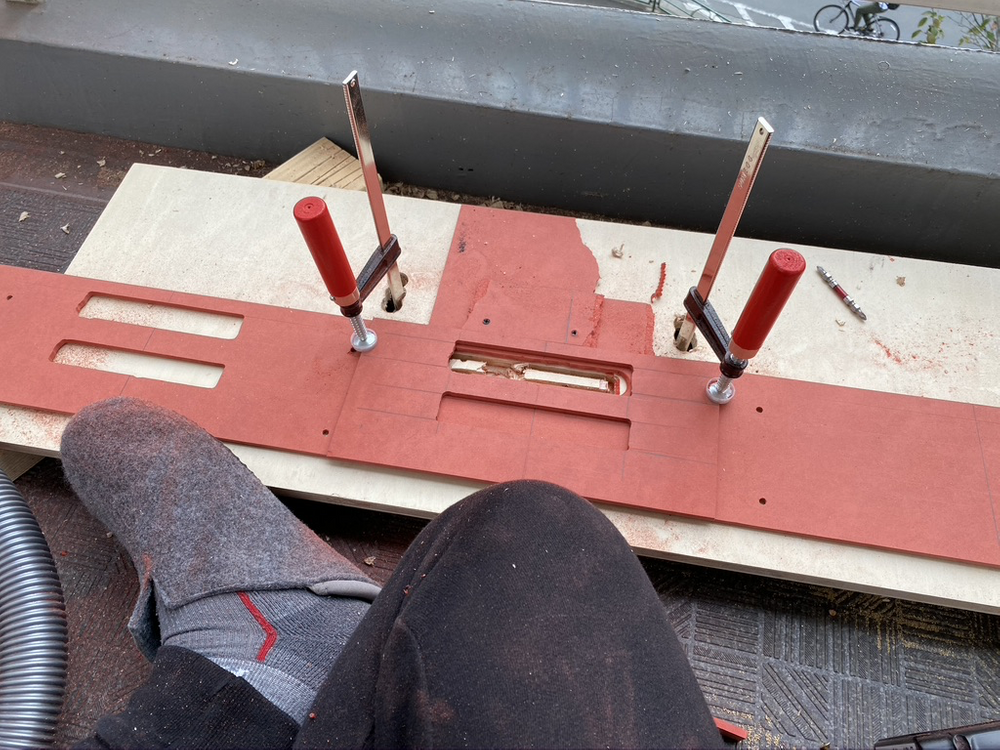
Using a template with a custom router bit to cut – it was not perfect hole shape, but it will do as it's not visible. After a few hours, I managed to cut out all 32 of them.

Building cabinets
The next day, the pre-cut plywood panels for the cabinets arrived.

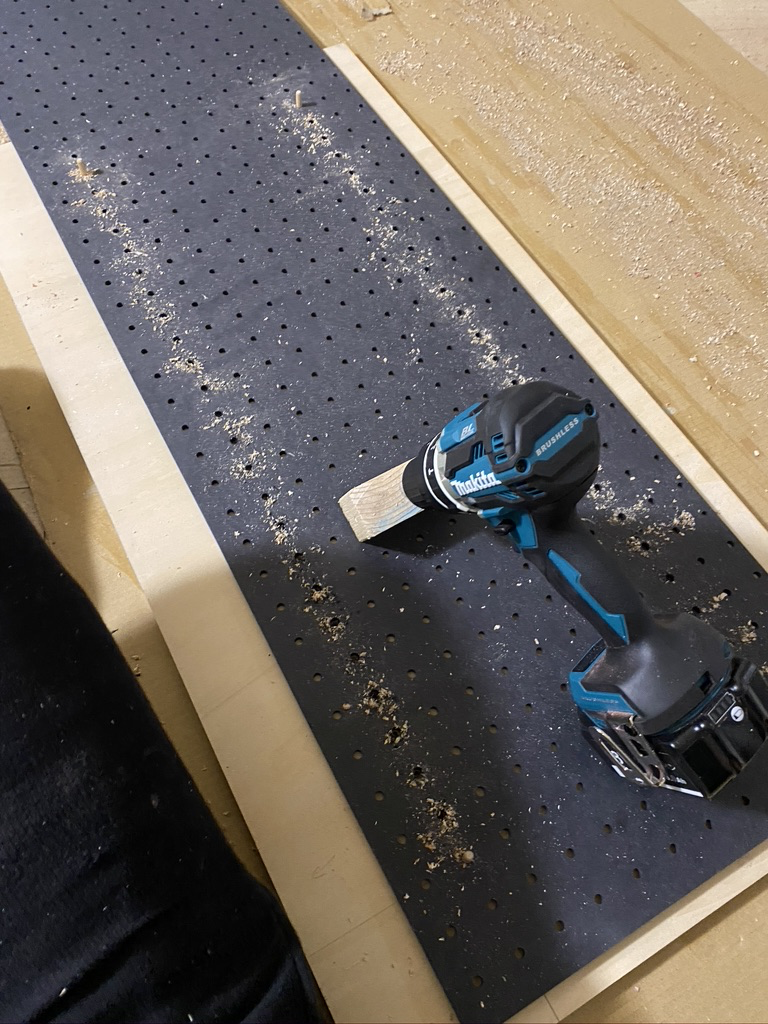
I spent the whole evening pre-drilling all 400 holes for the shelf mounting pins.
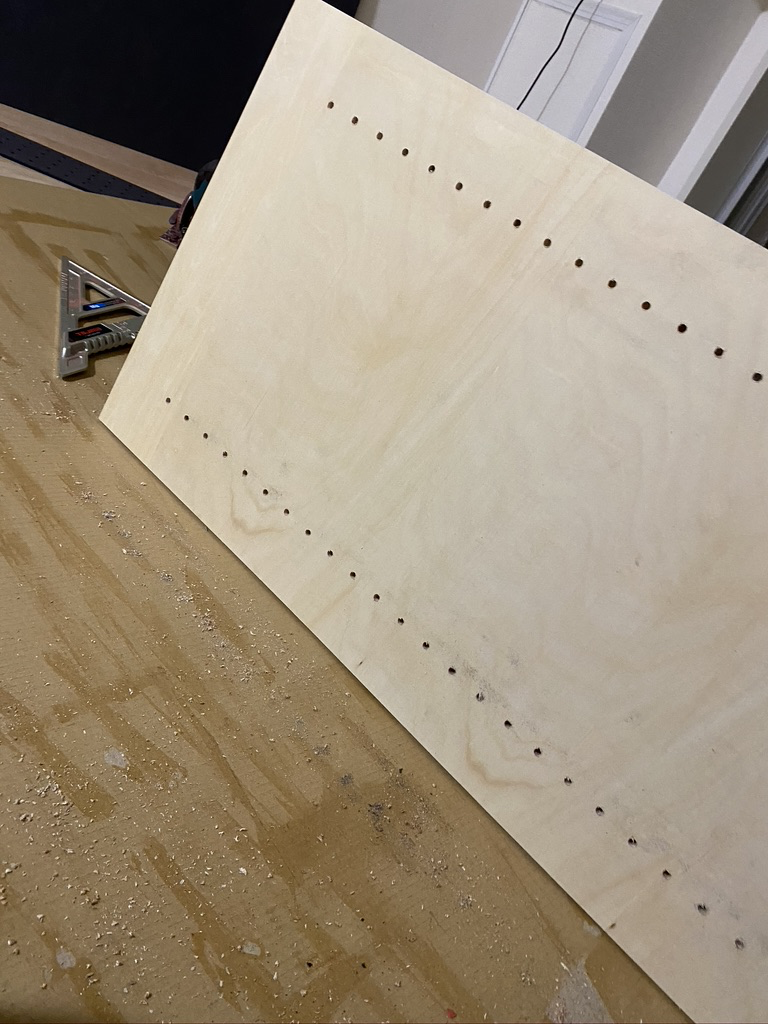
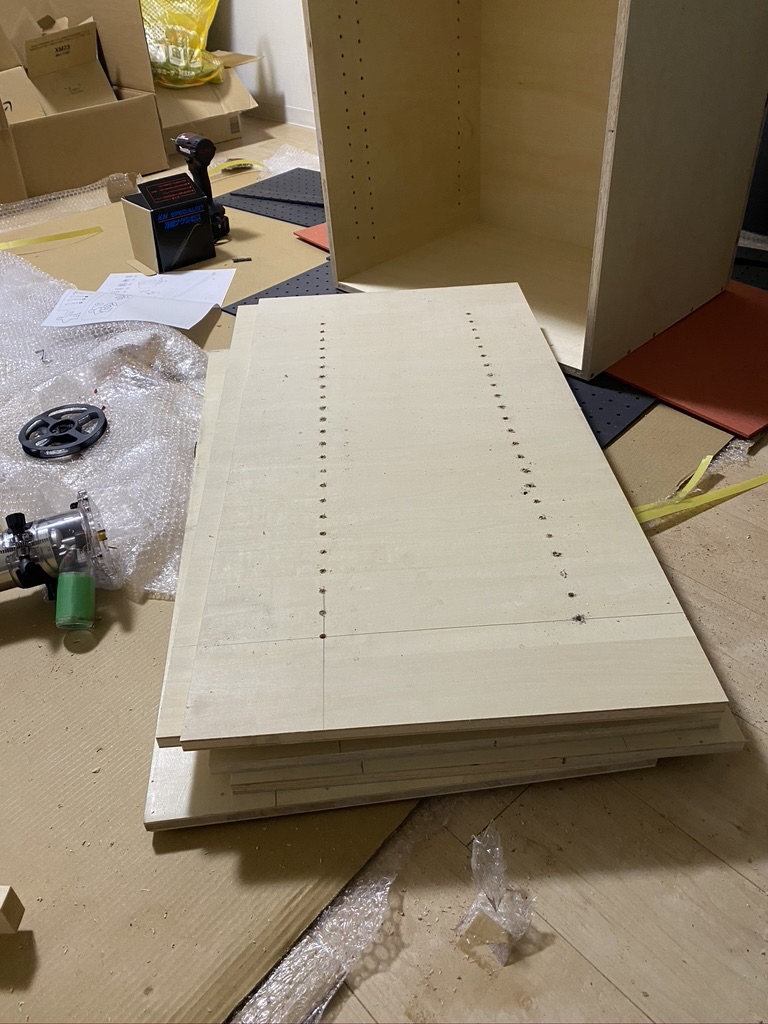
For the hole template, I used the same back panel leftovers to cut perfectly spaced holes.
I spent the next day assembling cabinets and mounting them to the wall
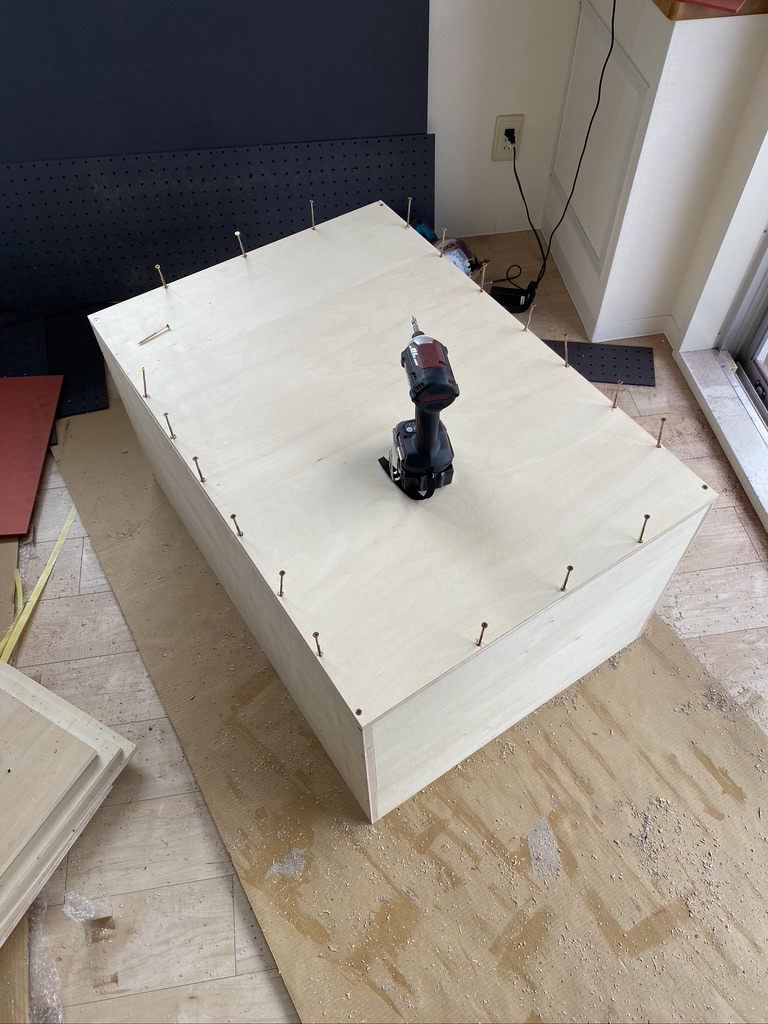
The design is pretty simple: join panels into a box and use one panel to keep the other panels in place. Using extra-long screws, I don't think this cabinet is going to be falling apart any time soon!
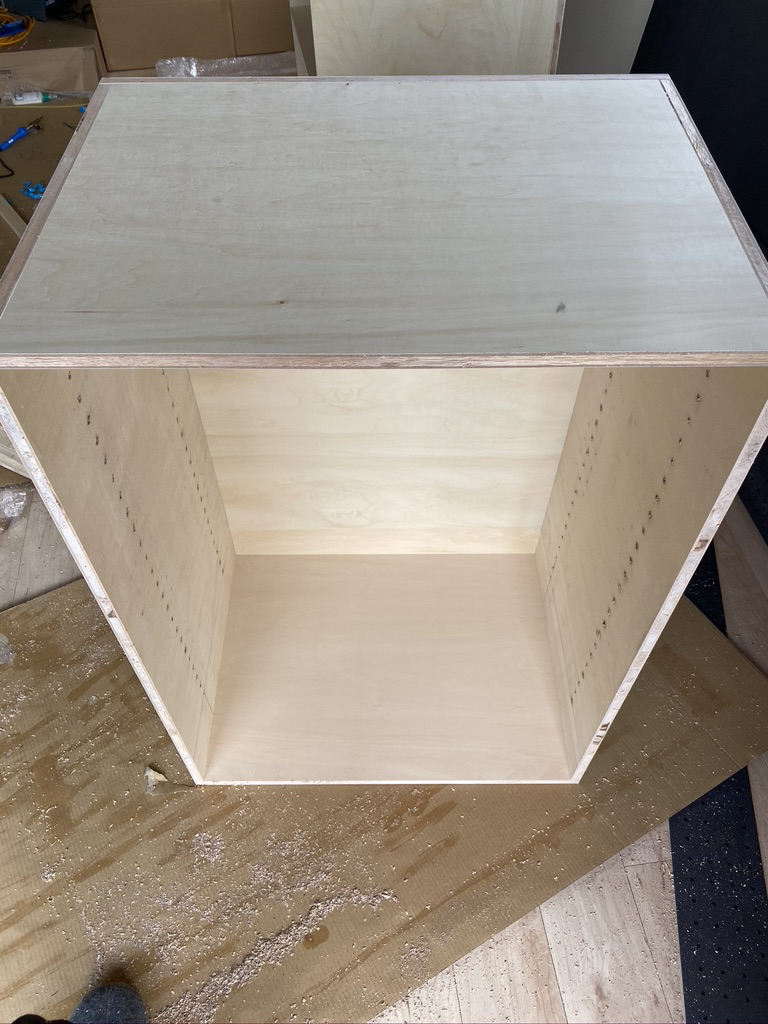

It was pretty easy and quick to build them. As it was my first time building cabinets, I feel it could be even faster if had independent tools for things like pre-drilling hole, countersunk the hole for screw head, and impact driver for driving the screw in.
Anyway, it was much easier than I anticipated. Now, for mounting, it was a bit difficult as I am a single person and mounting them to the frame was a bit of a challenge for myself. I needed to hold it in place and also screw it into the frame. I used 6x30 wood screws; They won't be falling off the frame any time soon, either!
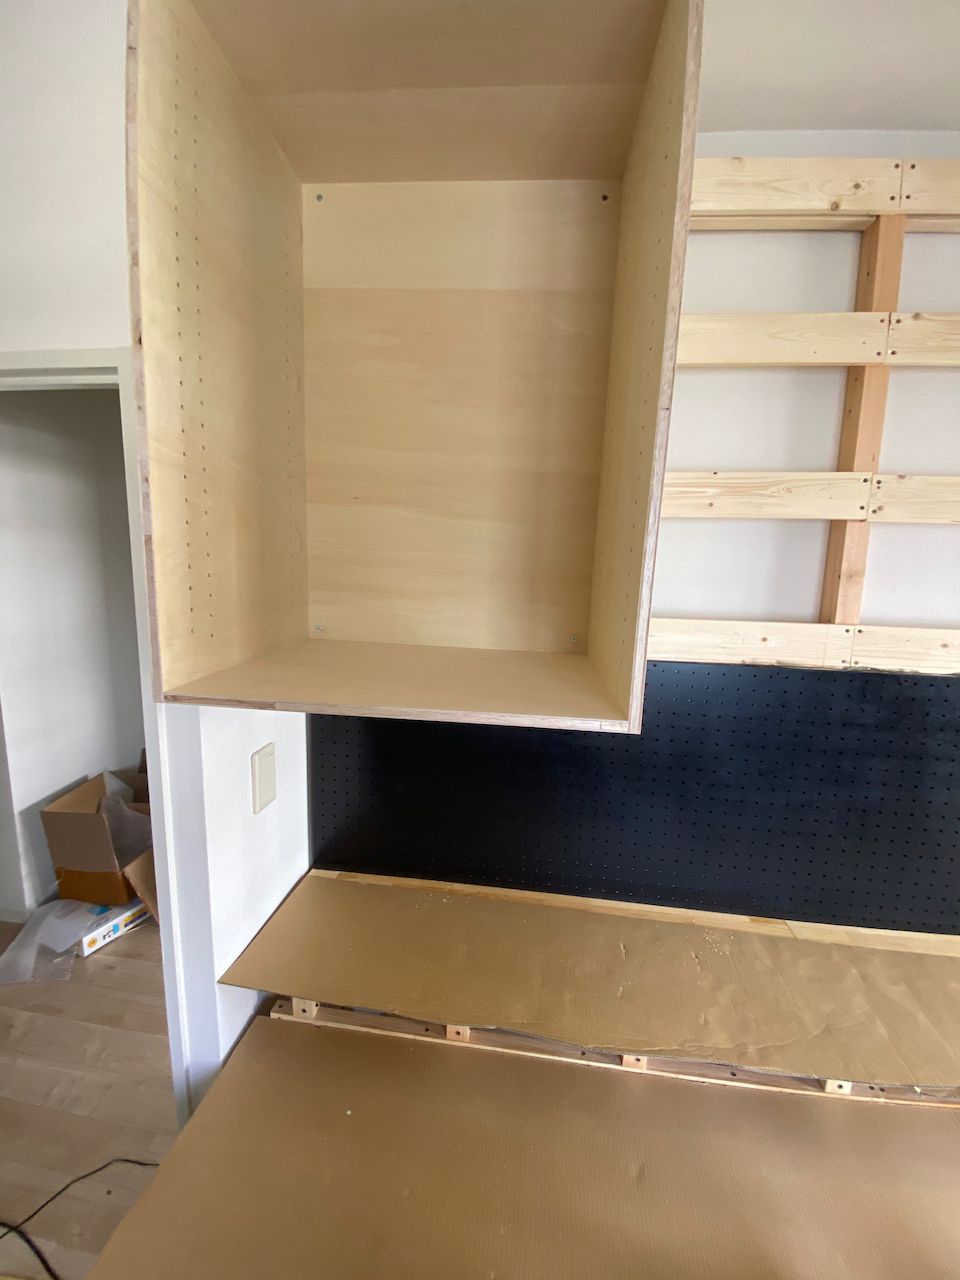

Now repeat mounting all the other three and try to keep them aligned.

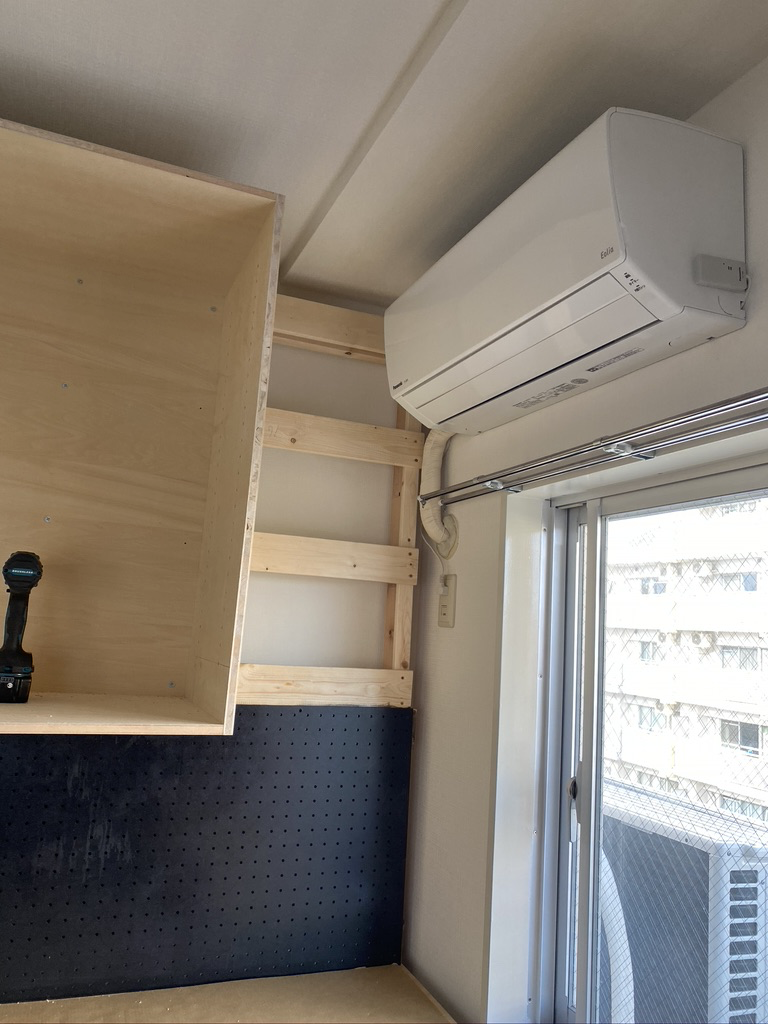
I have left some space for the air conditioner.
Sadly, the cabinets and tabletops are not parallel because of warped wood, but it is only visible if you are looking at it sideways.
But, it's pretty much satisfactory to me.
Installing the front lip under cabinets and lights.
Early in the project, I decided to use the IKEA STRÖMLINJE worktop lights for this project, but I did not want to see them while sitting in front of the table, so I decided to use some of the 15mm MDF I got as a lip.

For powering these lights, I decided to use the MEAN WELL HLG-40H-24B LED driver power supply instead of IKEA one as it was a lot cheaper and supports dimming using a 0-10VDC signal.
While making the lip, I decided to cover all front-facing surfaces of the cabinet using the same black MDF panel for a better look.


After waiting overnight for wood glue to dry the next day, I trimmed all piece.s

Installing end covers
As woodwork tasks has neared the end, I decided it's time to finish all the ends with covers made from the same black MDF panel

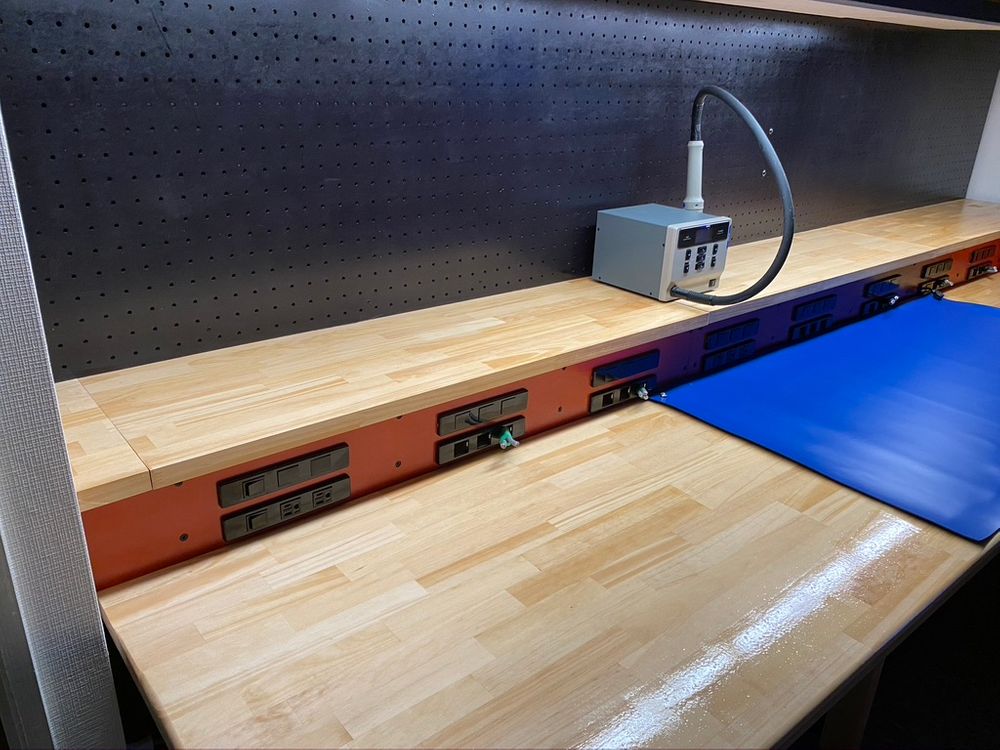
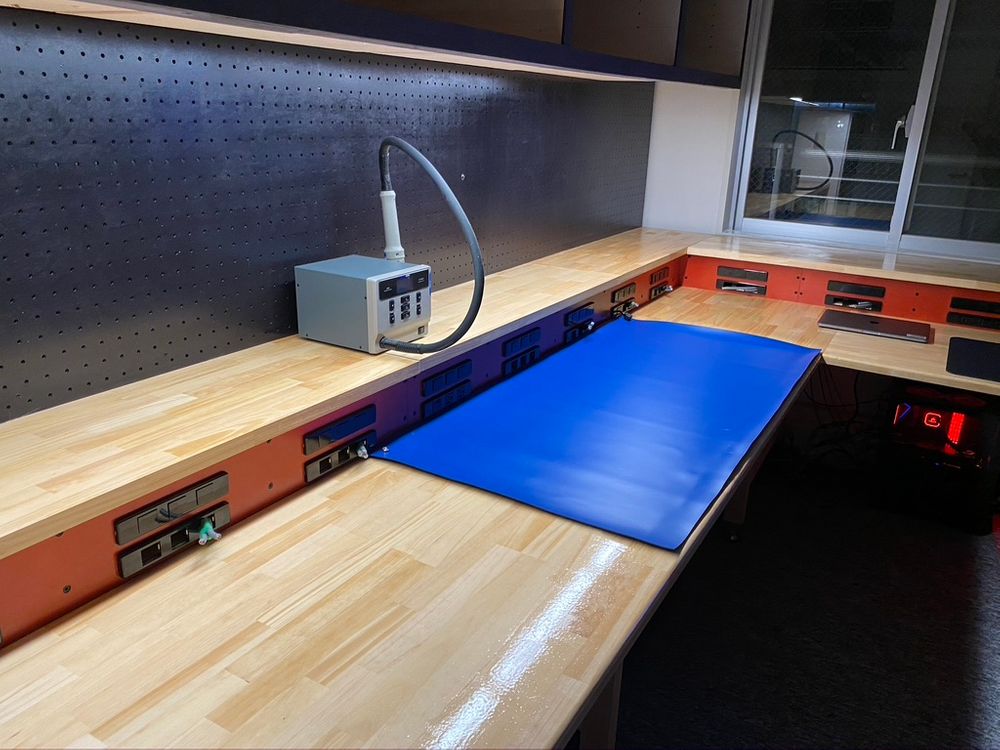
Installing cable channels, ground bus bars and other bits and pieces
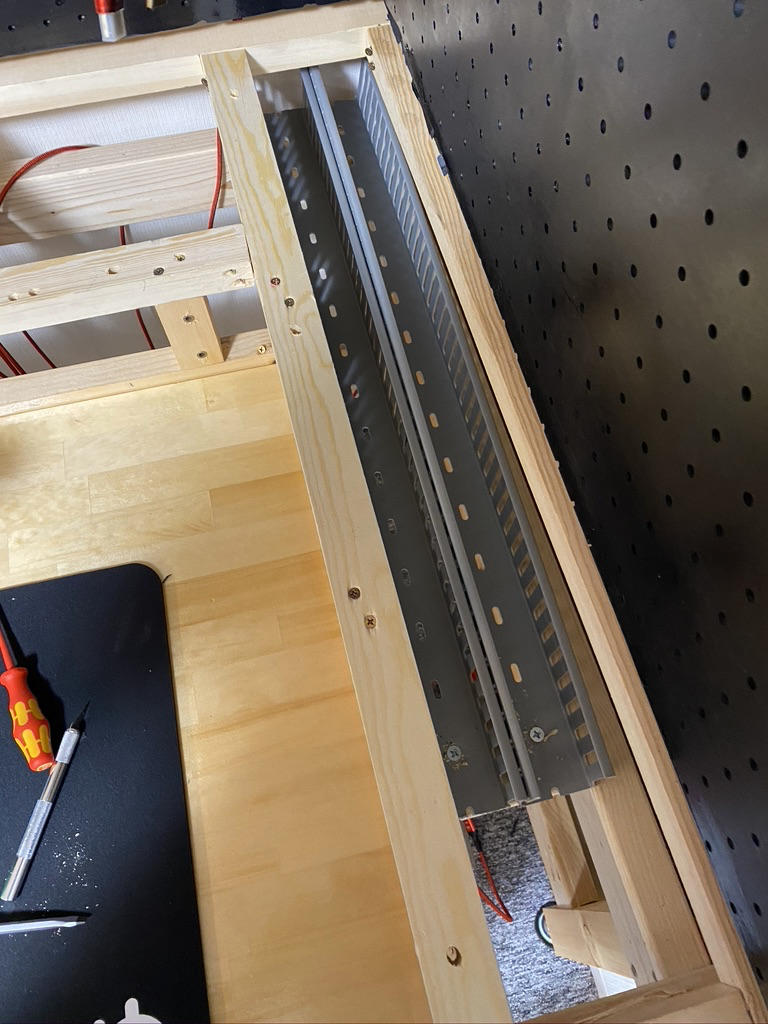


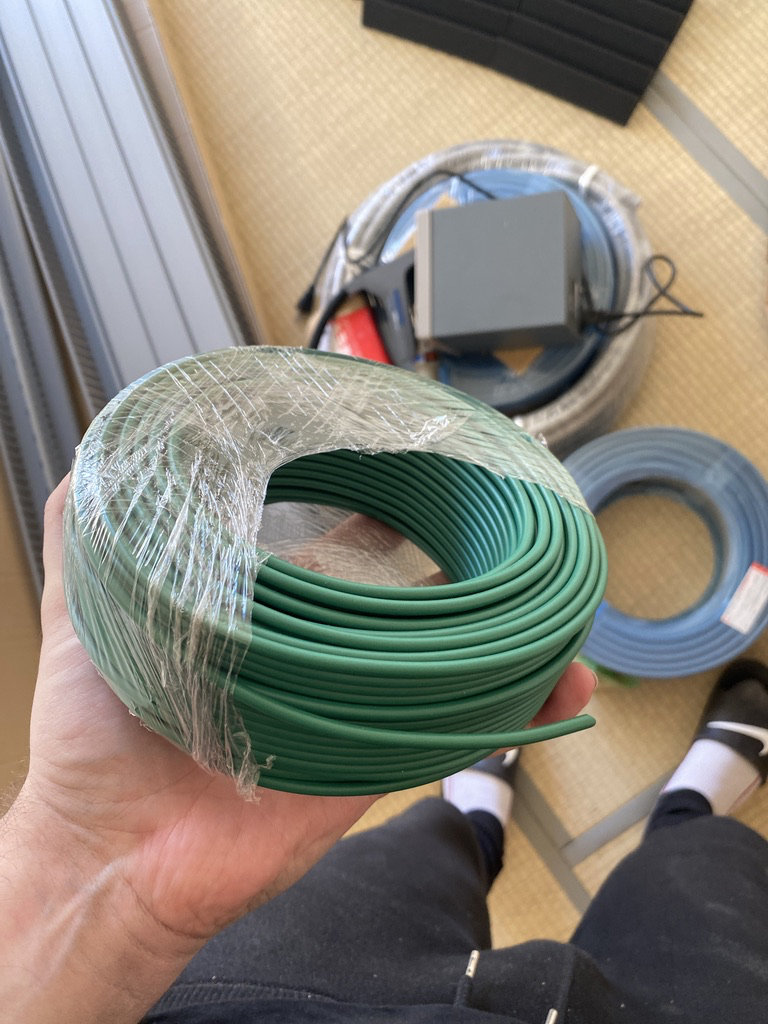

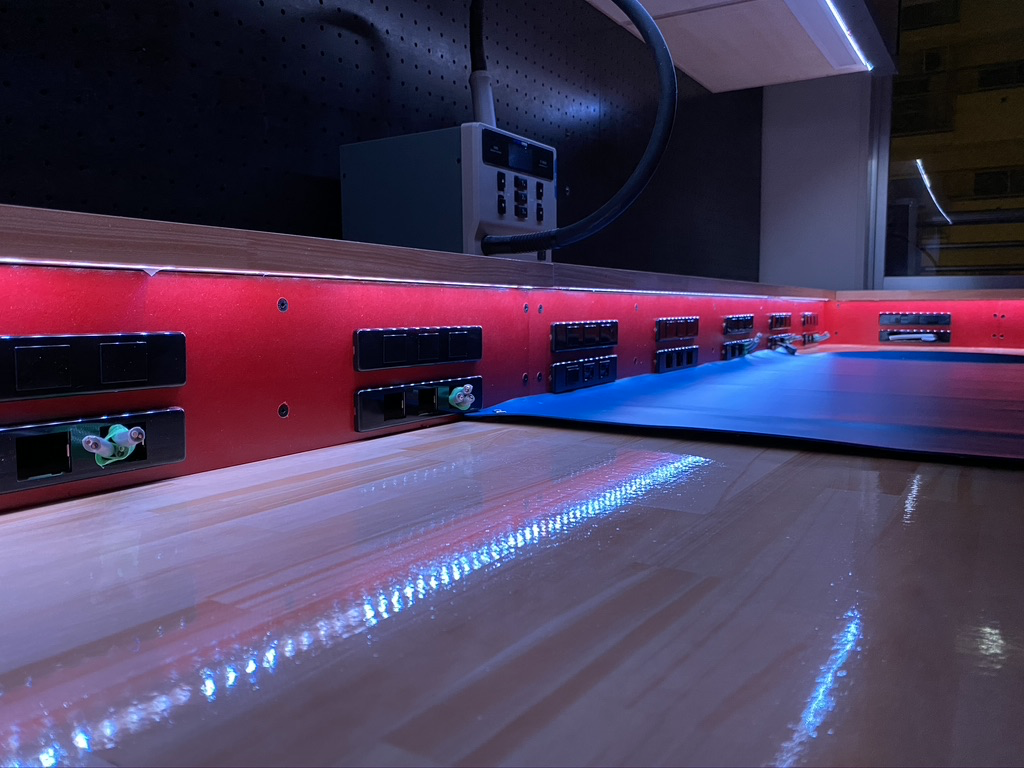
Suppose someone may asks why such big cable trunks/channels. To answer this question I have finished routing all individual power cables for each socket; this is the end place where all automation and electricity stuff will be mounted.
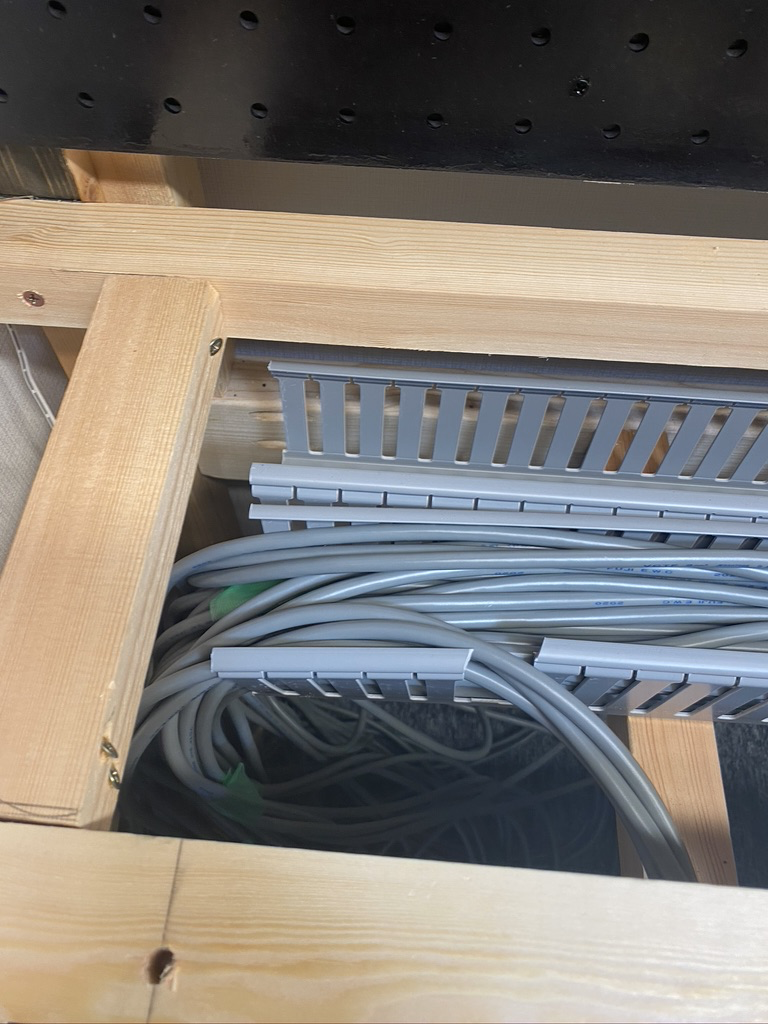
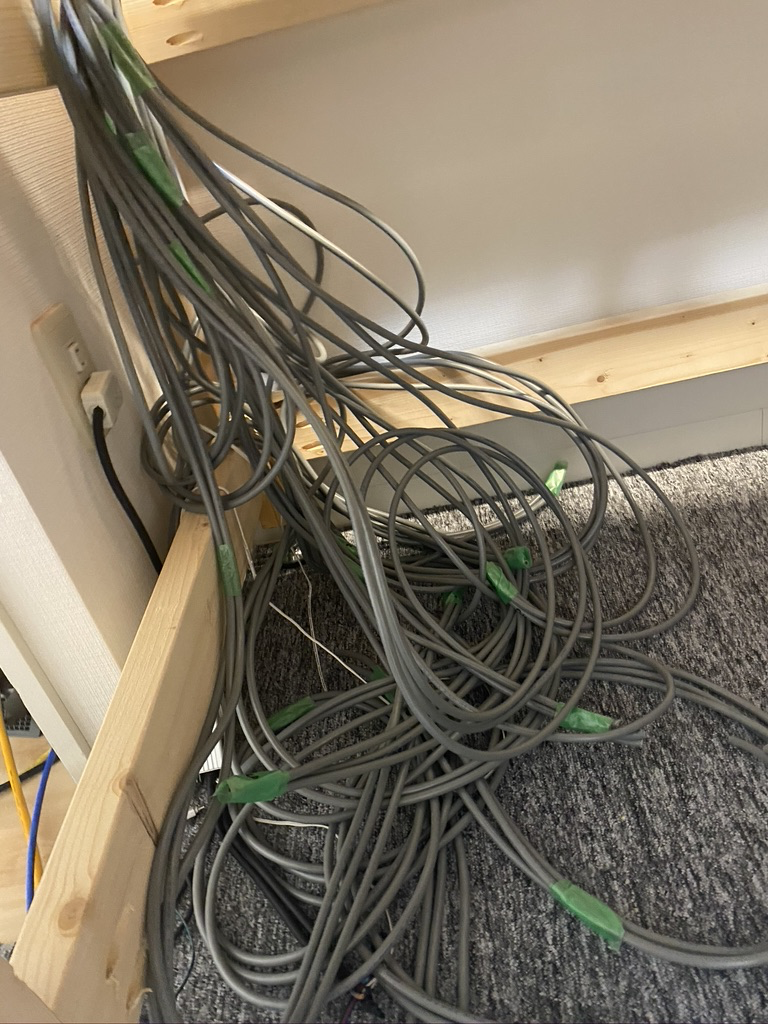
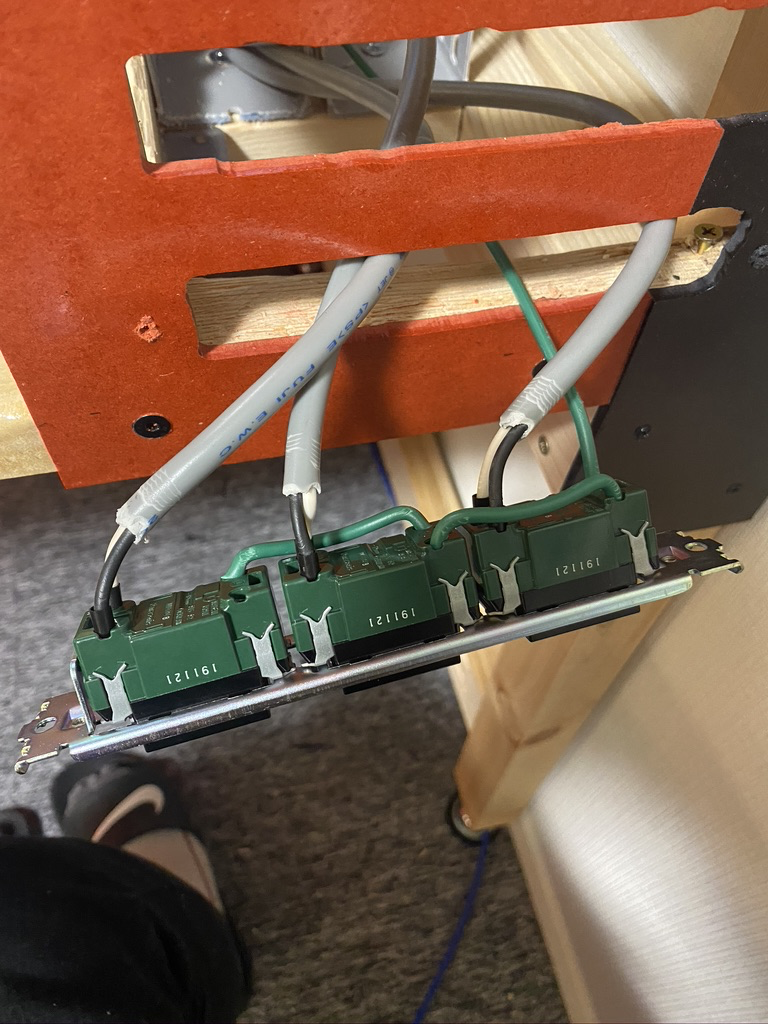
Now that all power cables are routed, I could try to wire up some sockets before sitting down and doing all of it.
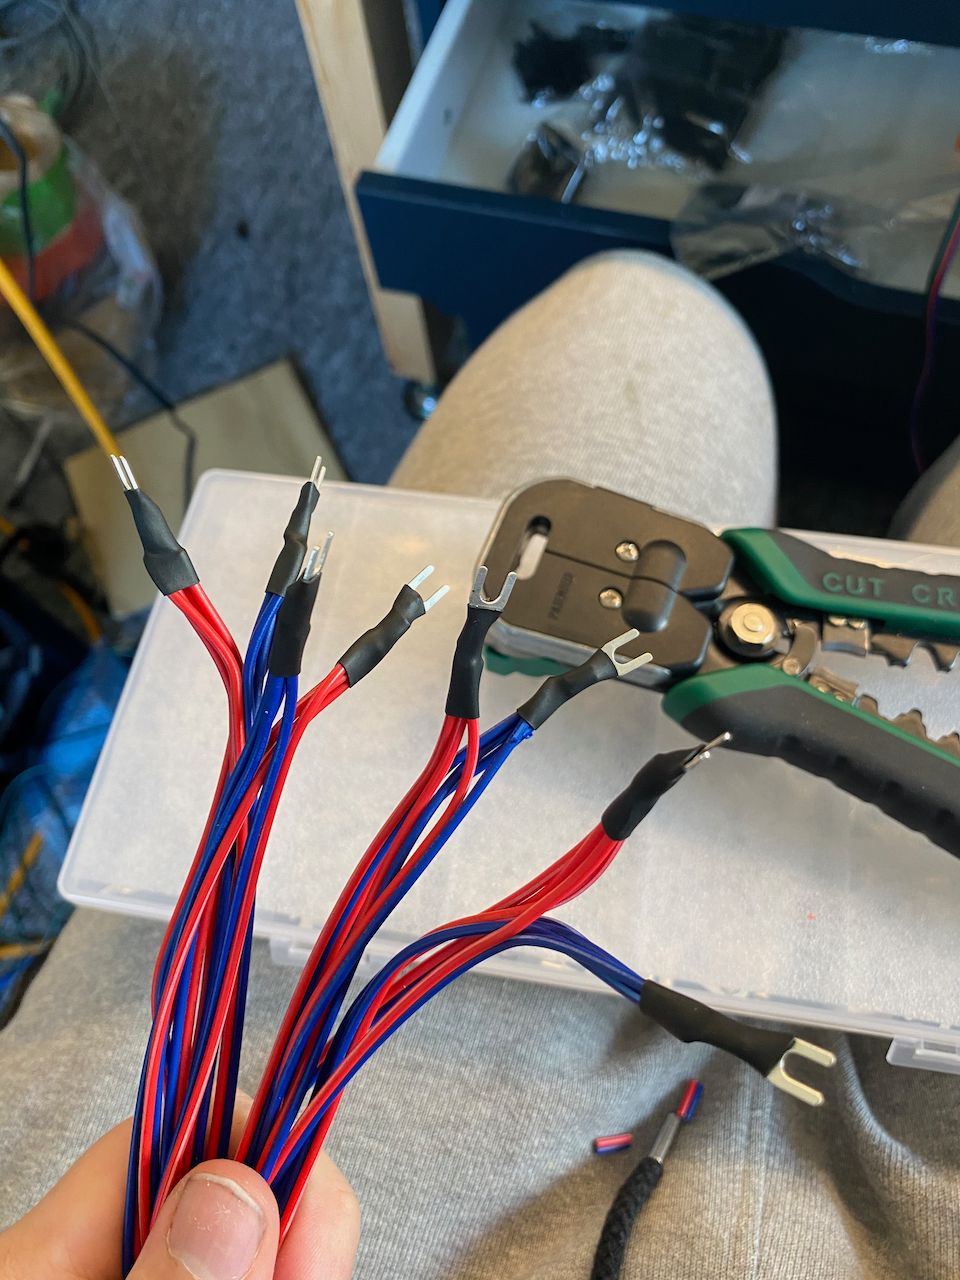
I used crimp termination plugs as my cables are multi-stranded, and Panasonic uses push-in contacts for solid copper conductors.
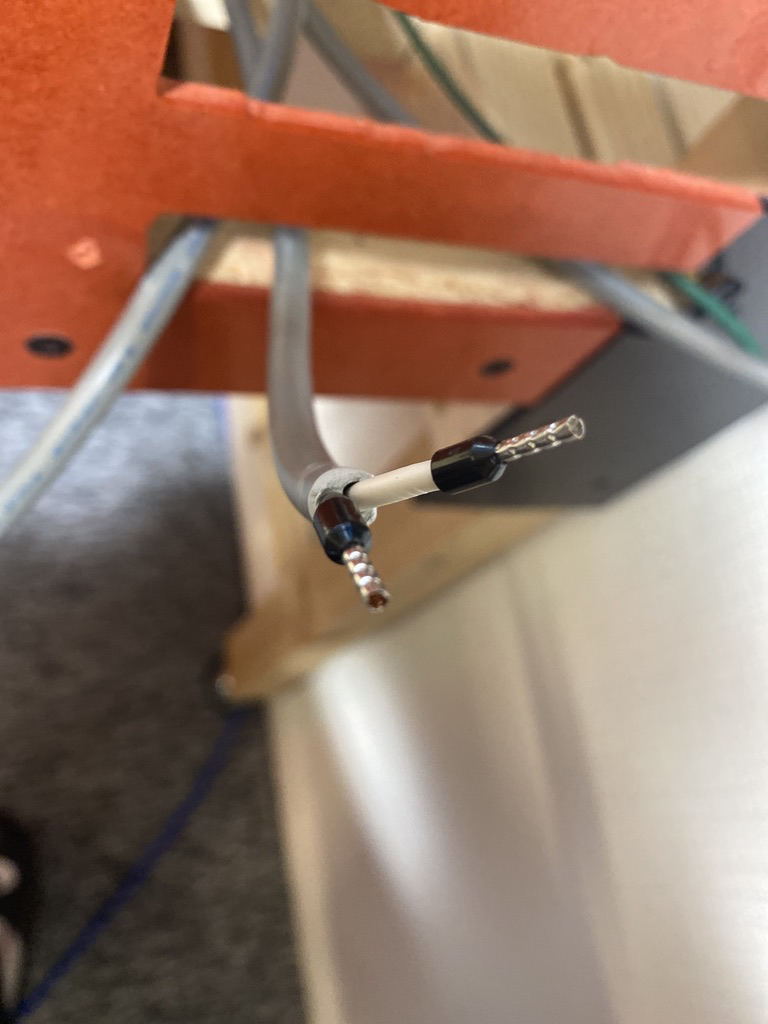
But with proper tool, those are pretty easy to work with

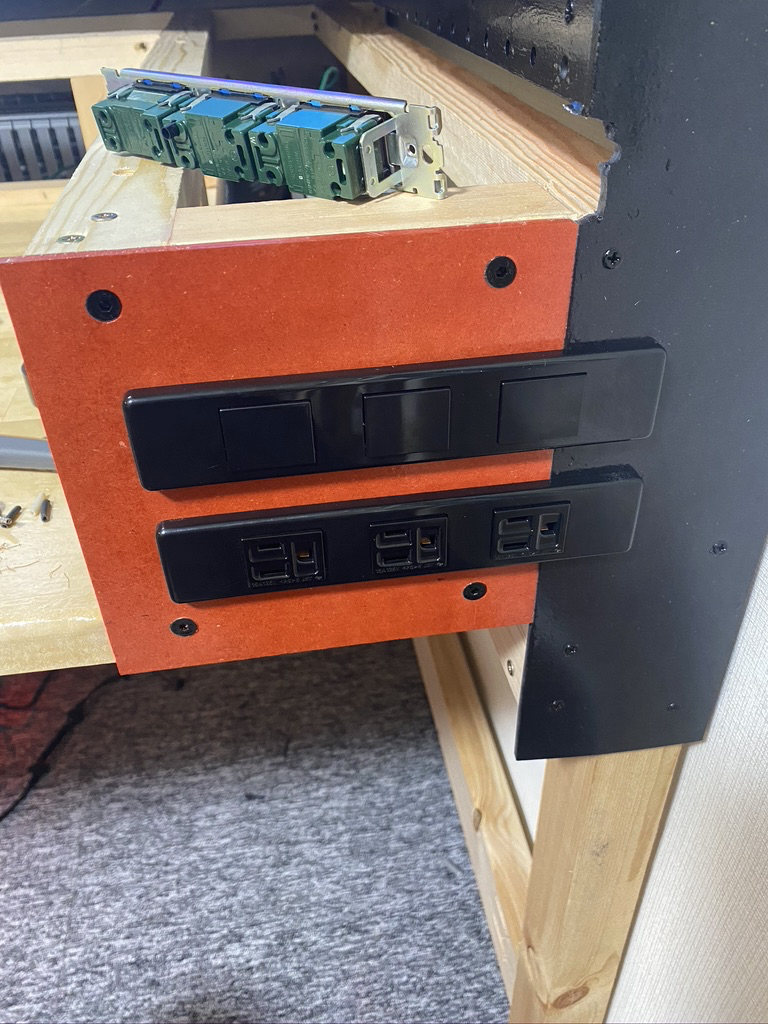
Right now, I am just using blank plates for top level, as I still haven't started working on making USB3.1 ports, headphones, and other custom plates.
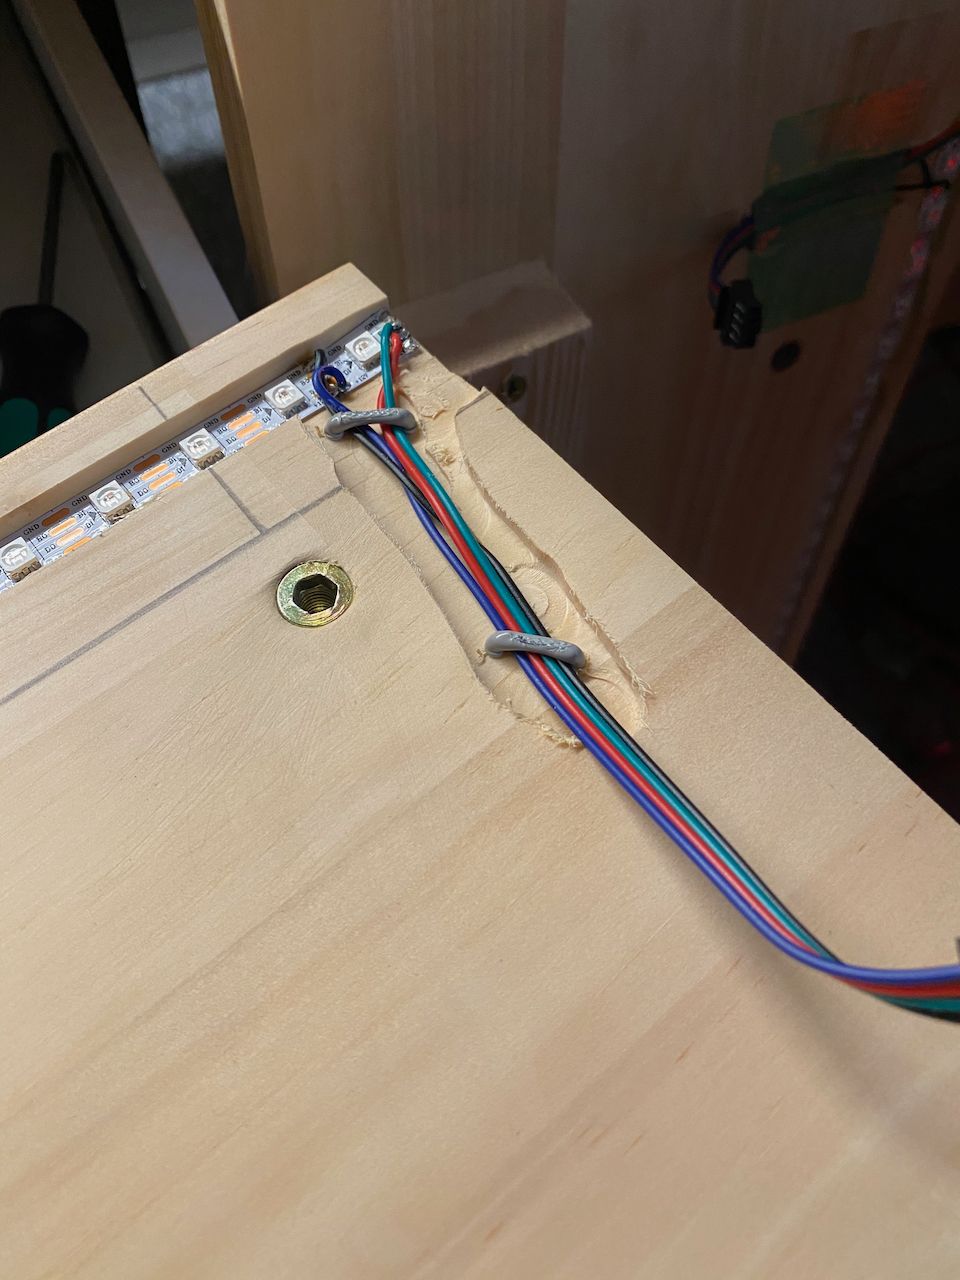
RGB all the things!

How could this project just skip RGB part?! Next to IKEA lights, I also installed strips of WS2815B 12V addressable RGB strips

Also in the shelftops which routed out channel for them

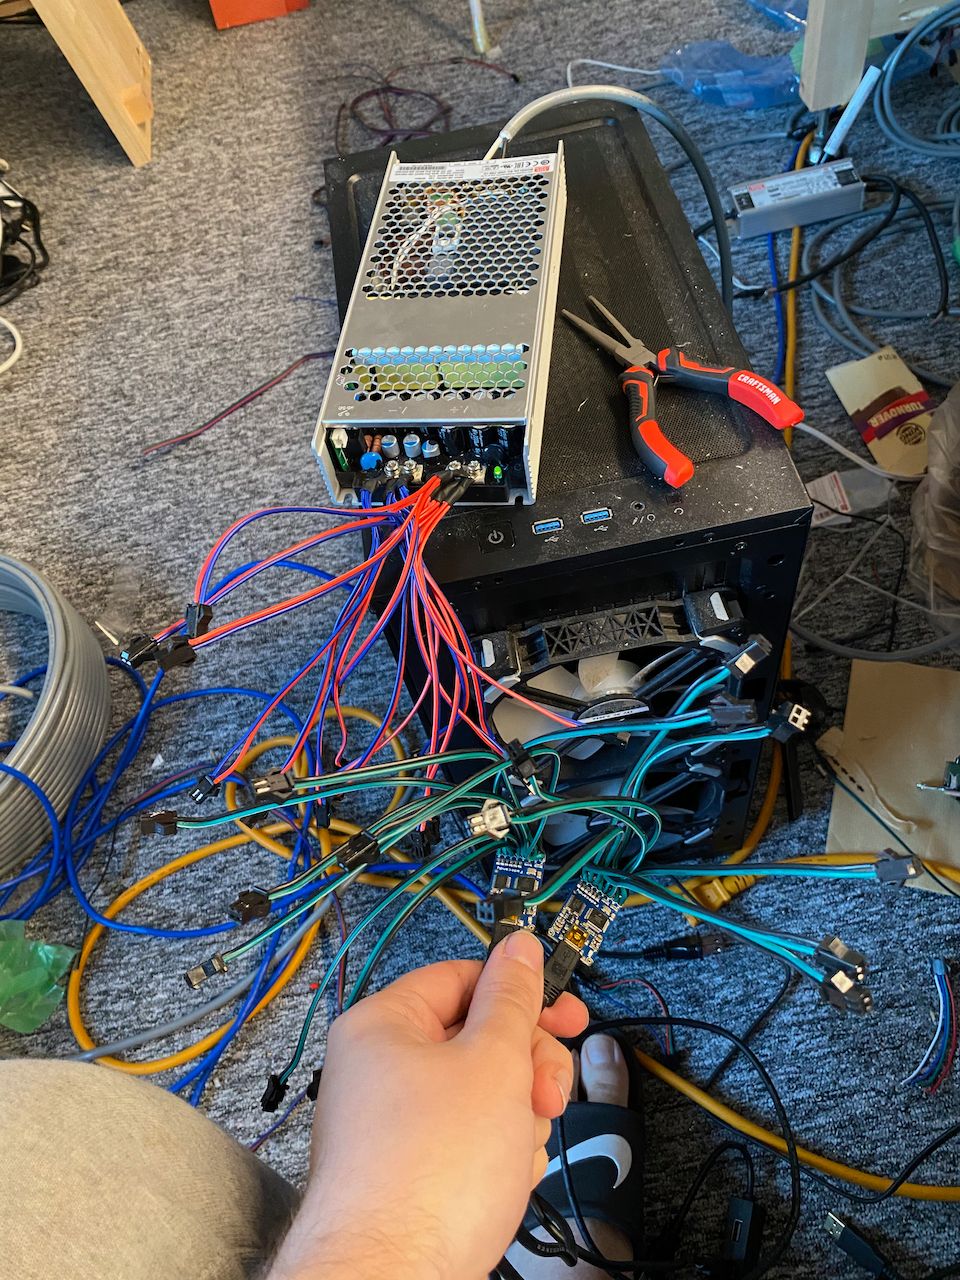
I am using @scanlime FadeCandy controller boards for controlling all RGB WS2815B strips; the only negative thing is about this controller is limitation of 8 x 64-pixel channels, so I had to cut and join length of strips on shelftops to achieve 64 pixels per channel
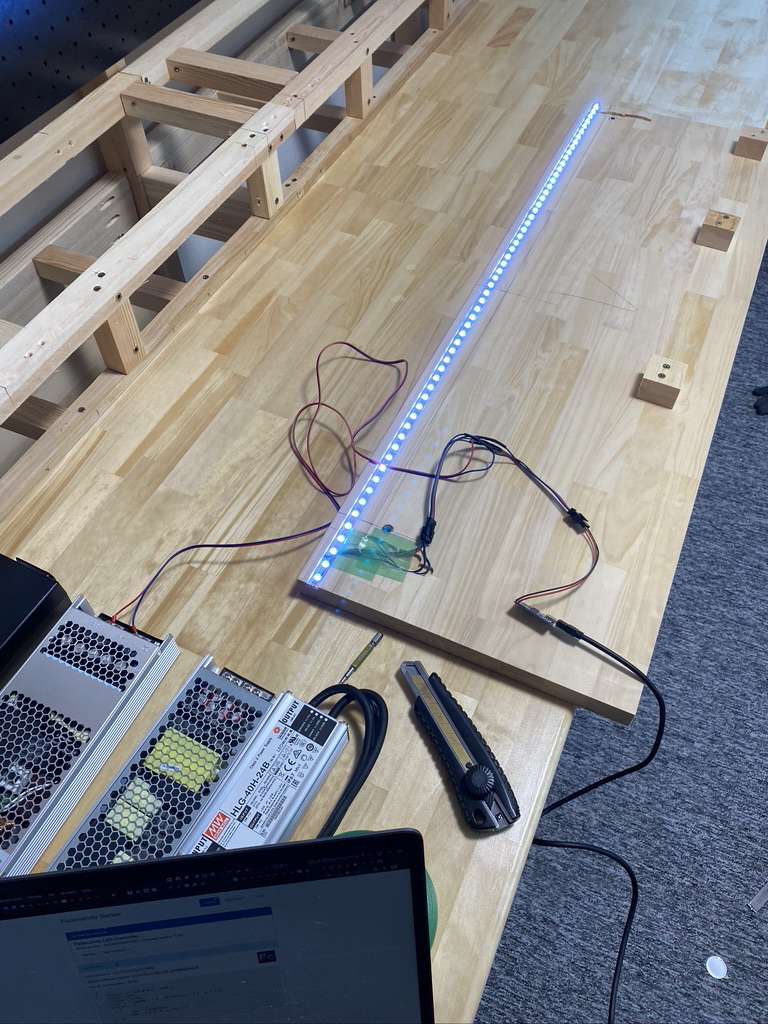
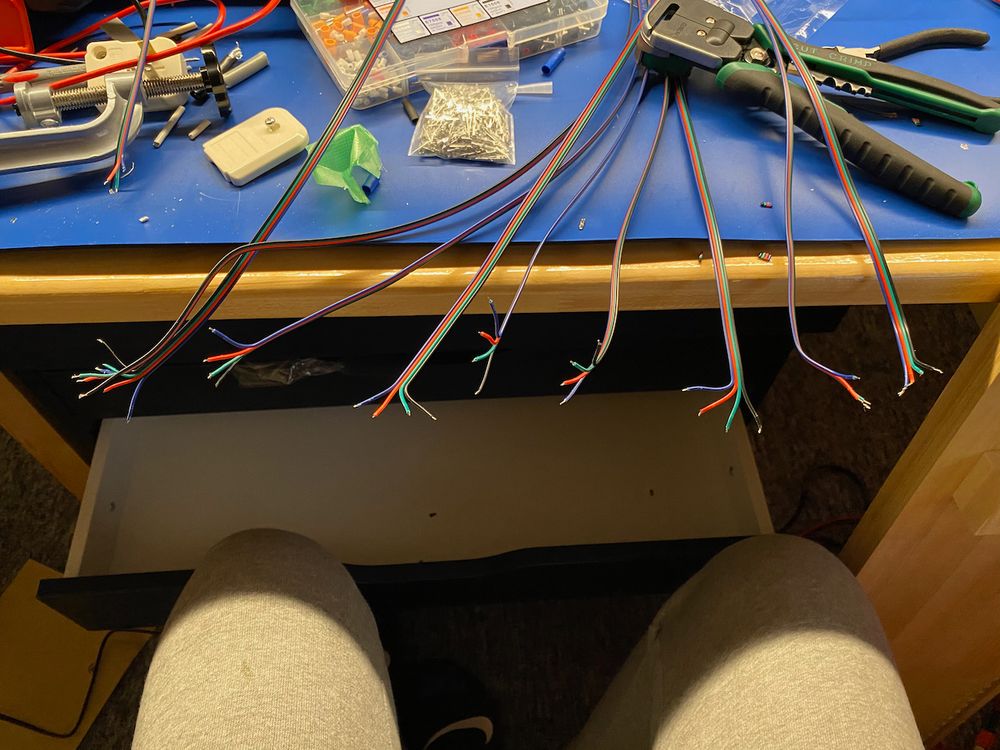
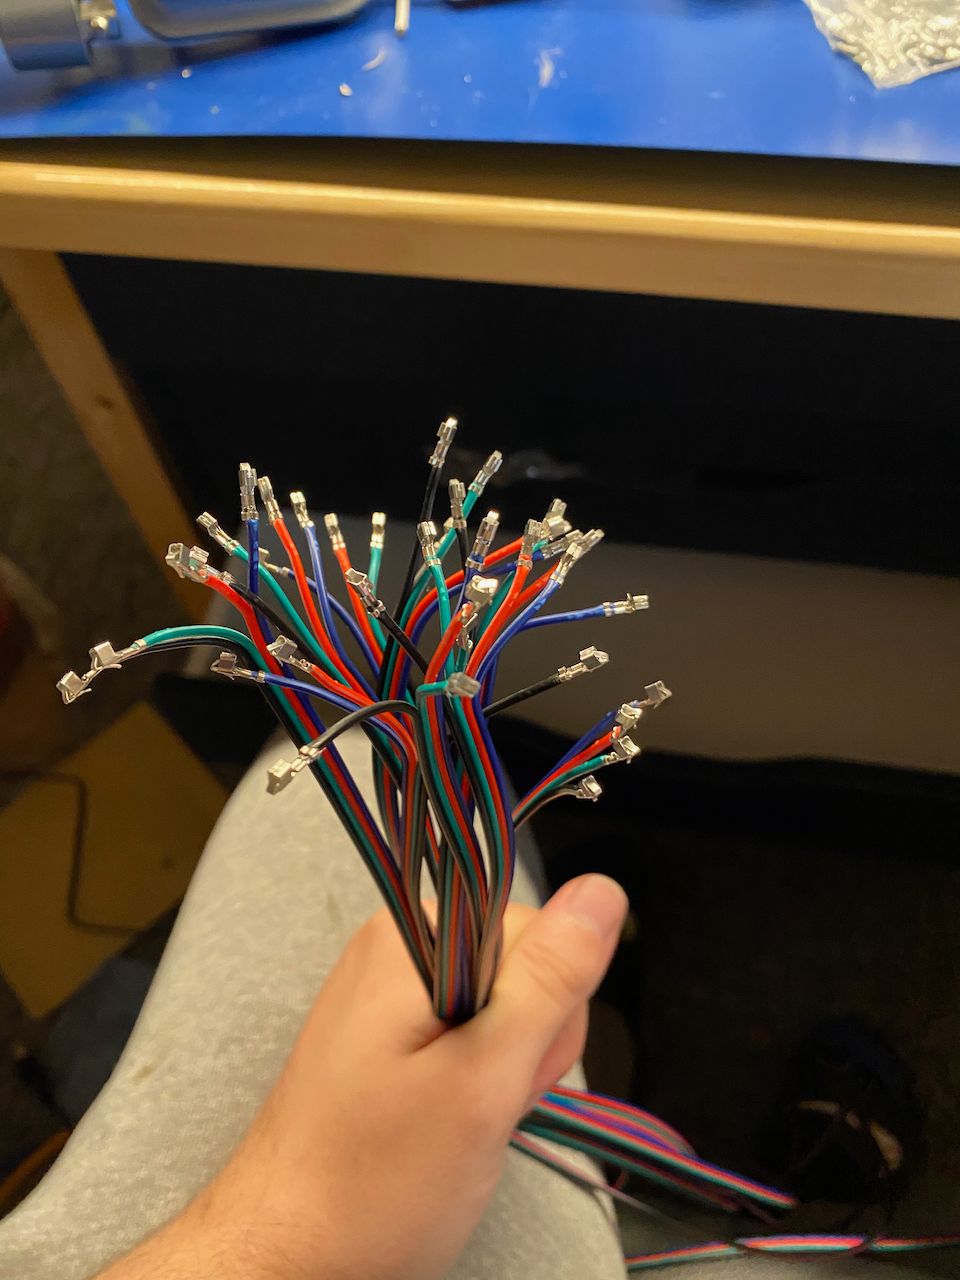
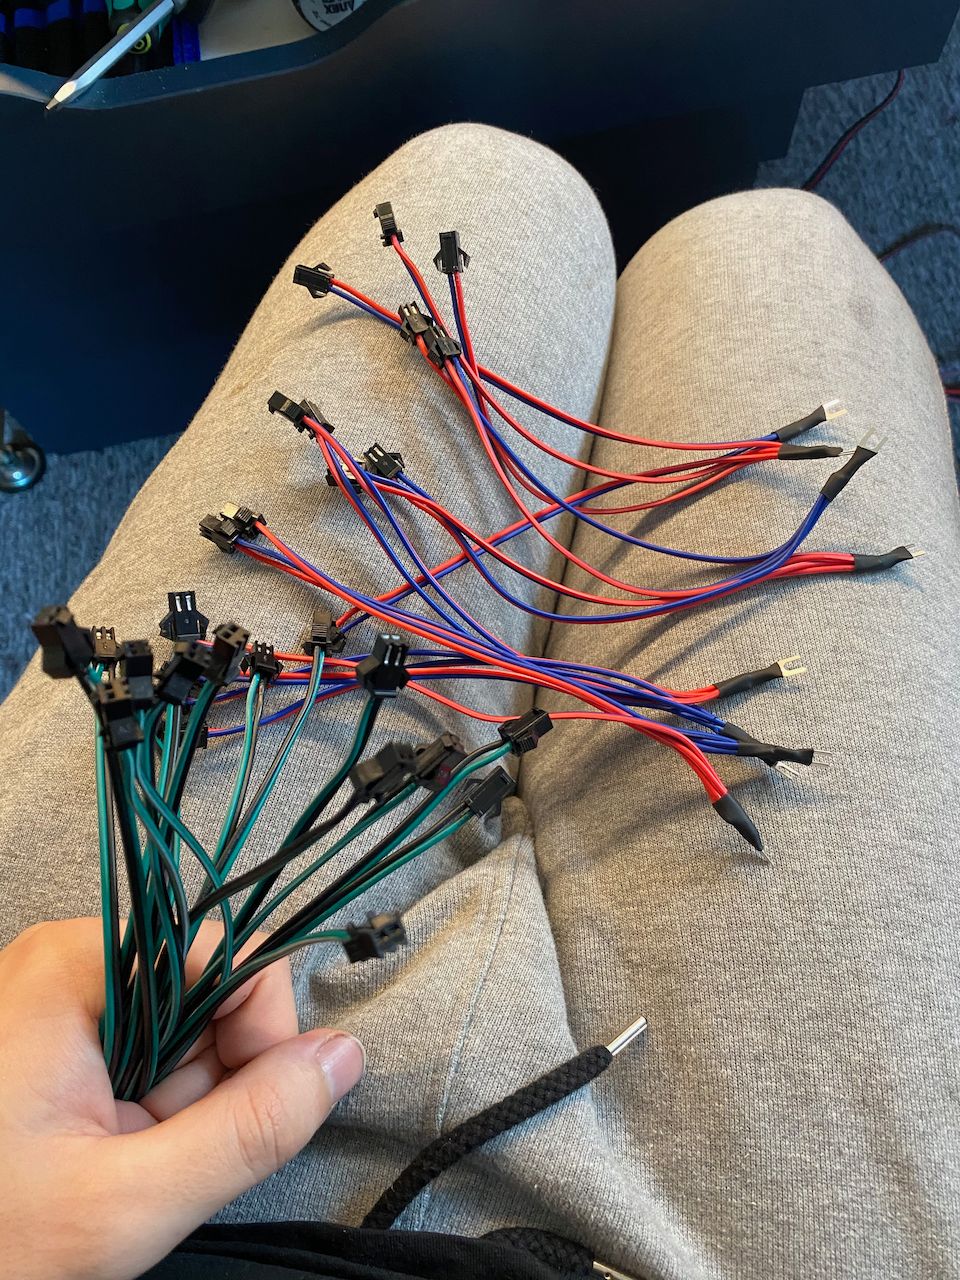
After spending some time to solder some demo cables, I managed to get all RGB strips working.
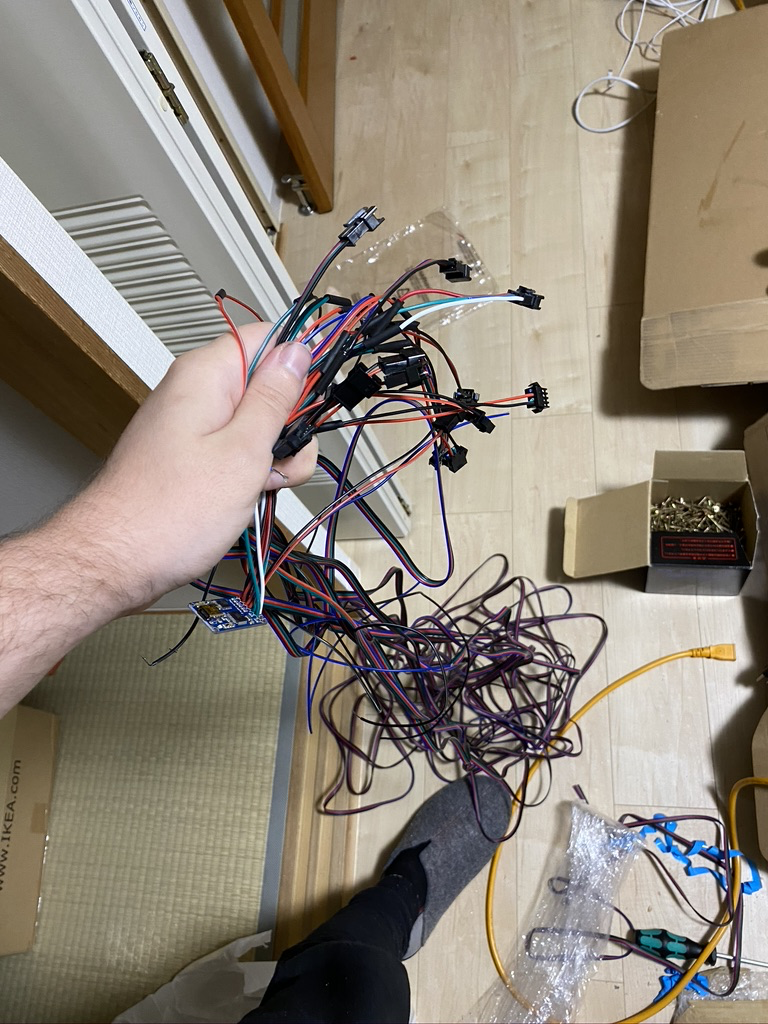
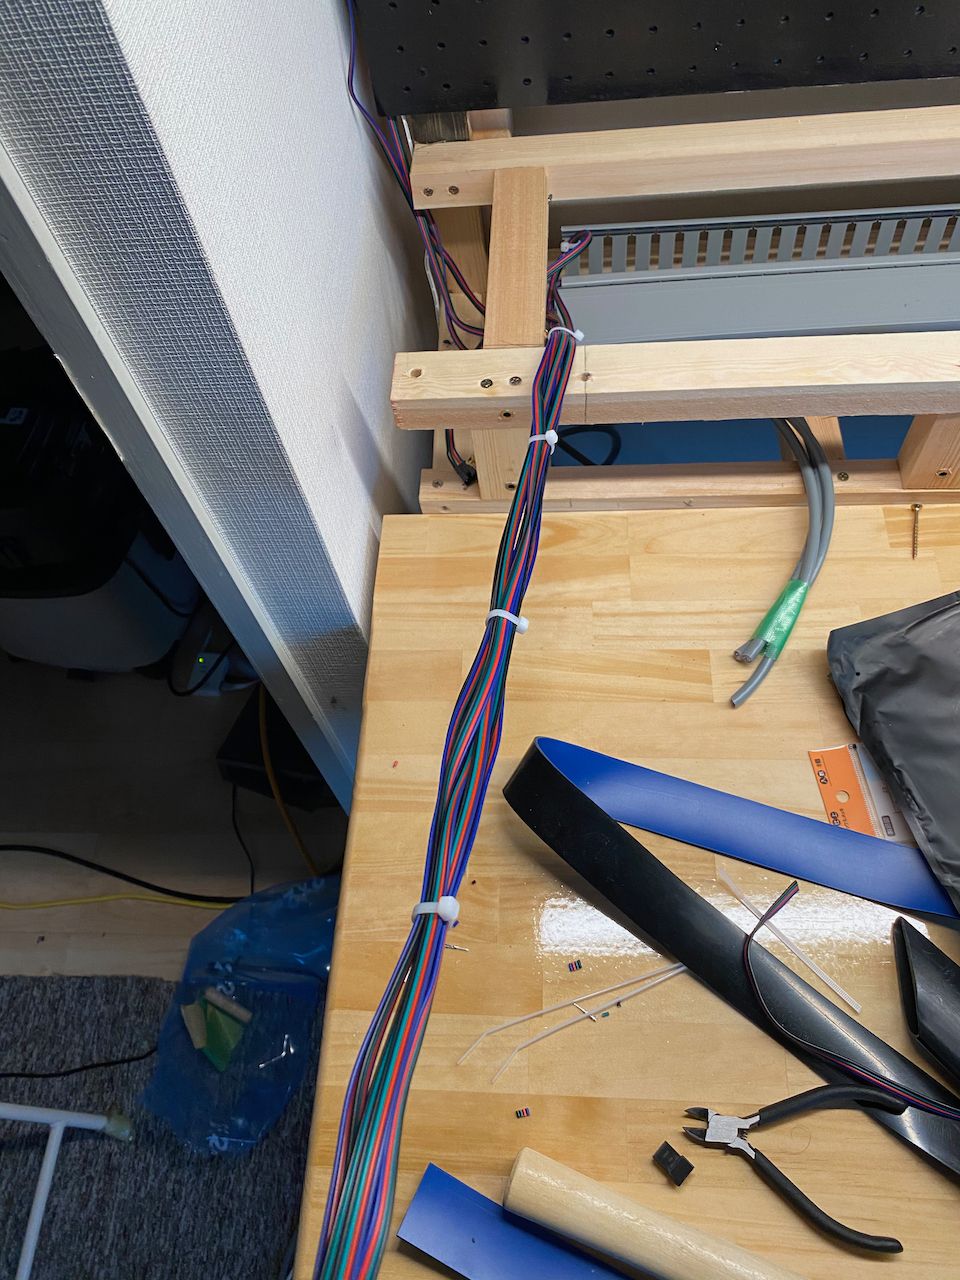
After finishing most of the woodwork, I finally finalized RGB installation with routing correct length cables, installing extensions, and other things.
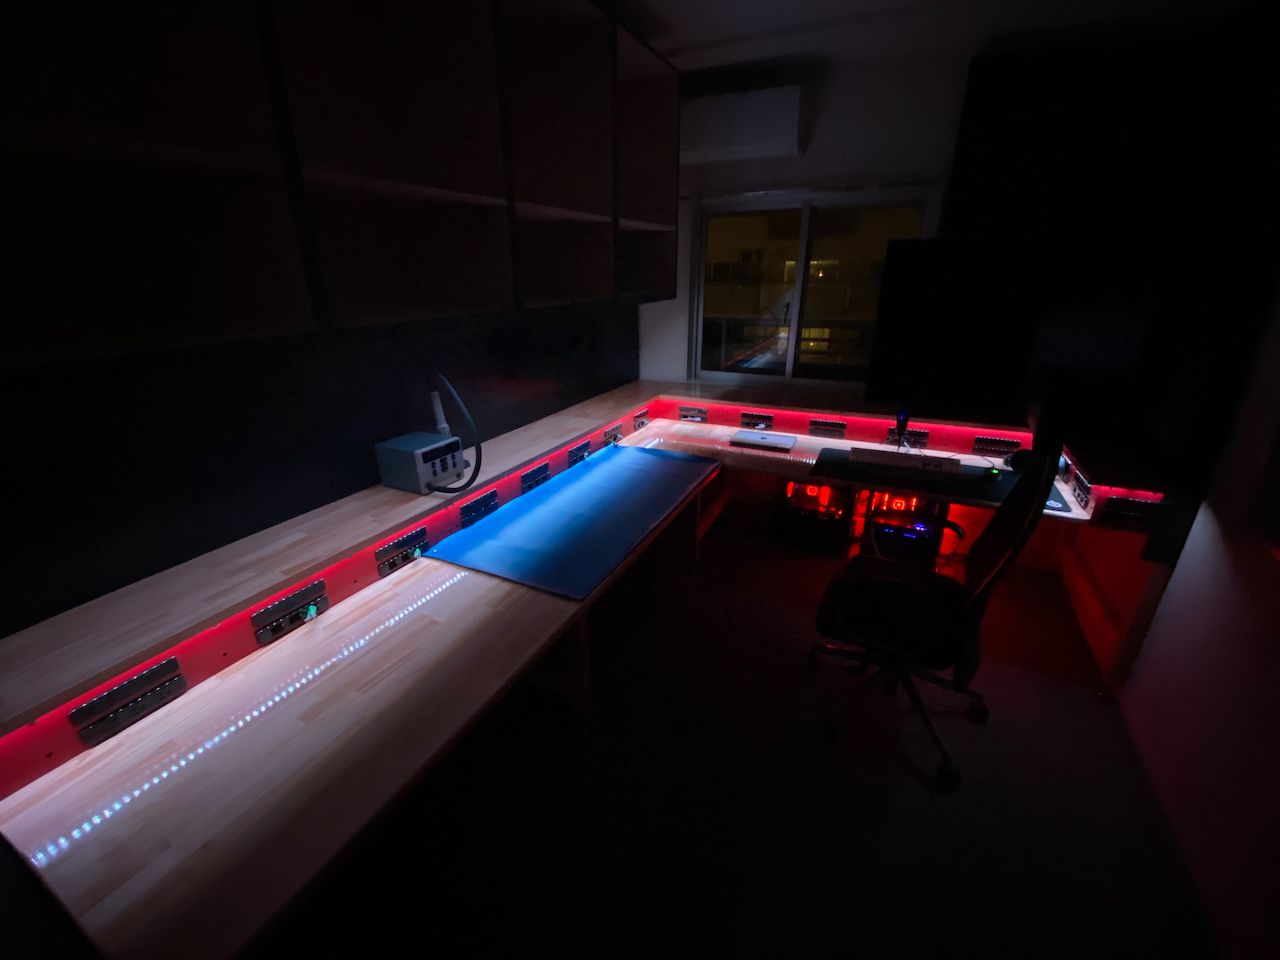
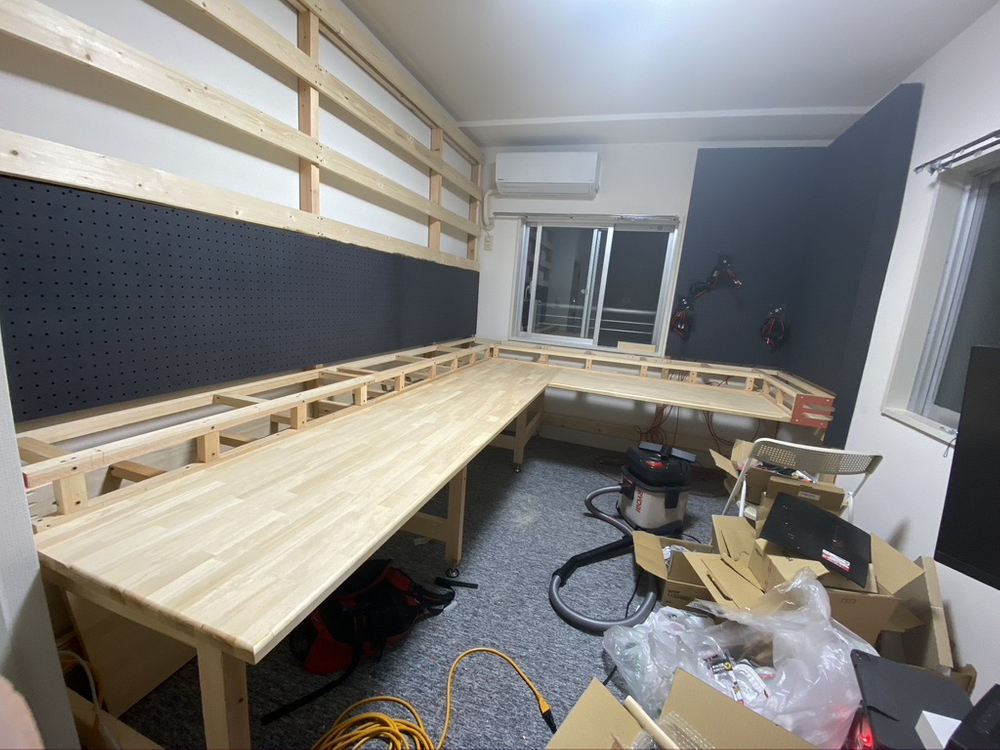
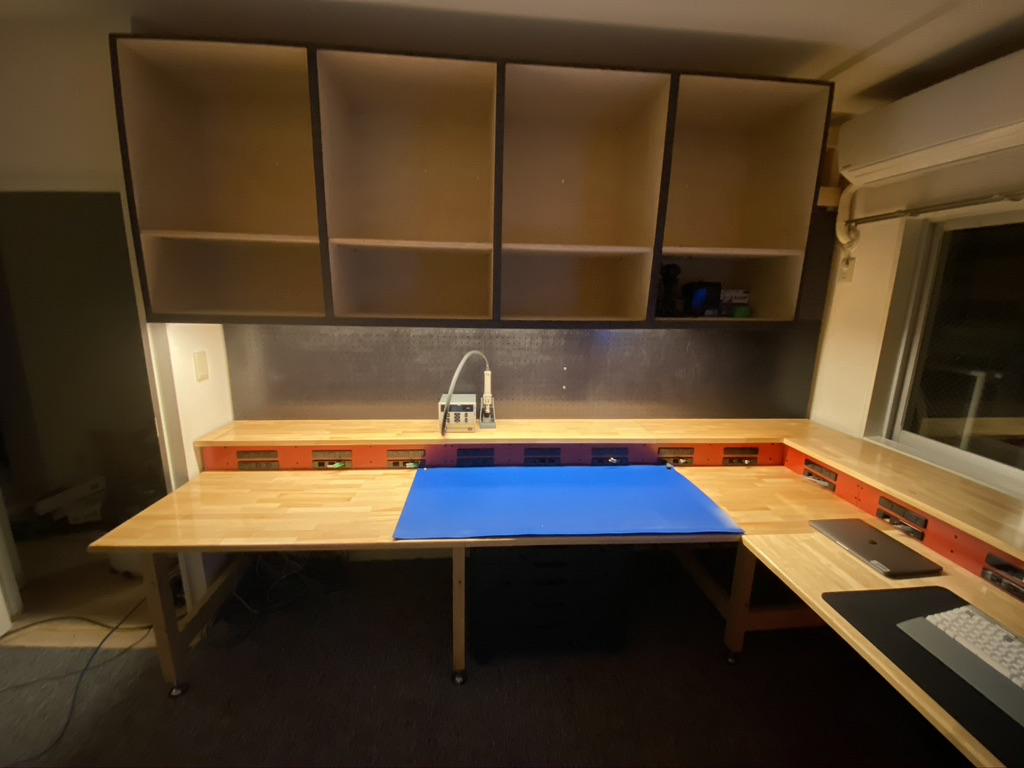
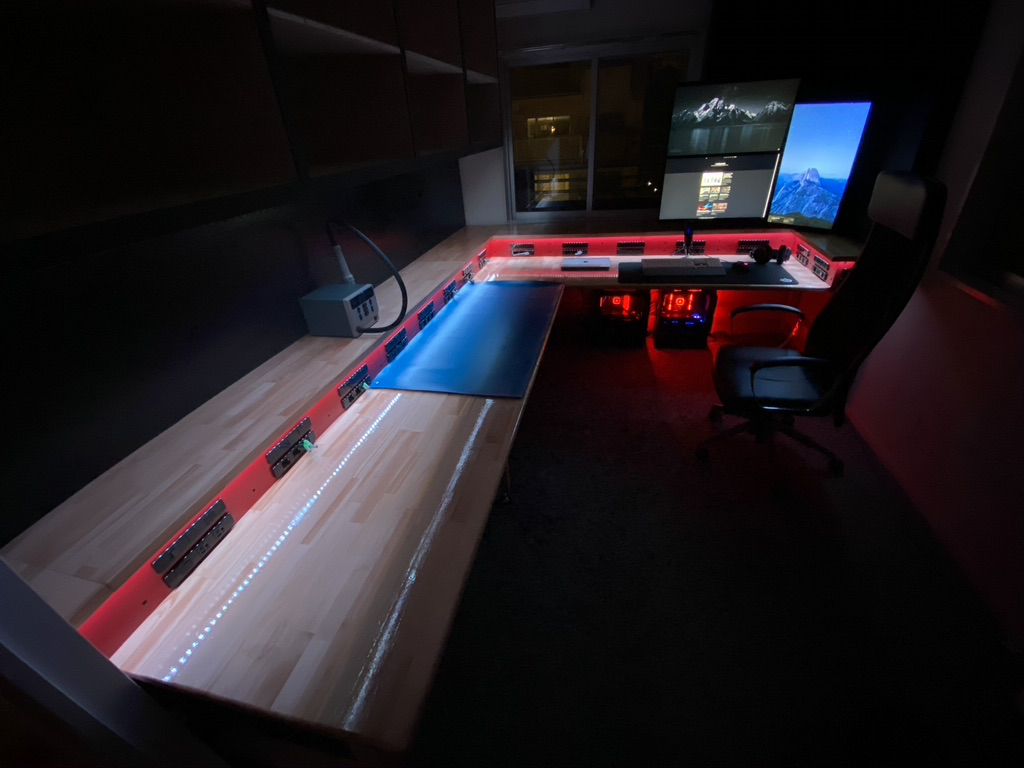
Finalization of woodworks for this project
Finally, I have reached the first milestone of this project to have completed workbench wood/structure parts. After this, I will be waiting for parts from Aliexpress and other places to arrive to start working on Automation, and other things for this project, so subscribe to get the latest updates regarding this project series.
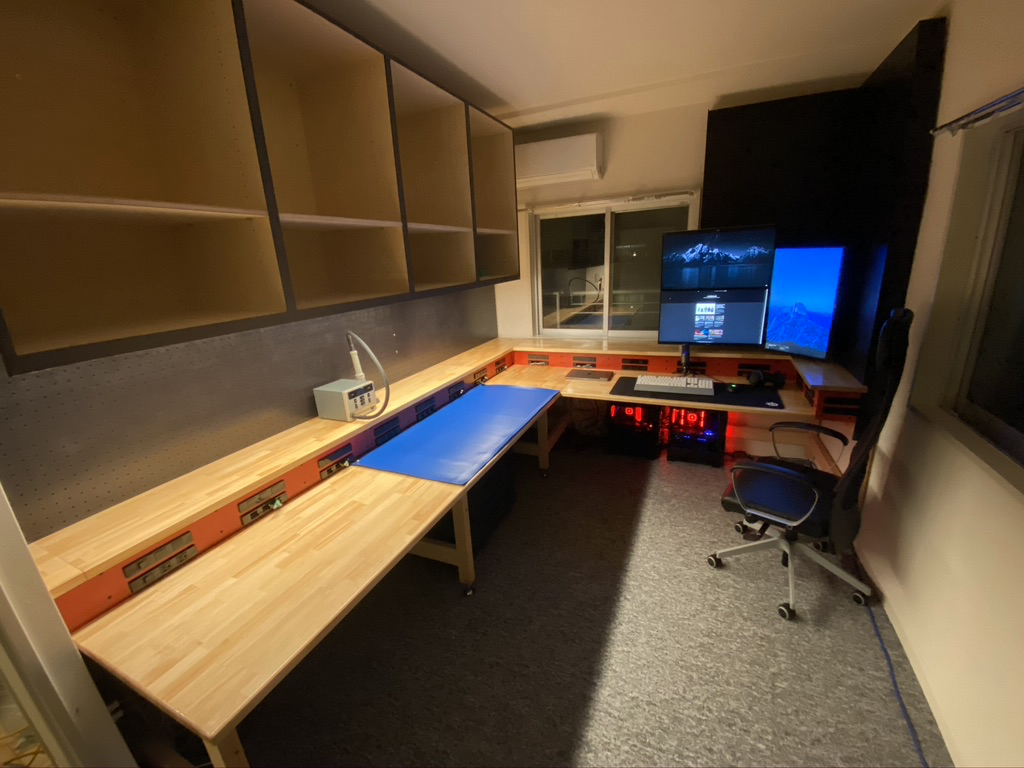
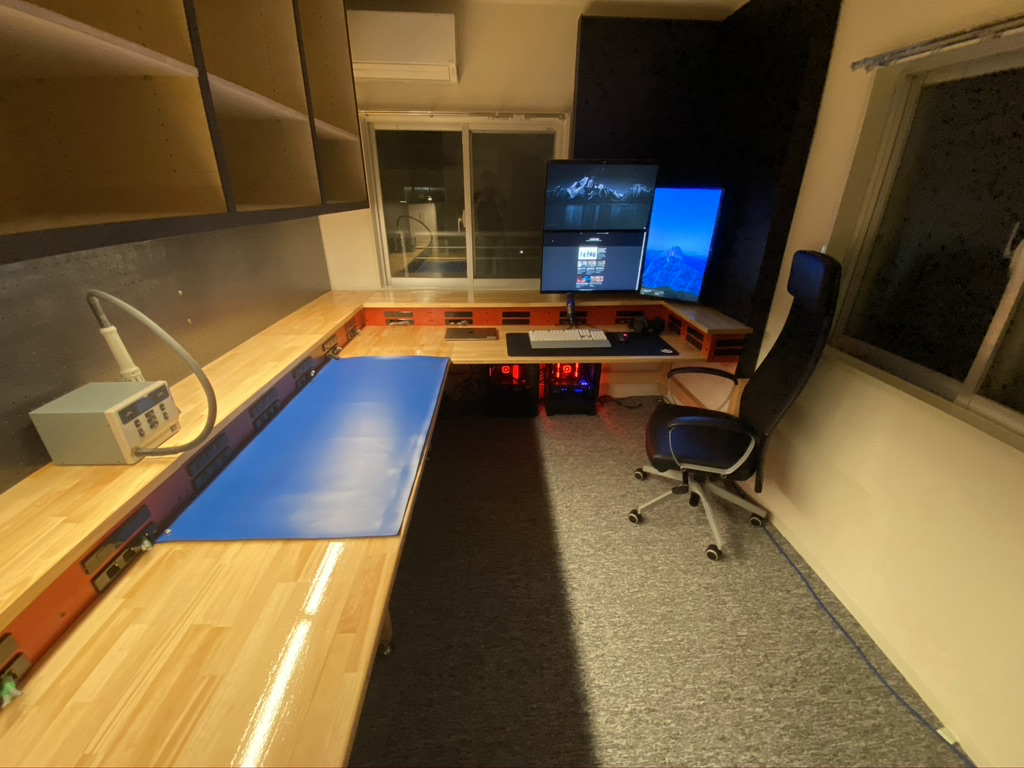


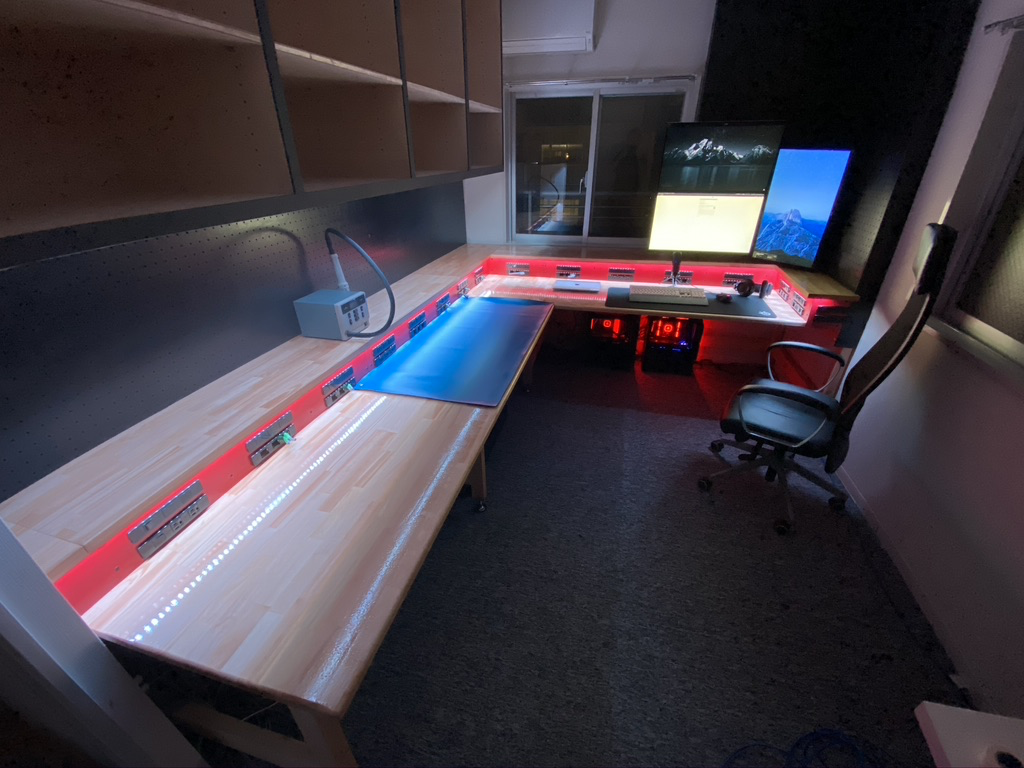
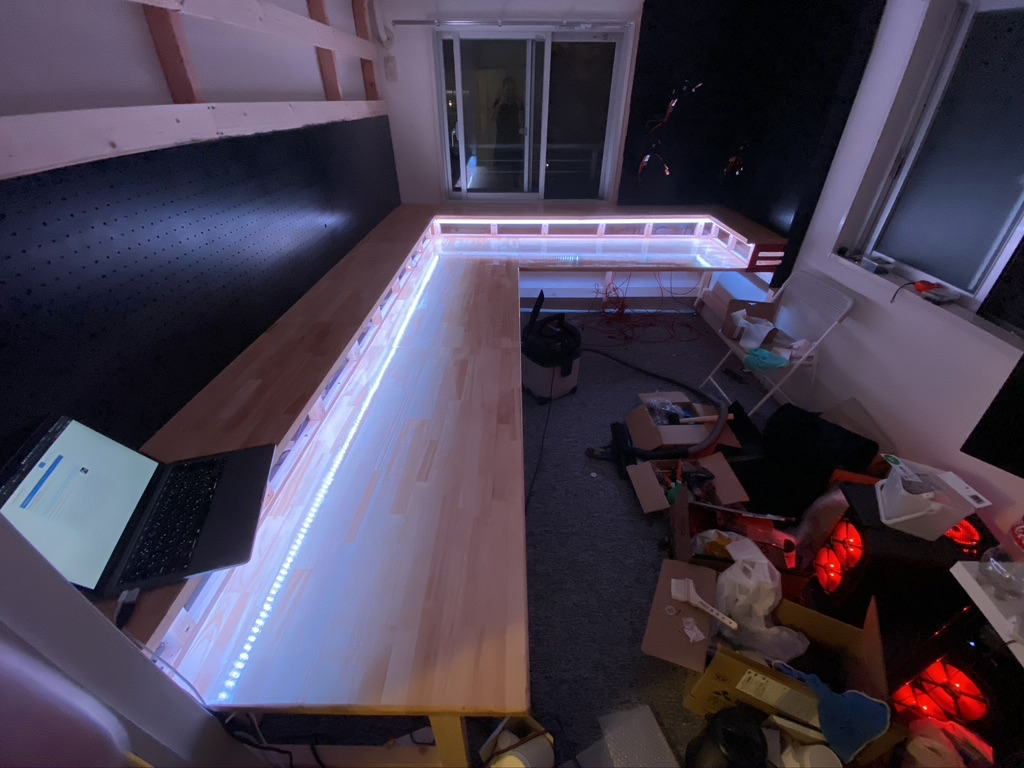
Now with RGB strip at 50% white
Future Plans
This is just a first milestone of several milestones I have for this project. Tomorrow unexpectedly, all other missing sockets arrive, so I will wire those in, assembly another IKEA drawer unit, and then wait for other parts like MCB, etc. for automation.
Don't forget to subscribe to the newsletters down bellow. Every new article will be delivered in a friendly email, readable format straight into your mailbox!