Home Office Project: Overkill Workbench Series Part 4 Frame Completed


Continuing from part 3, now it's time for part 4!
To summarise previous build videos and work, I have done not on stream on this project.
Youtube has saved the streams as videos for those who haven't tuned in live streams so you can watch them now.
There were some issues with GoPro live streaming to my OBS. setup as sometimes GoPro decide to shut off without reason (not power-related matter, had 20Ah power bank hooked to it). GoPro had ~5s delay compared to WebCam too.
Work I have finished not on the stream
As the holidays after Tuesday had ended, I had done some work on the weekend to finish up the main framing and tabletops.
The first thing was to make the shelf tops attached to the frame but allow it for easy removal as it gives access to the "backend" of the table where all wiring and similar things will be hidden.
For this, I got myself M6 wood nut inserts and M6 hex bolts as it was the cheapest bolt option as buying bolts in Japan is expensive in home improvement stores.

After making all the shelf tops to have at least 2 points of attachment (The rear will be held by plank to which the back panel will be fixed), I was ready to add horizontal columns to the rear wall.

The only issue I had was the one shelf top I had to cut by hand; it's not a nice joint, but it will do.

So far, everything looks nice!

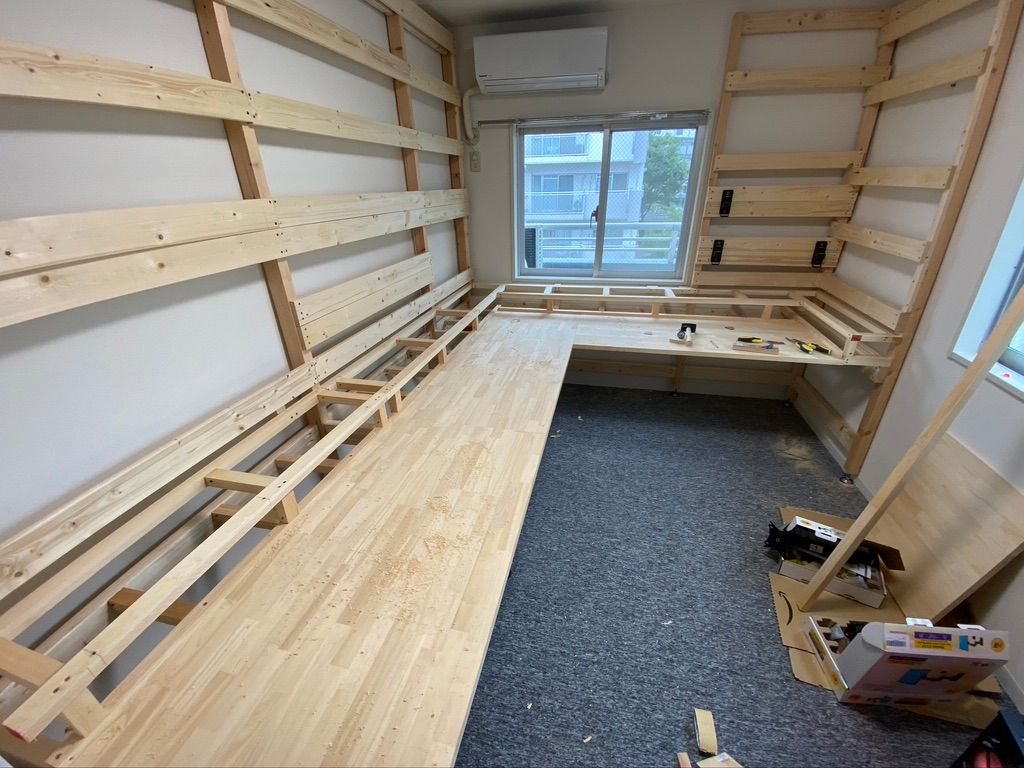
Time to start adding horizontal columns to the back wall to support the shelf tops and provide a way to mount the back panel, which will be made from this MDF sheet. It's currently not available in stock, so I am waiting till it's back in stock.

I have installed the lower column and the top column. It's around 55cm height, where the rear panel will attach.

Next step, I tried to mount a monitor mount arm to the rear. I had to use 2 x 1x4 as it was wider than 1x4.


I also have used the M6 wood inserts to mount the arms as I will need to mount them back after the panels arrive, and I will have no access from behind.

I tried to mount the monitor to it, but the monitor mount plate was a bit too big, and the LG monitor has a shallow space in which it hardly fits, but I managed to attach it.

It's the lowest position, but the highest position is also pretty good. I am happy with my calculations for mount height.

It can be pretty deep or popup out.


Now repeat it three more times.

I also had to make a fitting for the 4th monitor on another side as again I will not be able to reach it from behind, so I made mounting for it too.

The final step for framing is all other horizontal columns for future mounting cabinet or shelves.

As mentioned before, the shelf tops removed pretty quickly and allowed access to the "backend".

One shop vac cleaning is done, and the room is finished for now.

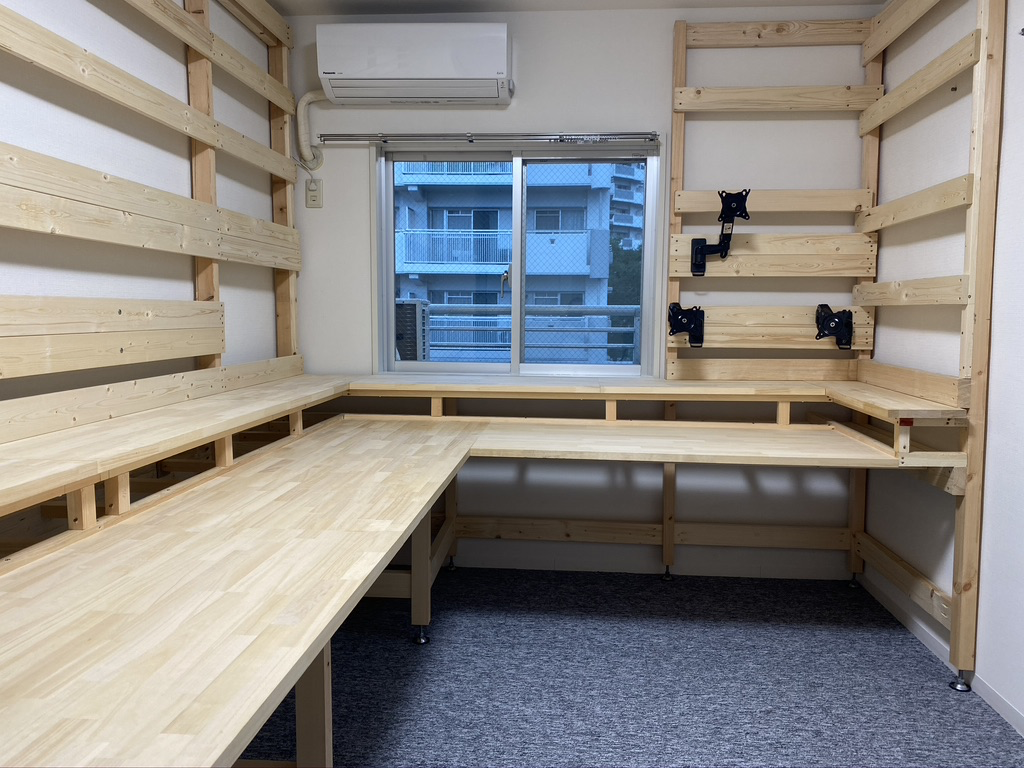
Final result
Putting shelve tops back and doing some finishing touches the major construction is finished!

Conclusion
For now, the project is completed until the back panel (the gray one) and the red MDF panel for under shelf tops are back in stock in mid-October. The next steps would be sanding the tabletop, filling in all the dents and scratches with filler, and then using water-based polyurethane to cover a solid layer of varnish. The tabletop is soft and not suitable for working with tools and electronics.
So for now, the project is paused till mid-October.
Additional Project
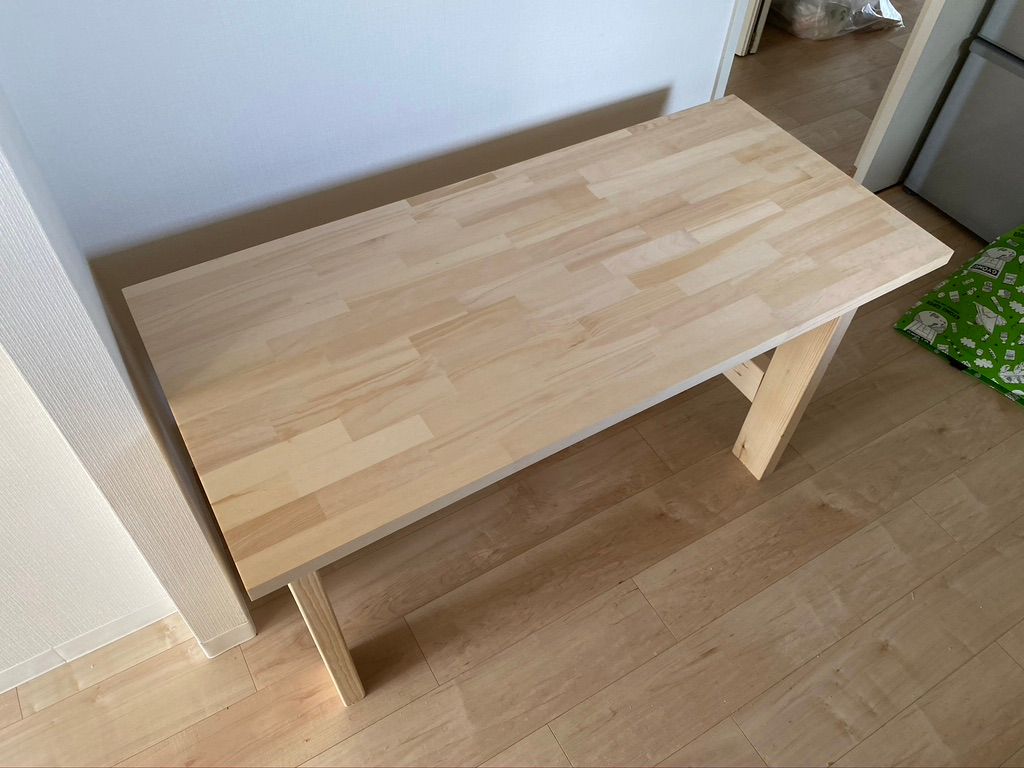
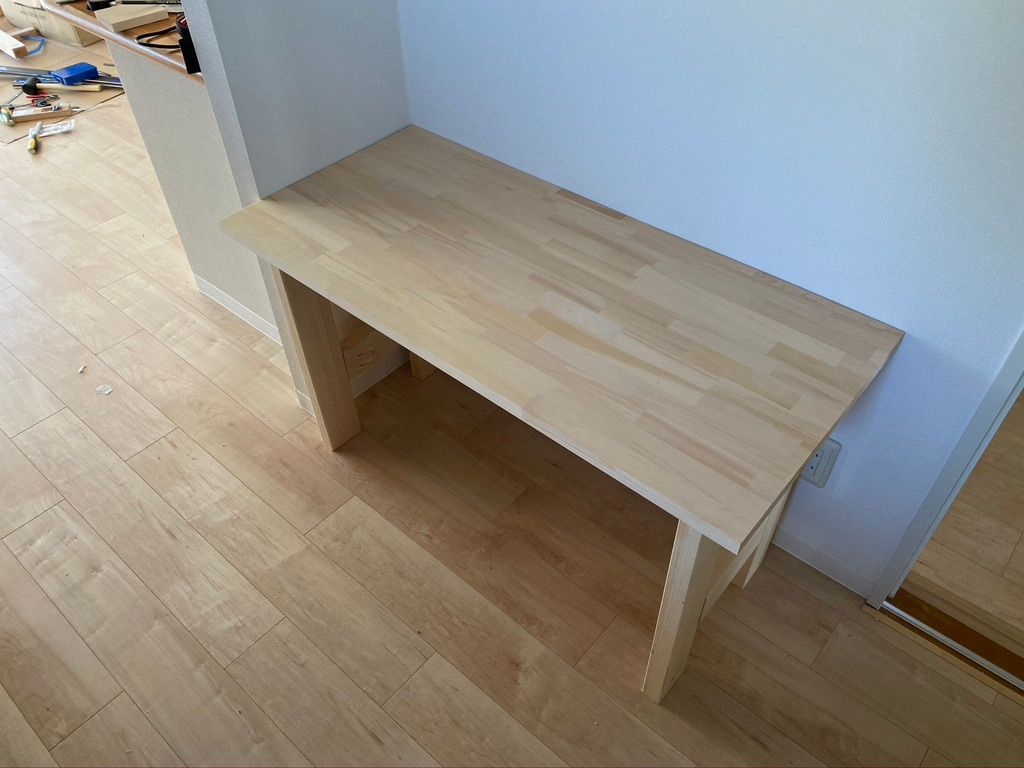
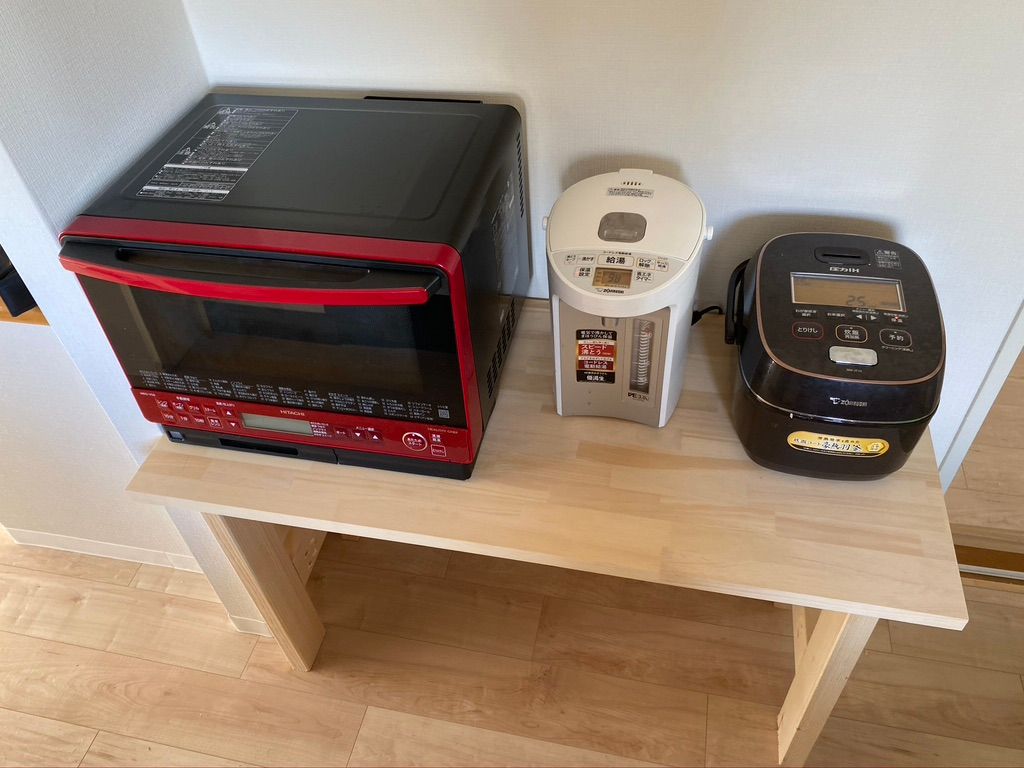
I had ordered some additional wood to build a smaller table for the kitchen to place my microwave oven, rice cooker, and a water heater.
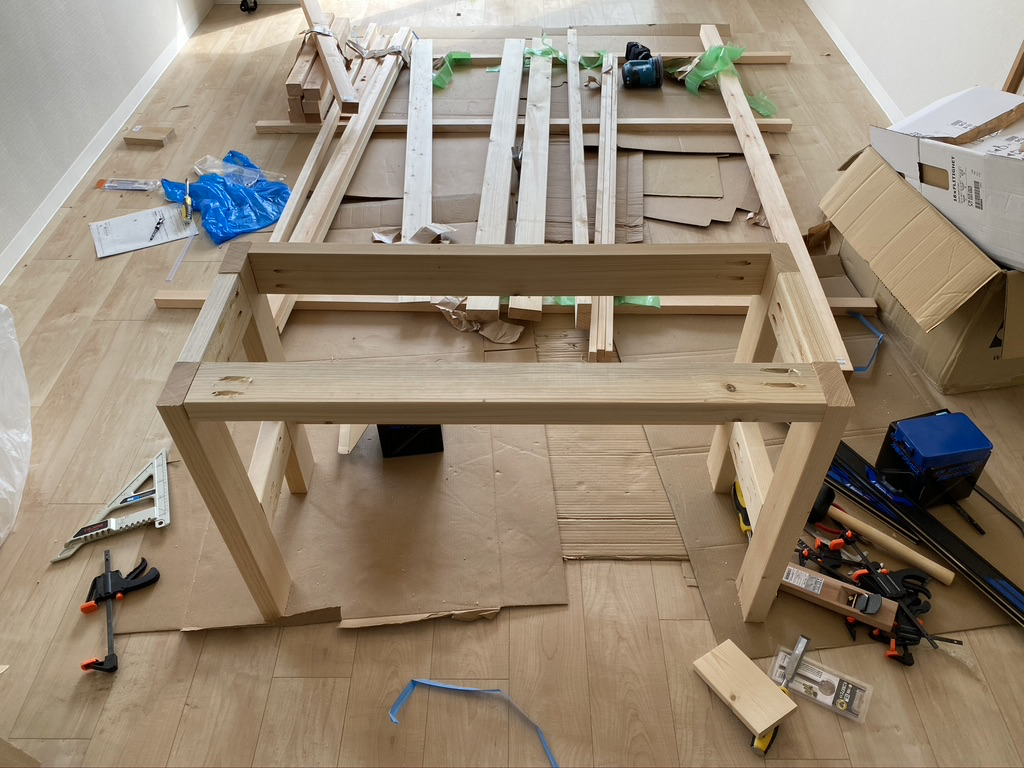
You can see all the left wood from construction from the previous big pile.
Adding table top and the small table is finished.
Don't forget to subscribe to the newsletters down bellow. Every new article will be delivered in a friendly email, readable format straight into your mailbox!