Home Office Project: Overkill Workbench Series Part 1


After moving into a new apartment I have already had plans in my to build a custom workbench setup for my home office room so this series will be oriented in the home office room and workbench design.
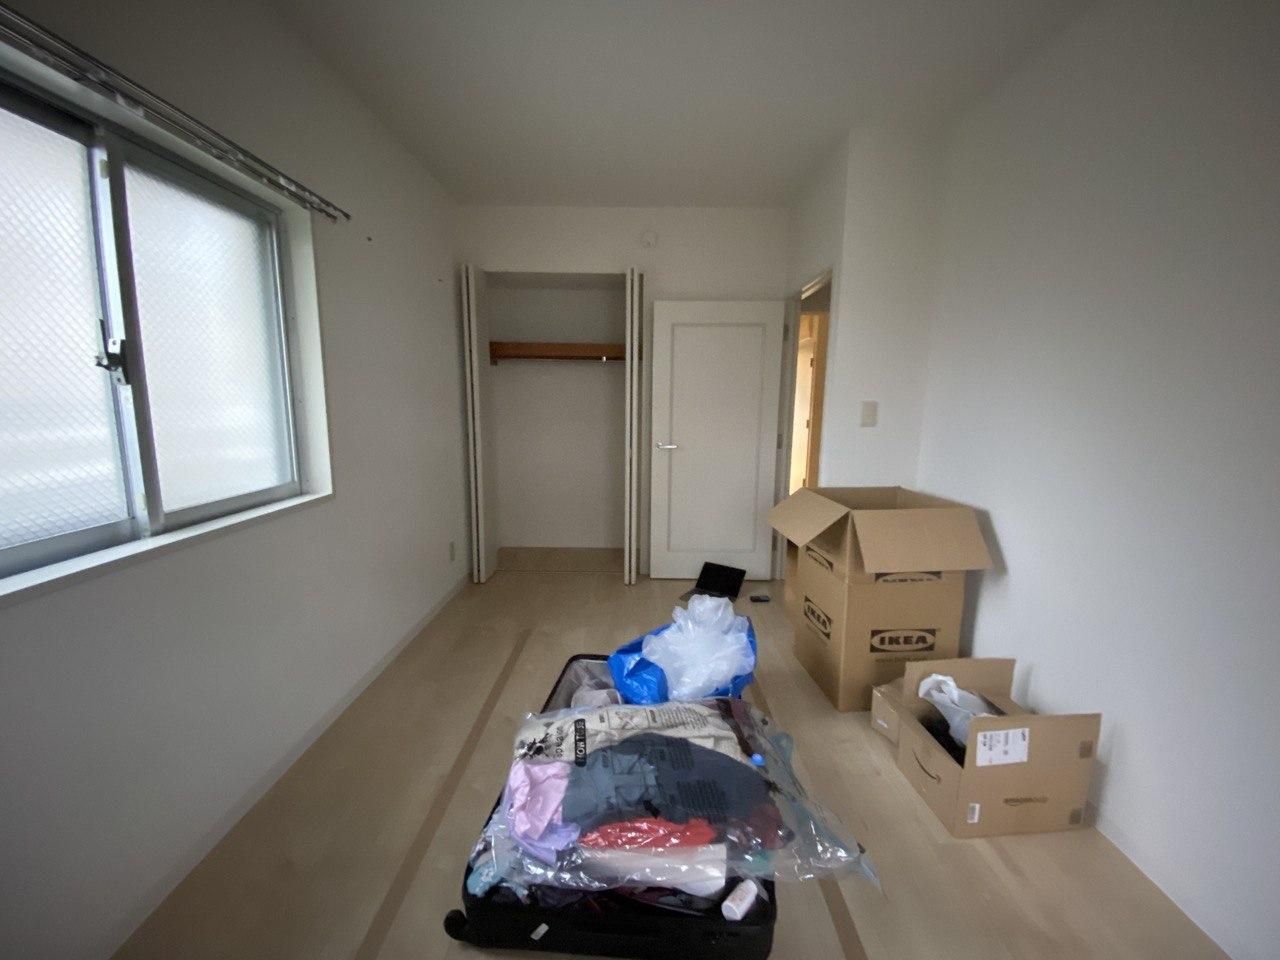
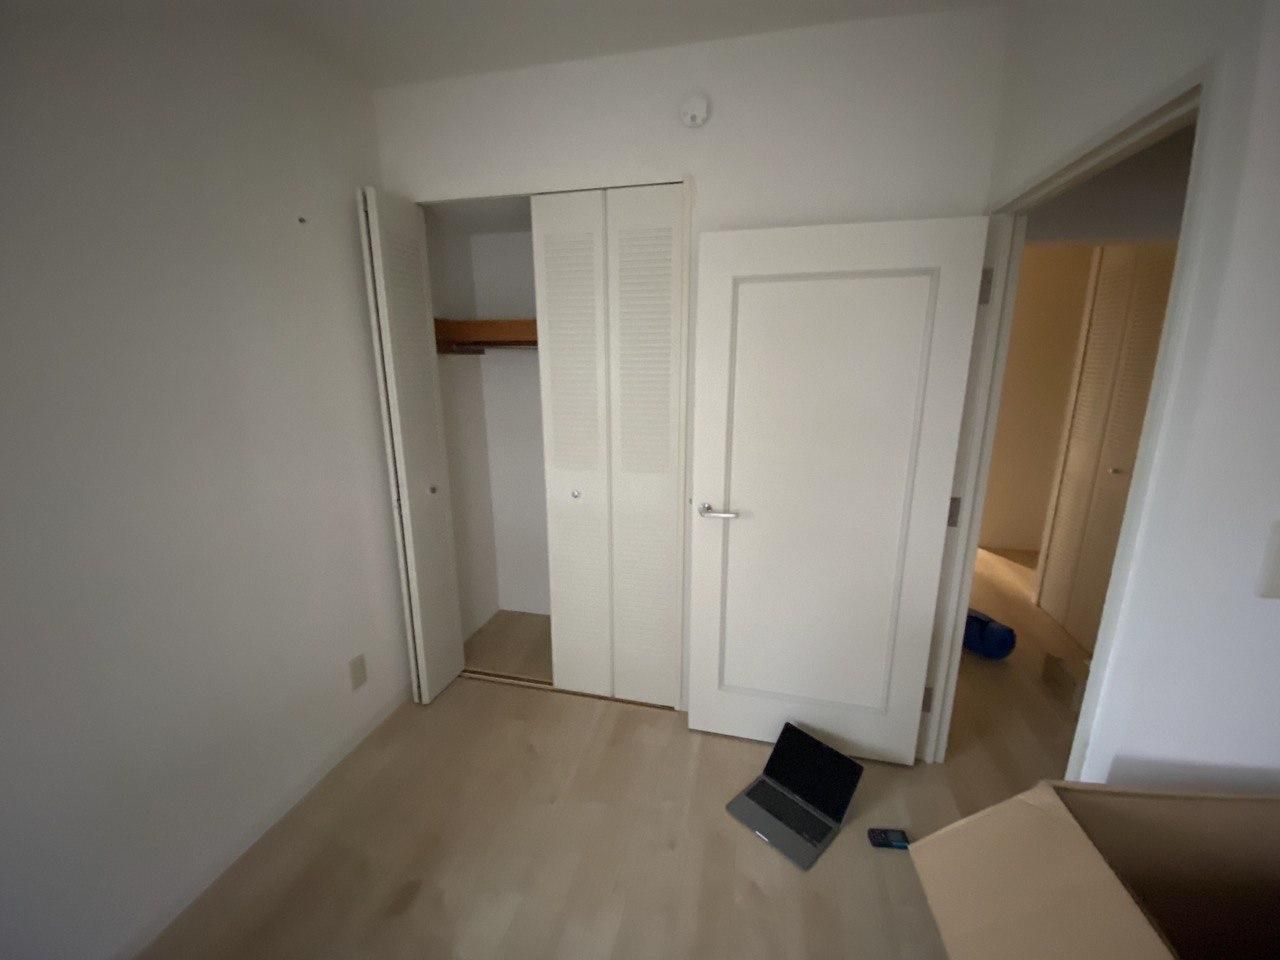
Currently, my room looks pretty simple it's 6.5 tatamis sized room with an integrated closet. It has 2 windows one on the north side and another on the east side.
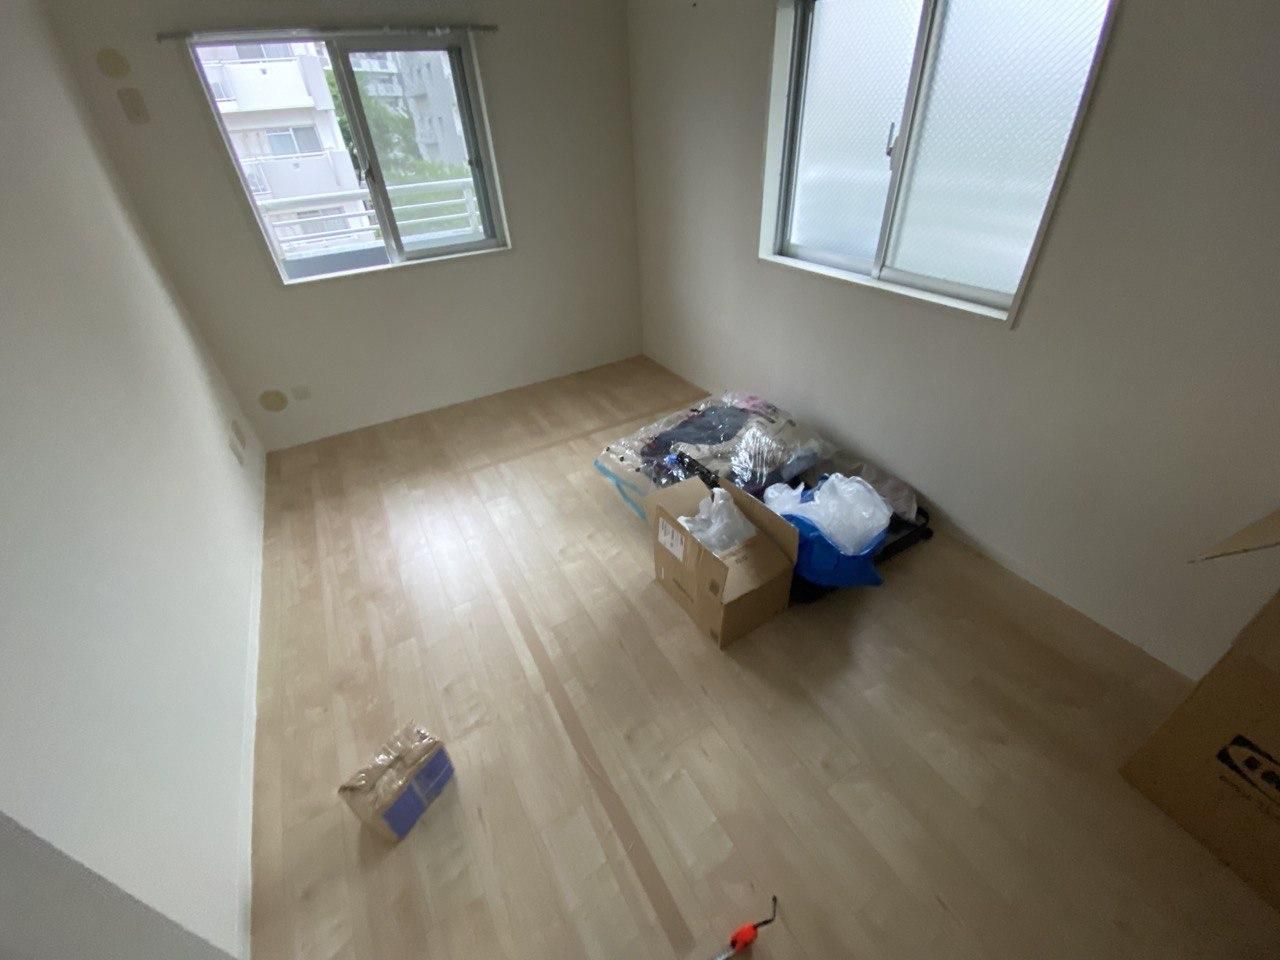
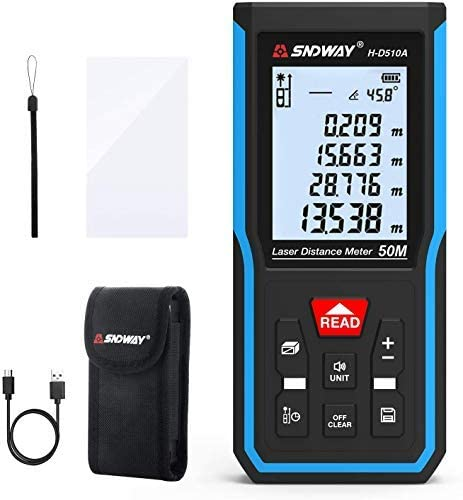
The first step was, to measure out the room to have the exact dimensions for future planning. For this task was done by a pretty nice small laser range finder.
By having measured the room's most important dimension I was able to build a 3D representation in the room using CAD software.
Now that I have room in the CAD software, I can try to design the table.
Design Idea
I had a few design requirements for my workbench.
- Table depth of around 90cm
- The tabletop should be made of solid wood
- Solid table frame to be able to hold heavy objects.
Following my previous table design which I had built in the UK for which I have used galvanized steel tubes as framing and kitchen countertop.
I have decided to go with a metal frame again, but as these galvanized steel tubes are not available in Japan and are really too heavy to carry I decided to look for an alternative. Which ended up being aluminum extrusion profiles. After spending a day on CAD software I have designed some preliminary design but after calculating the price on materials and etc, the total cost of only the metal frame was way out the league for just a simple workbench.
After considering for some time I decided to go with plain wood framing using standardized Japanese wood planks like 2x4 (38x76 mm) 1x2 (19x38 mm), 2x2 (38x38).
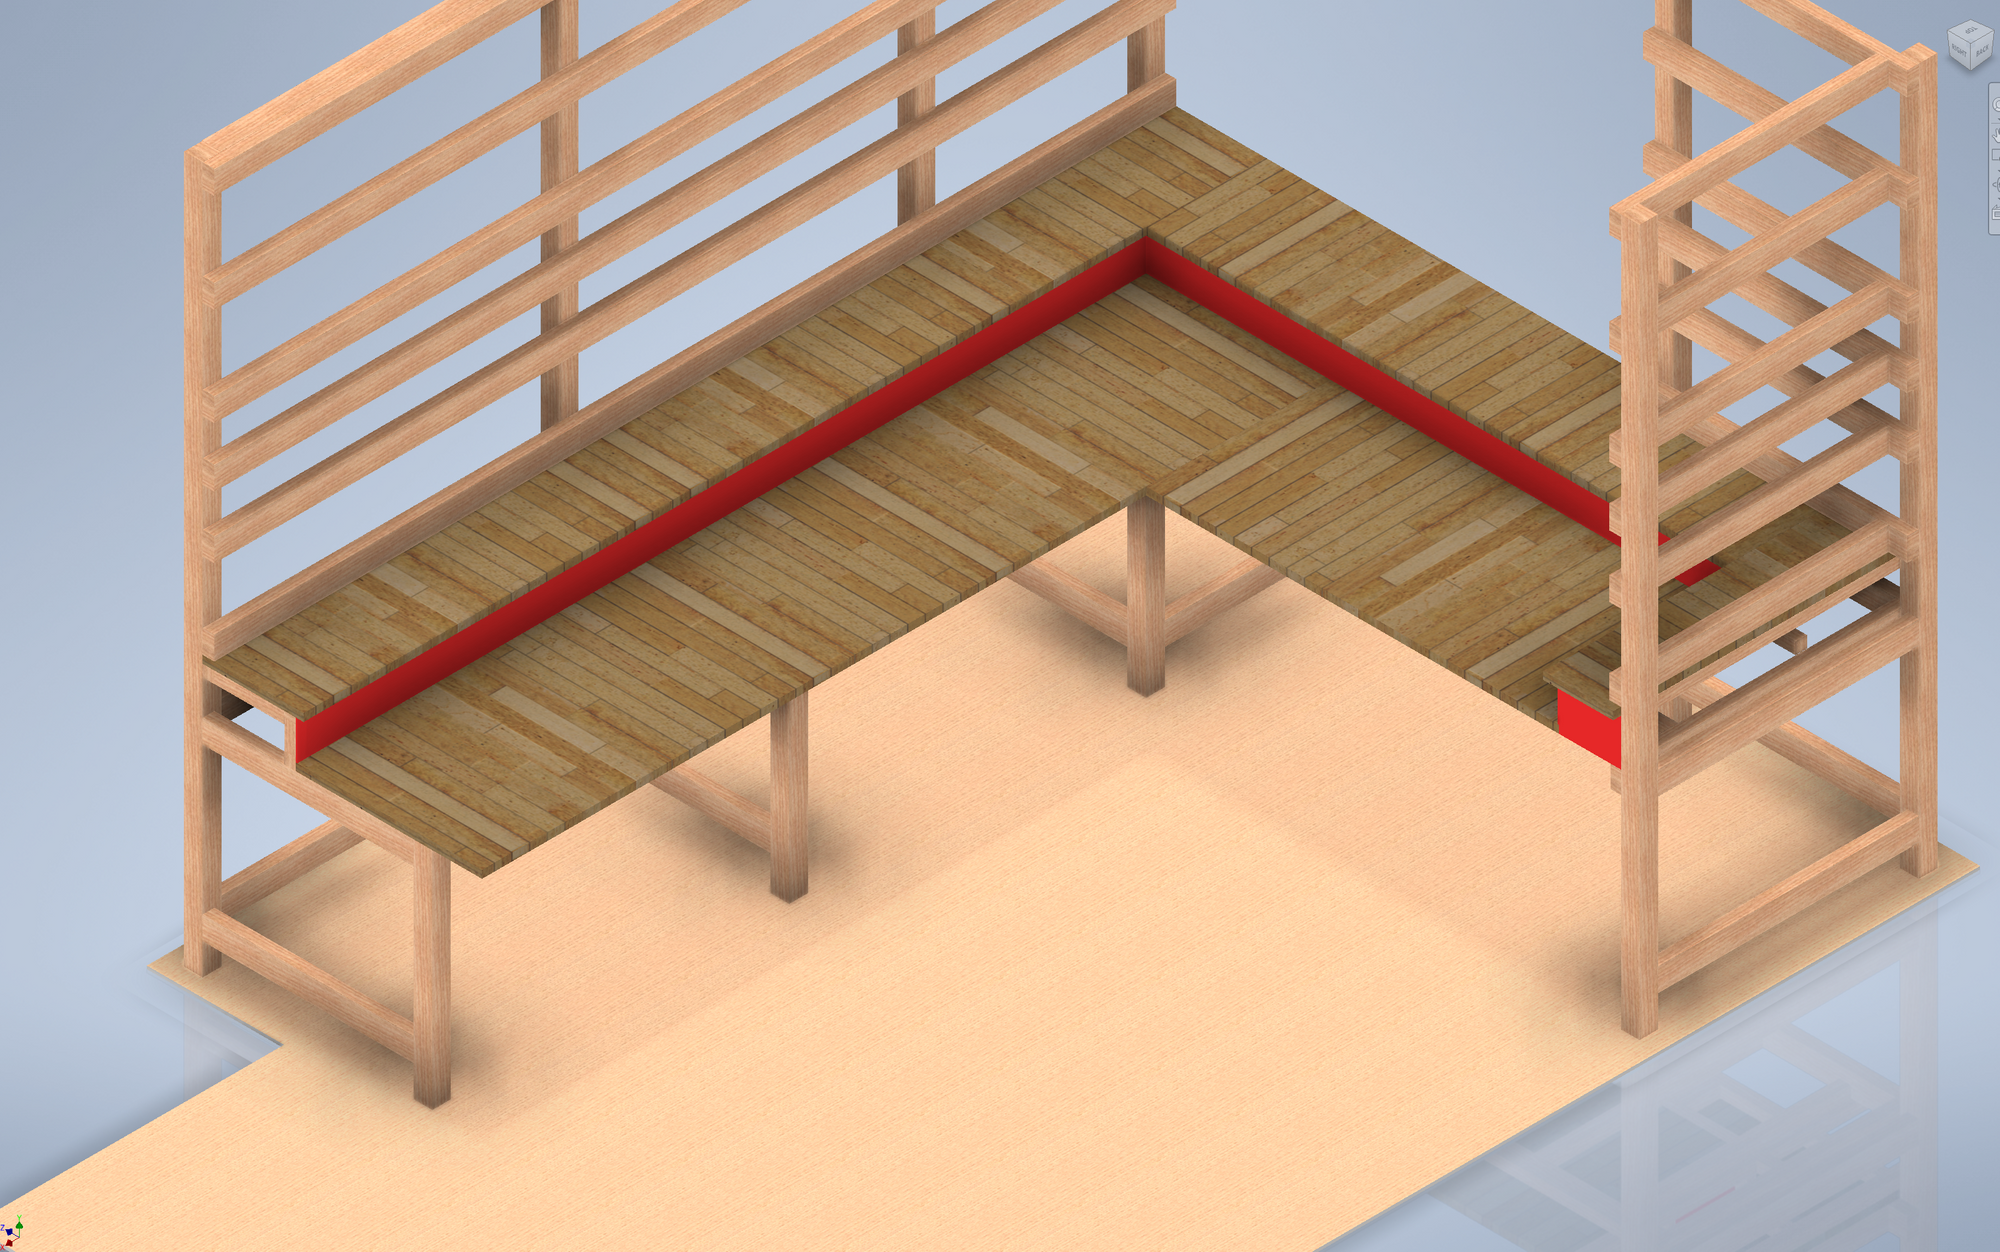
Now that I can build a much larger sized workbench my initial thoughts were to build an inverse U shaped workbench but the room width is too narrow for going 90cm depth table on both sides it would leave only a 70cm gap between two sides. So in the end I decided to build L style shape workbench.
The long L part will be my DIY/Electronics work station with soldering and construction space. The shorter L part will be the PC workstation.
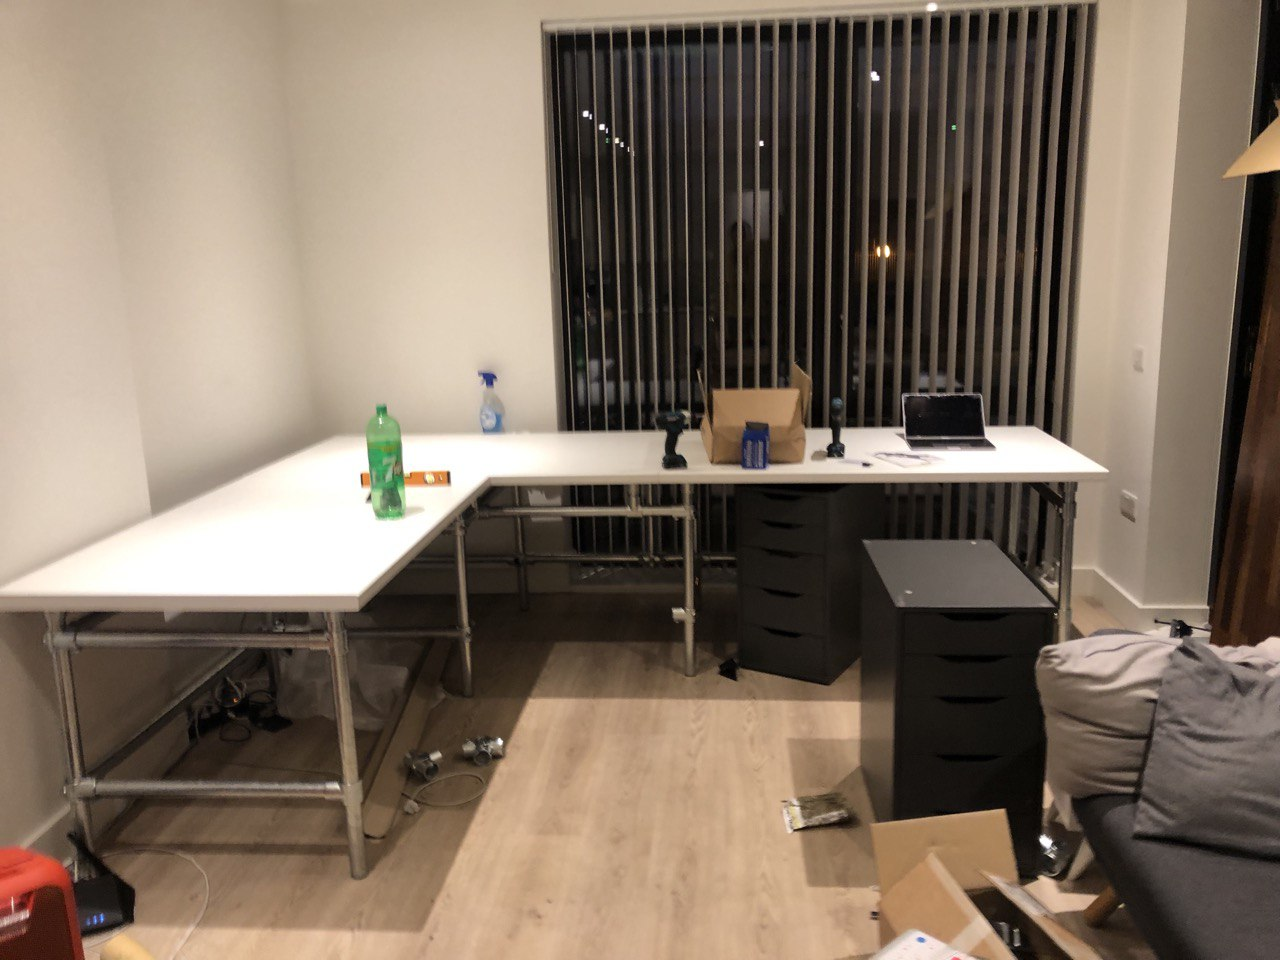
To try out the location I have put my temporary table in the corner where I am planning to put the PC workstation.
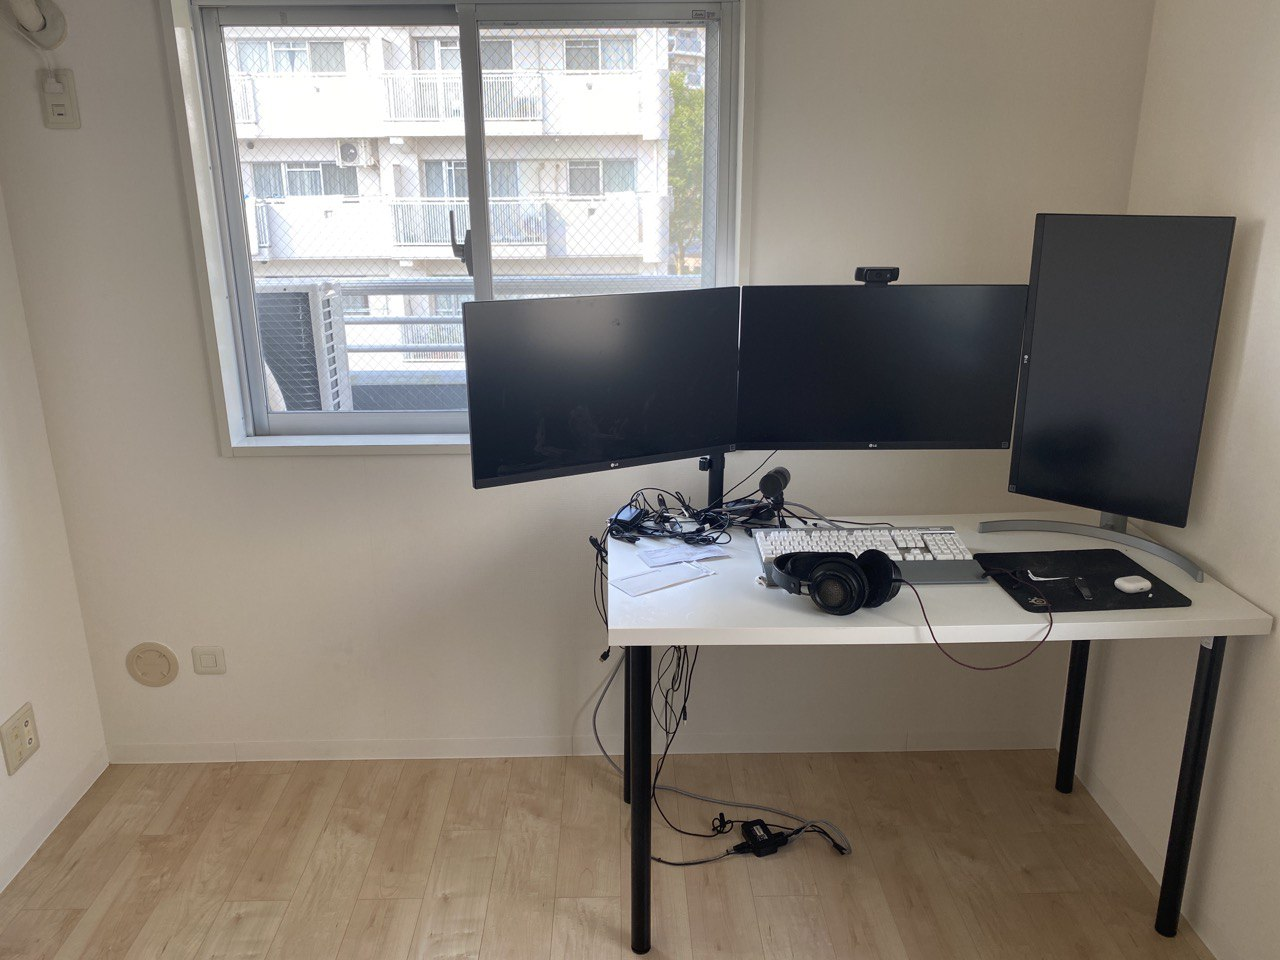
After seeing the situation with monitors I decided to place the left monitor on top of the center monitor to make better as the left one with the angle it blocks a lot of space on the table and blocks the window.
After knowing all details it was time for design.
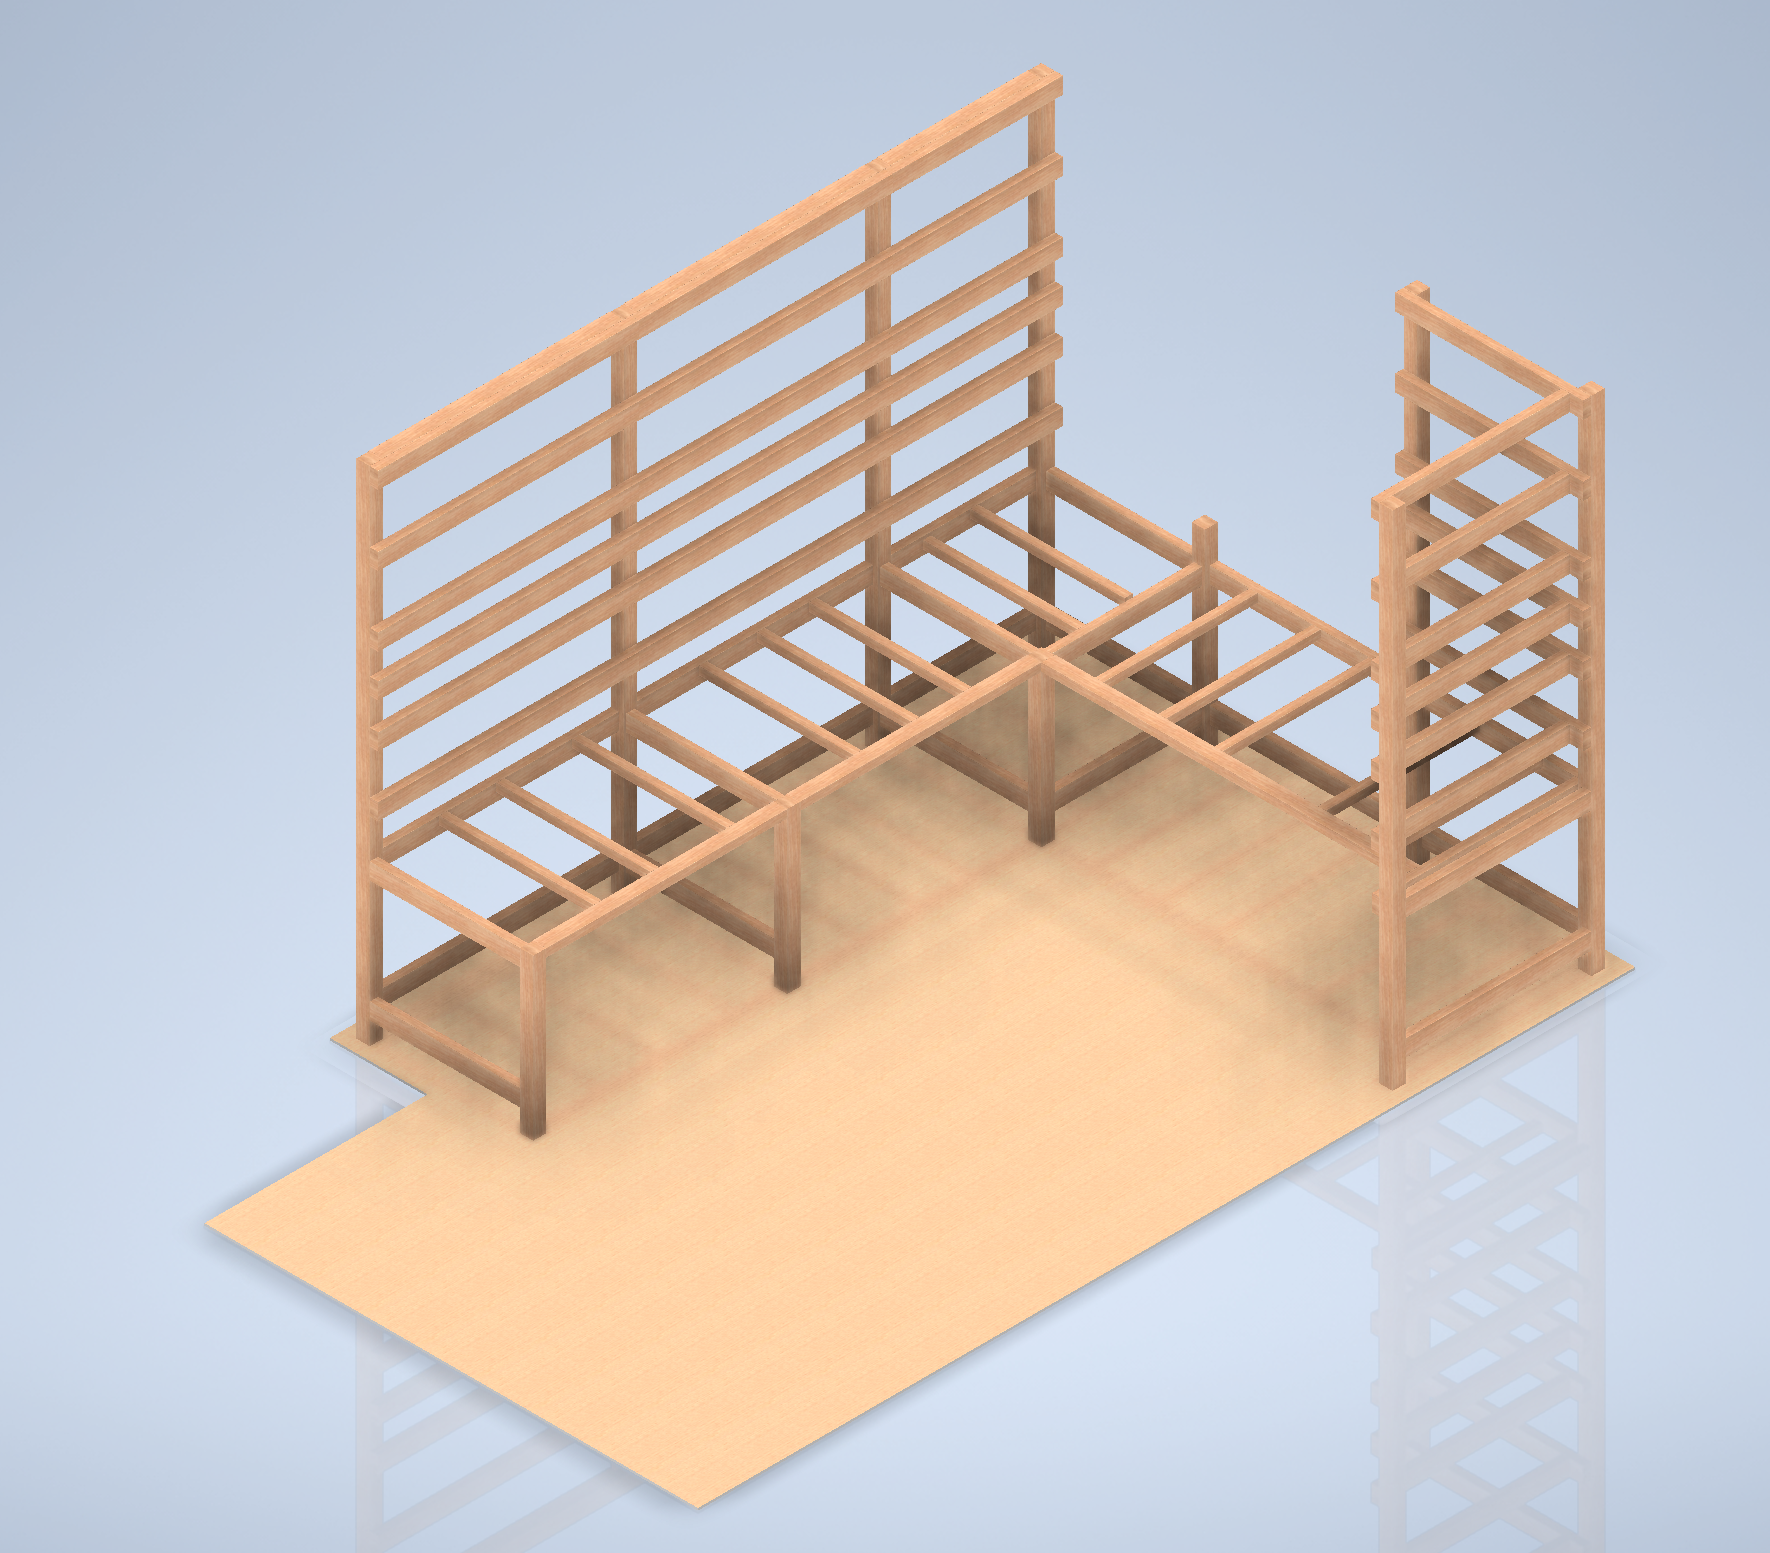
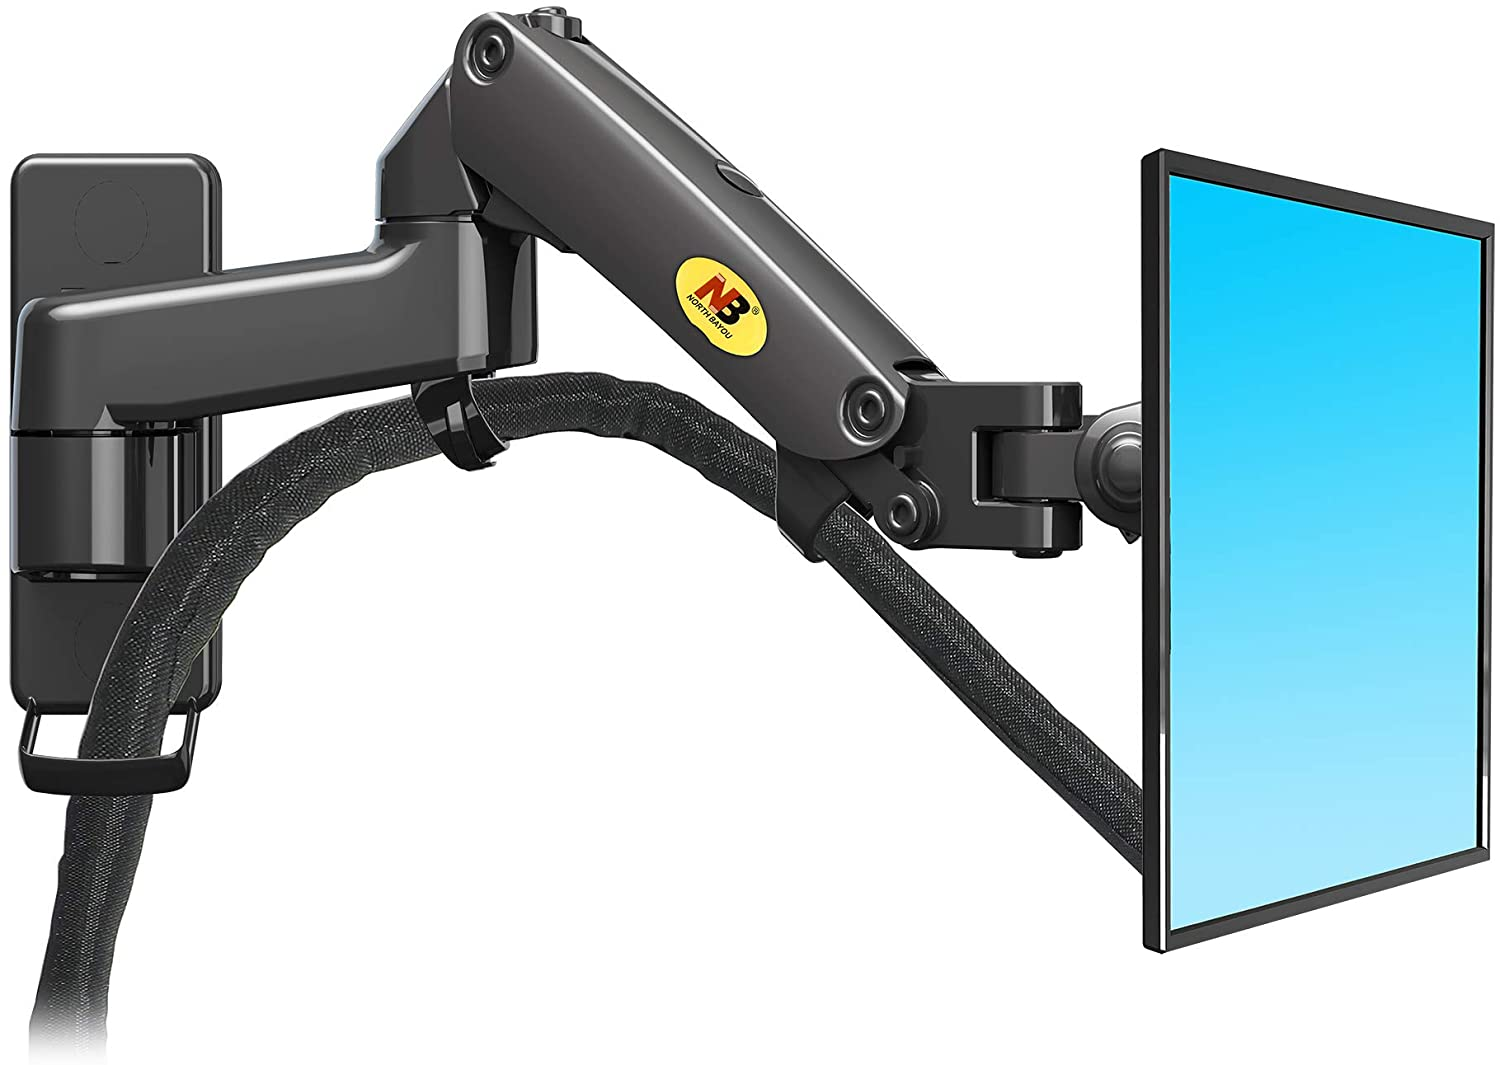
I kept rear columns tall and with supports because I am planning to use them for mounting some cabinets/shelves and have the grided panel for hooks. The right side will be used to mount wall mount monitor arms like these:
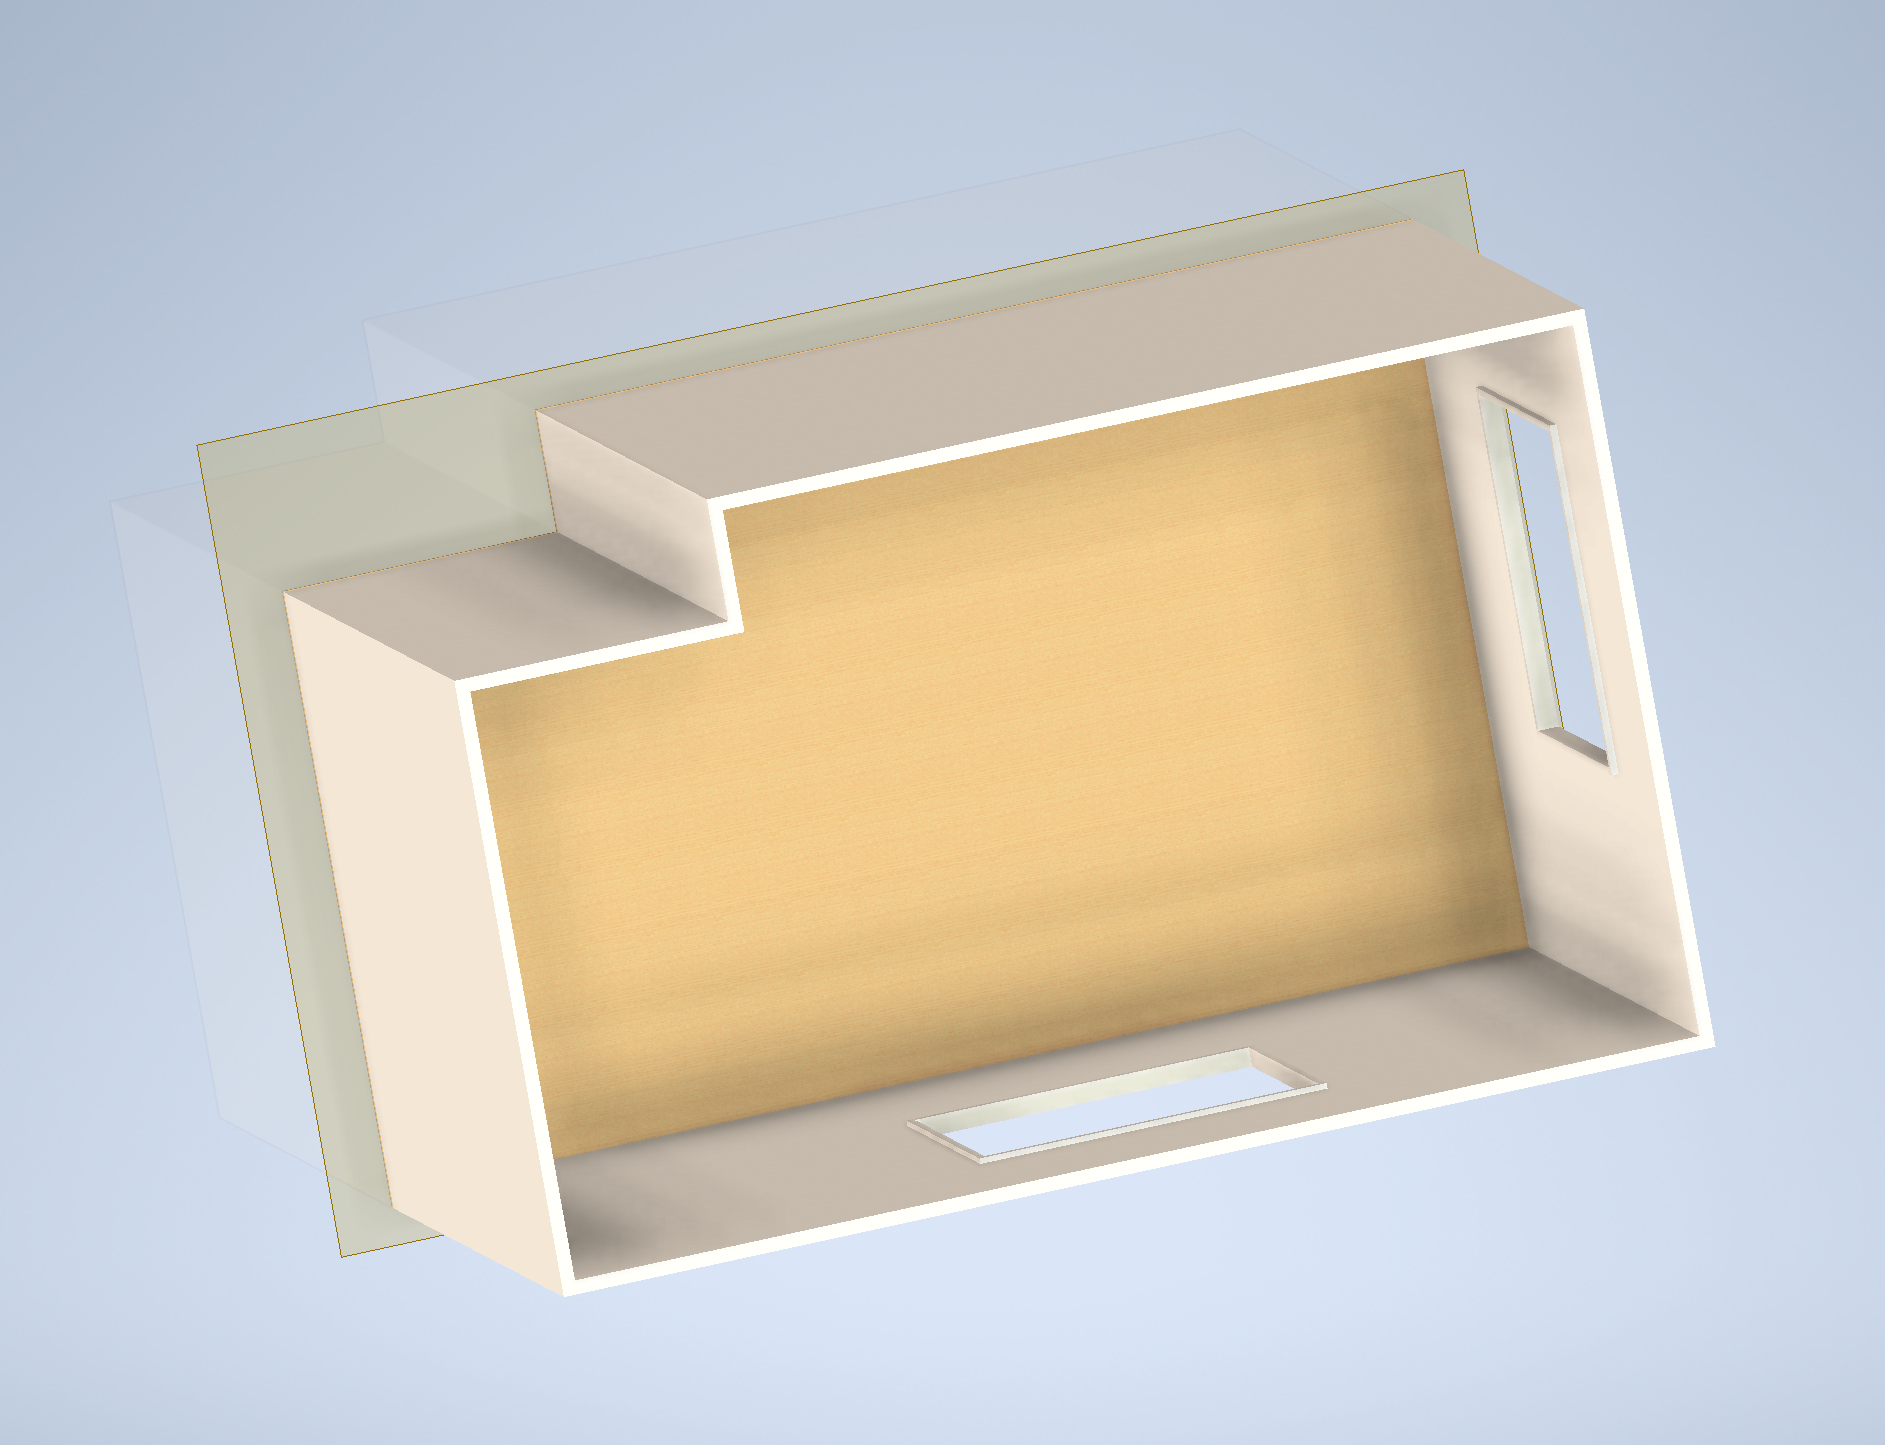
After adding a simple tabletop I realized I would like to add some power sockets and etc stuff after some thinking I decided that I also would like to have some lower shelf for putting electronic tools like soldering iron station, hot air station, oscilloscope, and similar.
So I decided to shorten the original depth and make a bit higher shelf with overhang.
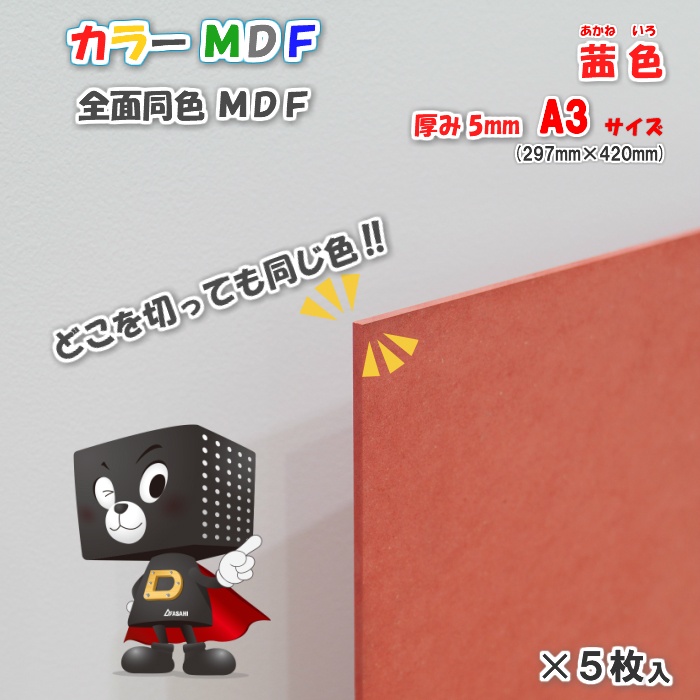
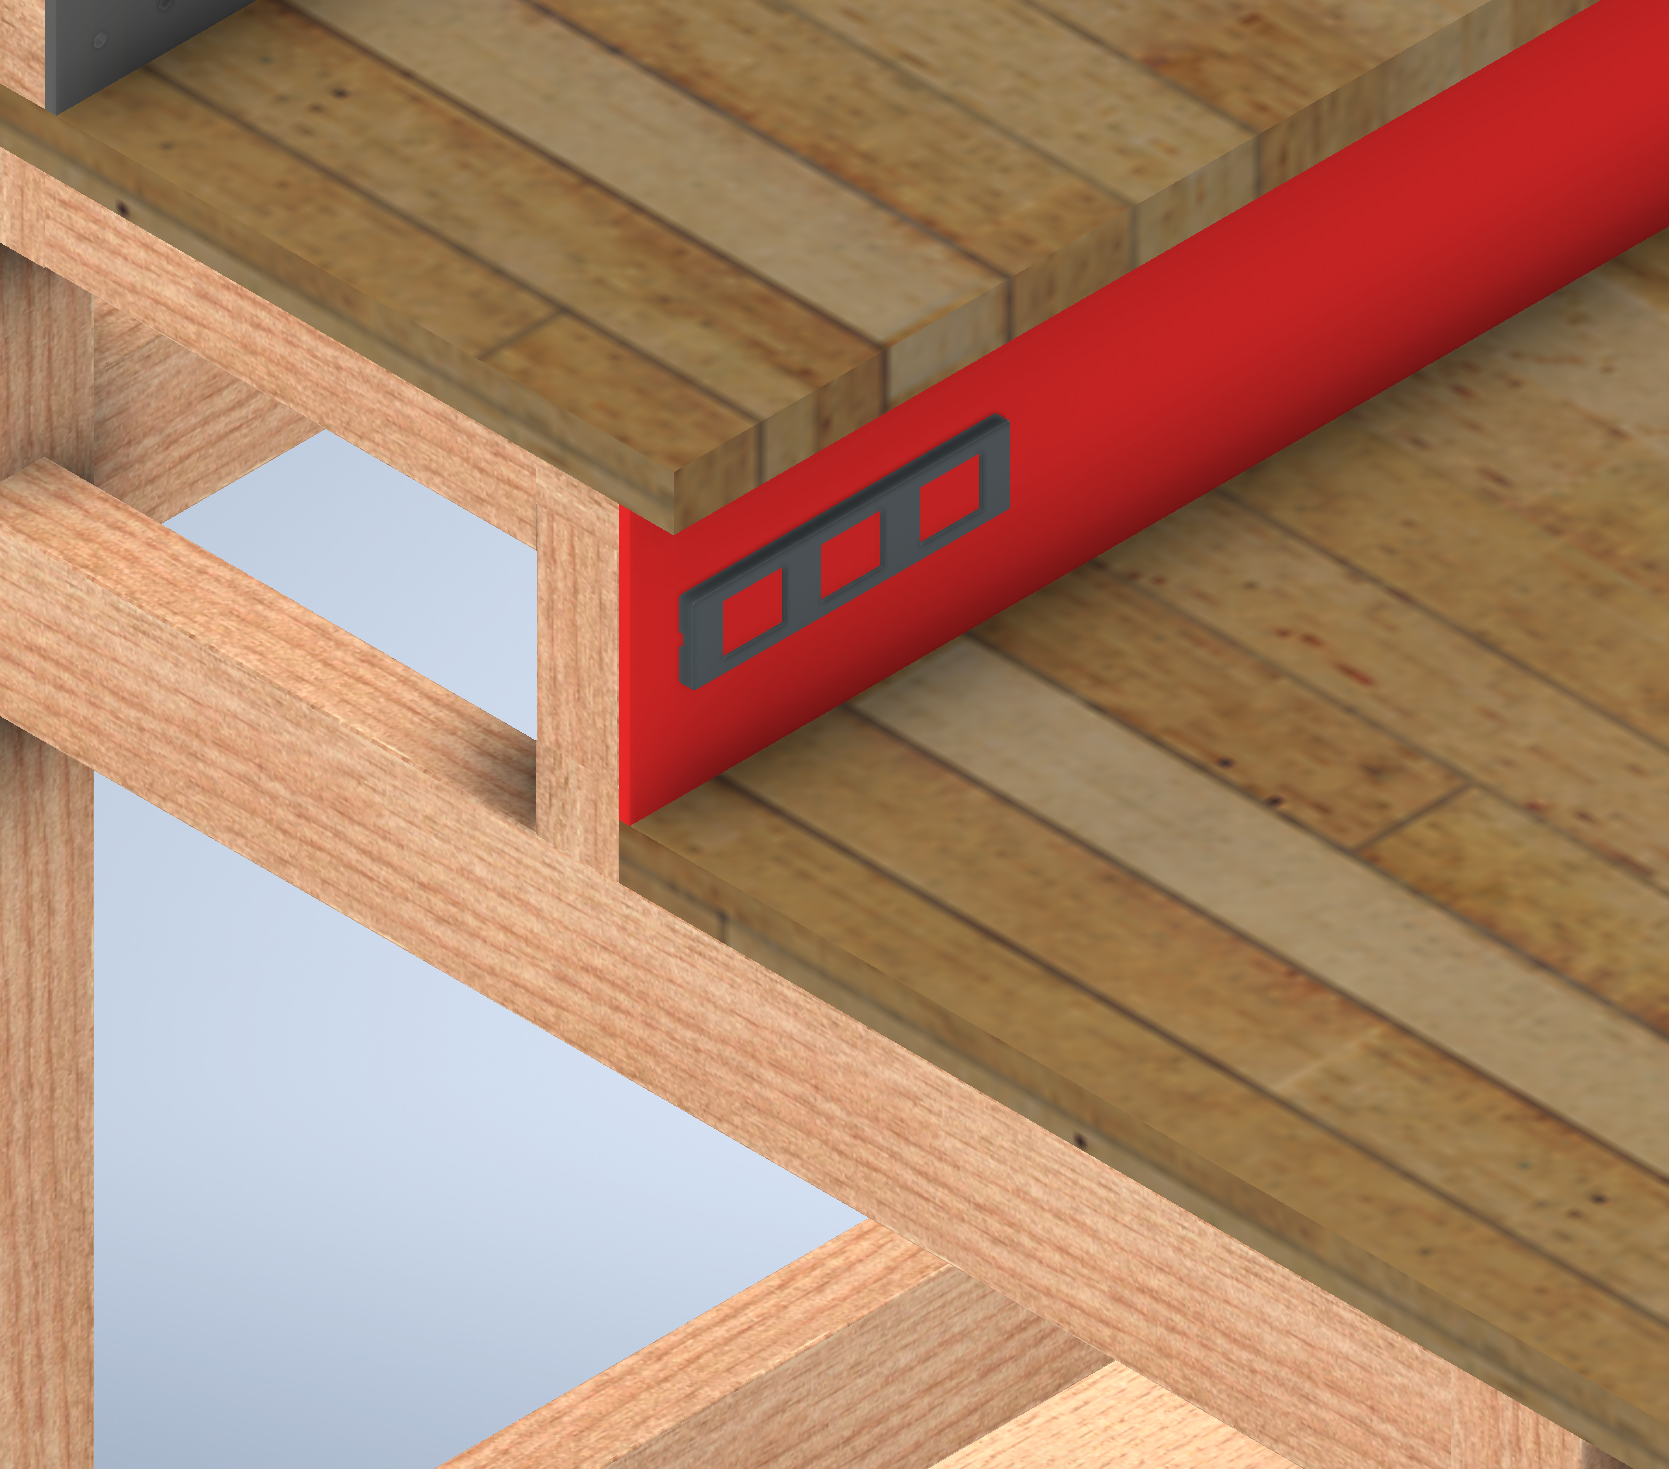
For the walls under the shelf I decided to go for red-colored MDF 5mm panel like this:
For the under shelf/cabinet space I decided to use this kind of panel for hook mount systems.


I would love to have a dark gray style tabletop as Christina from Youtube Get Hands Dirty latest video but sadly that kind of style MDF is not available in Japan so I will try on small peace to find some dark gray stain and use it on tabletop which I am gonna select.
After planning some simple cabinets it should look pretty good.

I still haven't yet decided on the exact styling of cabinets but my guess it will be made out of birch plywood or something similar.
For the small shelf on the tabletop, I am planning to use Panasonic Horizontal Style outlets like this
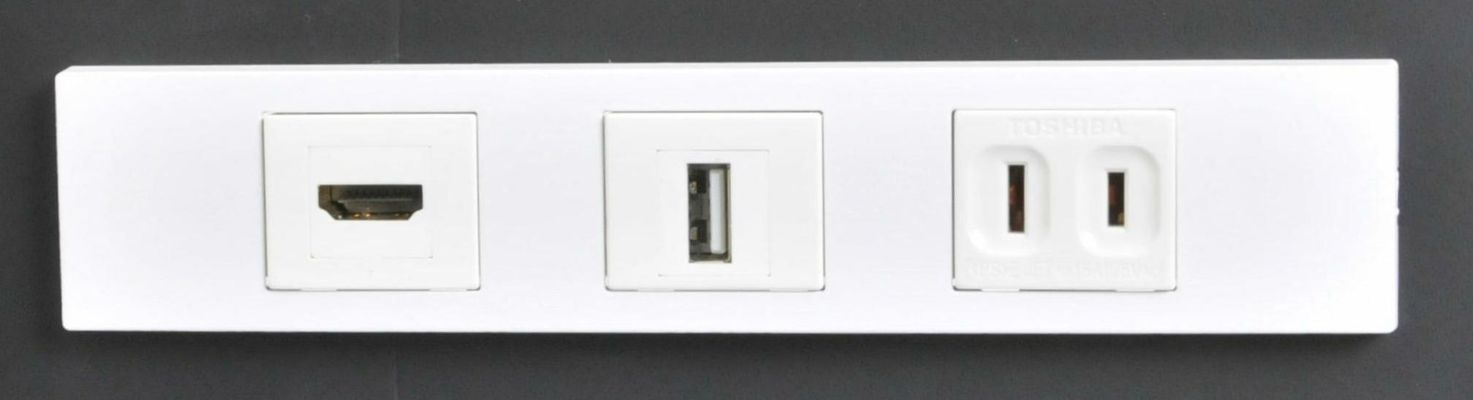
Just in black/gray because these are so slim I probably gonna stack 2 or 3 in the same column, as I plan to make some with USB-A + USB-C combined ports which will be switched between several PC's that's for future parts of this series.
Some primitive modeling based on official dimensions and it should look pretty good.
Next Steps
After having finalized the basic project now it is time to realize it. The first step is to export the BOM list of all the wood planks and their sizes to be able to calculate all required amounts of wood stock I will need to order.
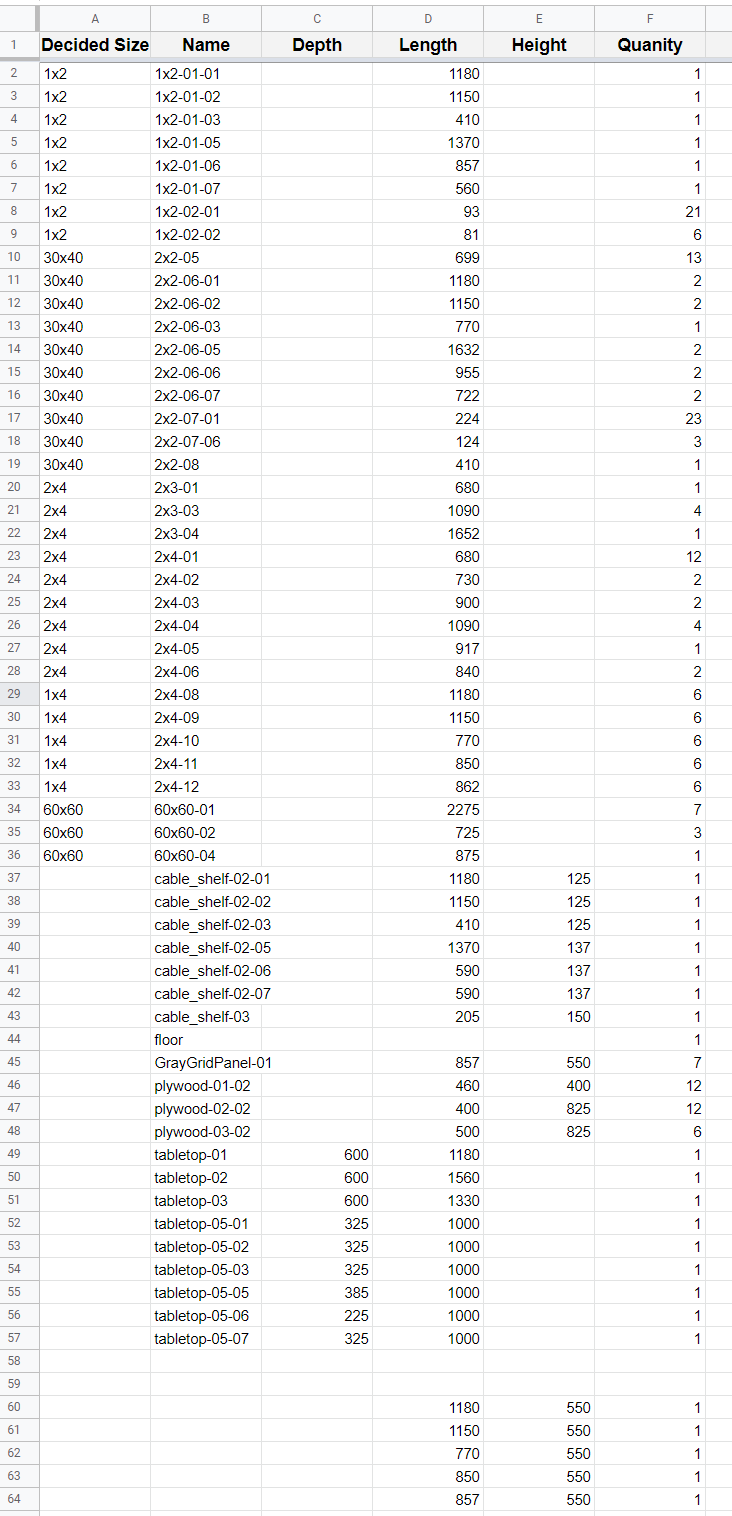
Now that I have all sizes I need I can try to calculate efficient cuts to safe material using this amazing project called CutListOptimizer which helped me to calculate the required amount of plans based on wood stock I found in a home improvement store.
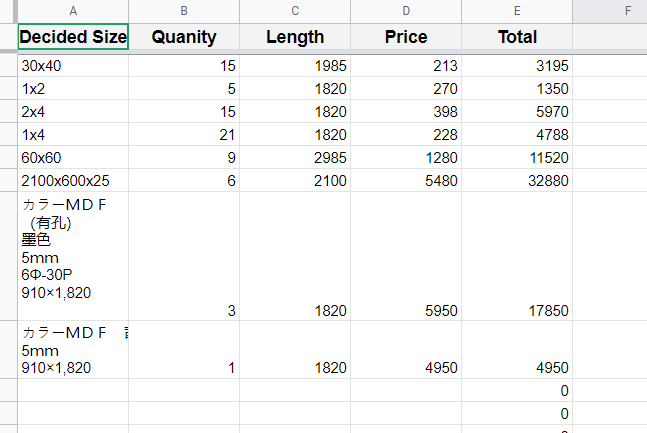
Now that I have a final bill of material to buy I will be going tomorrow to my local Super Viva Home to order all materials and try to get them delivered to my home. That's going to be a big challenge as I don't speak Japanese much.
What's next?
Tomorrow I am getting all the materials and tools required for this project. I am not sure how long it will take it to get it delivered to home probably a few workdays.
I will be trying to set up a live stream on Twitch the live build video with GoPro mounted on the head and similar still haven't figured out a way I am going to work about it but I am gonna post the article day before with a specific time I am gonna start a stream.
Keep In Touch!
Part 2 is available here

Part 3 is available here