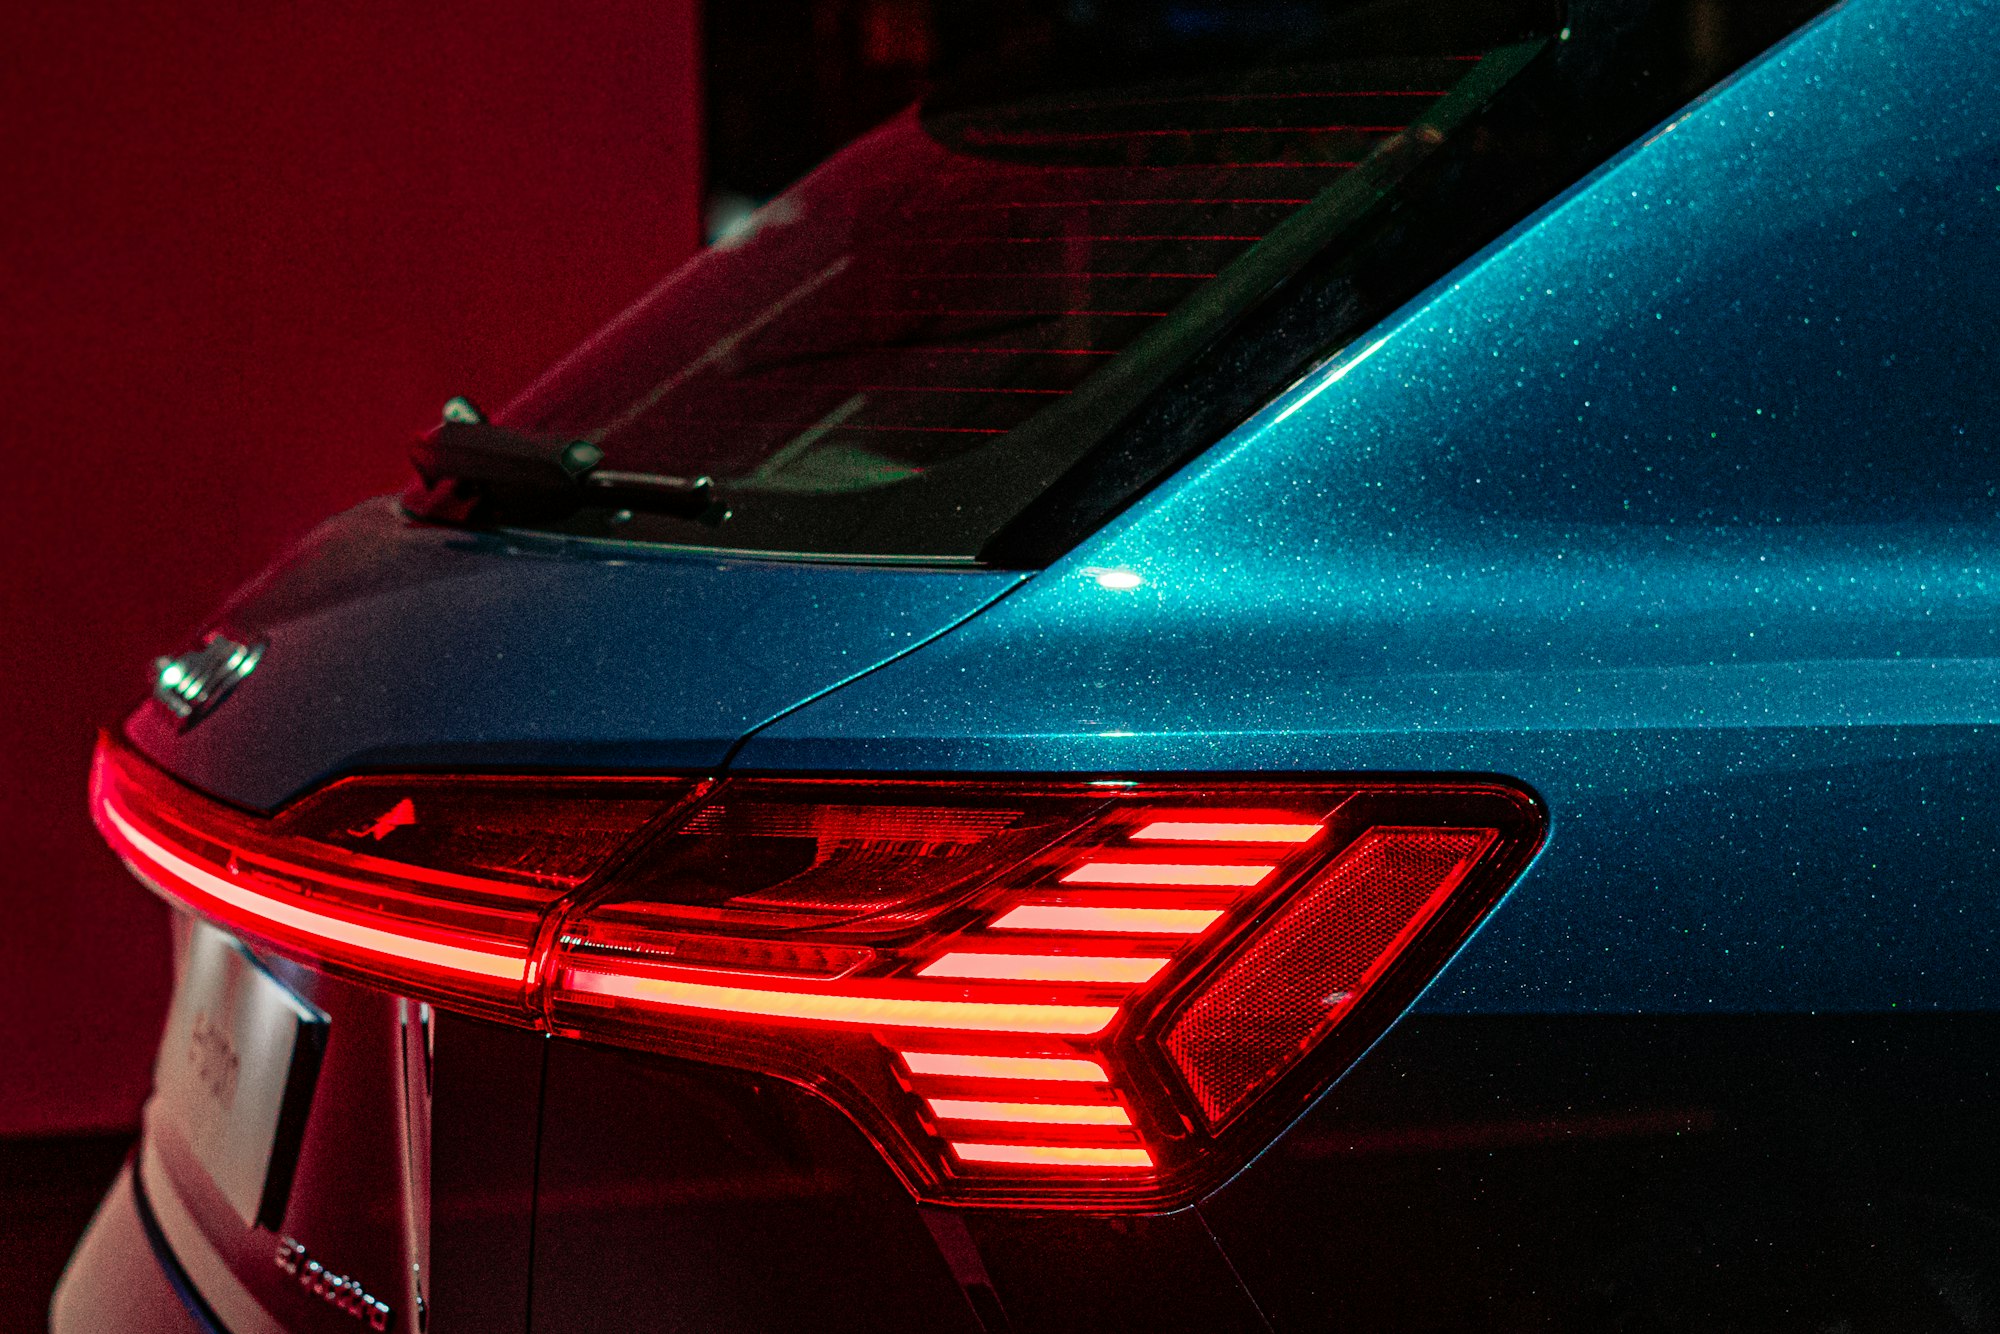
Evening Project: Arduino based brake light controller for VESC based Electric Mountainboard

I had a small request from my father to help him develop a small firmware for Arduino to control brake LED light for his electric mountain board, integrating with VESC to receive remote controller UART packets.
Some explanations
I know some of you have not heard Arduino, VESC, Electric Mountainboard, and similar terms.
Arduino
Arduino is an open-source hardware and software project and user community that designs and manufactures single-board microcontrollers and microcontroller kits for building digital devices.

In this project, our target will be the Arduino Pro Micro board based on the ATMega32U4 processor featuring 32 KB self-programming flash program memory, 2.5 KB SRAM, 1 KB EEPROM, USB 2.0 full-speed/low-speed device, 12-channel 10-bit A/D-converter, and JTAG interface for on-chip-debug. The device achieves up to 16 MIPS throughput at 16 MHz. 2.7-5.5 volt operation.

VESC
The VESC (which stands for Vedder Electronic Speed Controller) is a more advanced ESC that allows for better motor and battery protection, regenerative braking, and programming options like acceleration-deceleration curves and other advanced features.

It is an open-source ESC project and has many hardware projects based on its firmware.
Electric Mountainboard
The Electric mountainboard, in simple terms, is an electrified mountainboard.


Mountainboarding, also known as Dirtboarding, Offroad Boarding, and All-Terrain Boarding (ATB), is a well established[1] if little-known action sport, derived from snowboarding. This was initially pioneered by James Stanley during a visit in the 1900s to the Matterhorn where snow was not available. A mountainboard is made up of components including a deck, bindings to secure the rider to the deck, four wheels with pneumatic tires, and two steering mechanisms known as trucks. Mountainboarders, also known as riders, ride specifically designed boardercross tracks, slopestyle parks, grass hills, woodlands, gravel tracks, streets, skateparks, ski resorts, BMX courses, and mountain bike trails. It is this ability to ride such a variety of terrain that makes mountainboarding different from other board sports.
Remote Controller

The leading subject the Brake Light


This article's main subject is brake light, which is needed to work like car brake lights.
- Then the board is powered, it should shine with the brightness of around 45%
- When the remote controller starts sending a brake signal, the Arduino should pick up the packets from the remote controller receiver, which are being sent to VESC and set brightness to 100% and return to 45% when the brake signal is released.
The LED lamp is powered by the Mean Well LDD-H series LED driver, which can control LED brightness by providing a PWM signal.
The board is powered by 12S Li-Ion cells based battery pack with a standard voltage of 44.4V and a fully charged voltage of 50.4V.

Schematic

The schematic idea is pretty simple. Arduino receives the same packets as VESC from receiver via UART, from which I can decode the throttle position and accordingly adjust brake lights via PWM signal on LED driver.
Firmware
For firmware, I will be using Arduino software to write the firmware with C++ with some helper functions, instead of bit-banging registers by myself.
First step Vesc Packet Listener & Handler
To determine the throttle position of the Remote controller, I need to parse incoming serial data from the receiver as this type of remote controller uses VESC UART style control instead of a typical PPM (RC controller similar to PWM) style control mechanism.
I have built a small class to parse incoming serial data and extract the payload out of the received packet. I used SolidGeek/VescUart library as a reference for the code. Added some magic to be able quickly to hook callback when a specific type of commands there received.
Final Wrap
After having a way to hook into received VESC Commands, it's pretty easy to implement our simple LED dimming logic.
Compile and upload the code into Arduino, and it is ready to go.

Conclusion
You probably thinking, where is the DEMO? You wrote so much code and made a whole article, but there is no demo?
This project was basically done over the evening. Because of the timezone difference between me and Lithuania is 6 hours, I will not be able to get the demo video, but I will post it on @techprowd twitter and update the article after I receive it.
The final code archive will be uploaded on my Patreon for supporters, and I will be able to help with questions regarding how to use it there too!
Shoutout to 3DServisas
I would like to include a shoutout to my father's company and an online store called 3DServisas. It is primarily oriented to CNC machine custom orders, electric skateboard & mountainboard parts, from gear drives to skateboard trucks.
If you are interested in building your own electric skateboard or mountainboard, go check out 3DServisas precision gear drives used by many production board makers such as BioBoards and DIY players.

Instagram page: https://www.instagram.com/3dservisas/
Announcement
I don't know if you have read my previous articles, but I have opened a Patreon account so you guys could help me by supporting my projects!

If you are not interested in supporting, at least I suggest subscribing to the newsletters down bellow. Every new article will be delivered in a friendly email, readable format straight into your mailbox!


